Oqtane Event System — Hooking into the Framework
In this article, the topic that we’re going to see is the event system of Oqtane.For example, usually in most systems you want to hook up something when the application starts.
In XAF from Developer Express, which is my specialty (I mean, that’s the framework I really know well),
you have the DB Updater, which you can use to set up some initial data.
In Oqtane, you have the Module Manager, but there are also other types of events that you might need —
for example, when the user is created or when the user signs in for the first time.
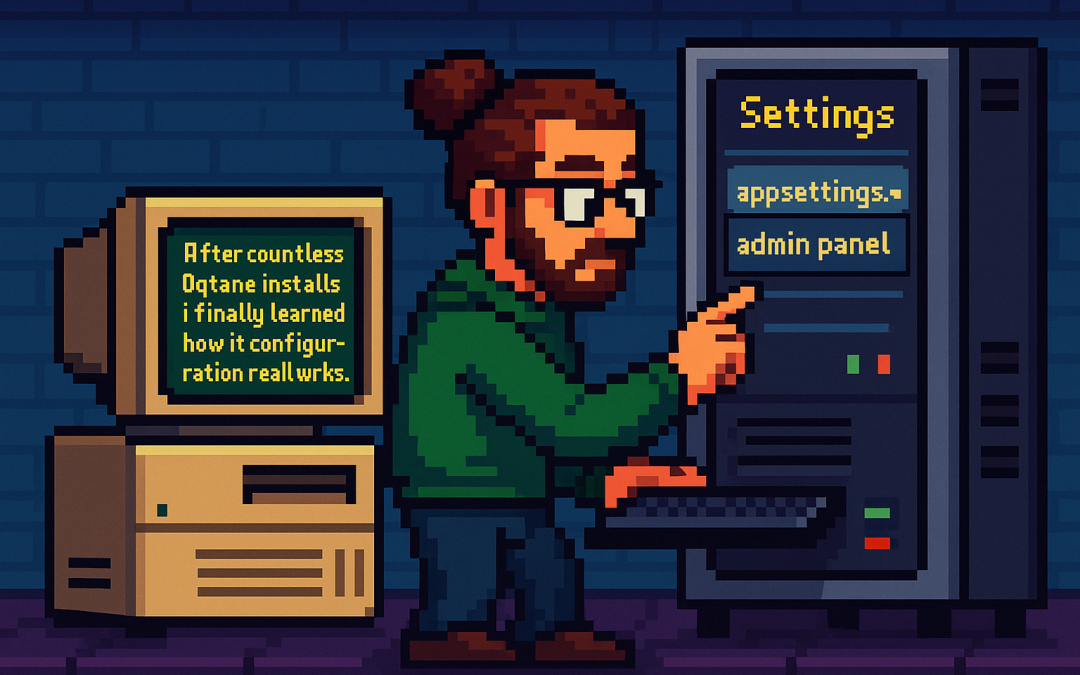
So again, using the method that I explained in my previous article — the “OK, I have a doubt” method —
I basically let the guide of Copilot hike over my installation folder or even the Oqtane source code itself, and try to figure out how to do it.
That’s how I ended up using event subscribers.
In one of my prototypes, what I needed to do was detect when the user is created and then create some records in a different system
using that user’s information. So I’ll show an example of that type of subscriber, and I’ll actually share the
Oqtane Event Handling Guide here, which explains how you can hook up to system events.
I’m sure there are more events available, but this is what I’ve found so far and what I’ve tested.
I guess I’ll make a video about all these articles at some point, but right now, I’m kind of vibing with other systems.
Whenever I get blocked, I write something about my research with Oqtane.
Oqtane Event Handling Guide
Comprehensive guide to capturing and responding to system events in Oqtane
This guide explains how to handle events in Oqtane, particularly focusing on user authentication events (login, logout, creation)
and other system events. Learn to build modules that respond to framework events and create custom event-driven functionality.
Version: 1.0.0
Last Updated: October 3, 2025
Oqtane Version: 6.0+
Framework: .NET 9.0
1. Overview of Oqtane Event System
Oqtane uses a centralized event system based on the SyncManager that broadcasts events throughout the application when entities change.
This enables loose coupling between components and allows modules to respond to framework events without tight integration.
Key Components
- SyncManager — Central event hub that broadcasts entity changes
- SyncEvent — Event data containing entity information and action type
- IEventSubscriber — Interface for objects that want to receive events
- EventDistributorHostedService — Background service that distributes events to subscribers
Entity Changes → SyncManager → EventDistributorHostedService → IEventSubscriber Implementations
                     ↓
               SyncEvent Created → Distributed to All Event Subscribers
2. Event Types and Actions
SyncEvent Model
public class SyncEvent : EventArgs
{
    public int TenantId { get; set; }
    public int SiteId { get; set; }
    public string EntityName { get; set; }
    public int EntityId { get; set; }
    public string Action { get; set; }
    public DateTime ModifiedOn { get; set; }
}
Available Actions
public class SyncEventActions
{
    public const string Refresh = "Refresh";
    public const string Reload = "Reload";
    public const string Create = "Create";
    public const string Update = "Update";
    public const string Delete = "Delete";
}
Common Entity Names
public class EntityNames
{
    public const string User = "User";
    public const string Site = "Site";
    public const string Page = "Page";
    public const string Module = "Module";
    public const string File = "File";
    public const string Folder = "Folder";
    public const string Notification = "Notification";
}
3. Creating Event Subscribers
To handle events, implement IEventSubscriber and filter for the entities and actions you care about.
Subscribers are automatically discovered by Oqtane and injected with dependencies.
public class UserActivityEventSubscriber : IEventSubscriber
{
    private readonly ILogger<UserActivityEventSubscriber> _logger;

    public UserActivityEventSubscriber(ILogger<UserActivityEventSubscriber> logger)
    {
        _logger = logger;
    }

    public void EntityChanged(SyncEvent syncEvent)
    {
        if (syncEvent.EntityName != EntityNames.User)
            return;

        switch (syncEvent.Action)
        {
            case SyncEventActions.Create:
                _logger.LogInformation("User created: {UserId}", syncEvent.EntityId);
                break;
            case "Login":
                _logger.LogInformation("User logged in: {UserId}", syncEvent.EntityId);
                break;
        }
    }
}
4. User Authentication Events
Login, logout, and registration trigger SyncEvent notifications that you can capture to send notifications,
track user activity, or integrate with external systems.
public class LoginActivityTracker : IEventSubscriber
{
    private readonly ILogger<LoginActivityTracker> _logger;

    public LoginActivityTracker(ILogger<LoginActivityTracker> logger)
    {
        _logger = logger;
    }

    public void EntityChanged(SyncEvent syncEvent)
    {
        if (syncEvent.EntityName == EntityNames.User && syncEvent.Action == "Login")
        {
            _logger.LogInformation("User {UserId} logged in at {Time}", syncEvent.EntityId, syncEvent.ModifiedOn);
        }
    }
}
5. System Entity Events
Besides user events, you can track changes in entities like Pages, Files, and Modules.
public class PageAuditTracker : IEventSubscriber
{
    private readonly ILogger<PageAuditTracker> _logger;

    public PageAuditTracker(ILogger<PageAuditTracker> logger)
    {
        _logger = logger;
    }

    public void EntityChanged(SyncEvent syncEvent)
    {
        if (syncEvent.EntityName == EntityNames.Page && syncEvent.Action == SyncEventActions.Create)
        {
            _logger.LogInformation("Page created: {PageId}", syncEvent.EntityId);
        }
    }
}
6. Custom Module Events
You can create custom events in your own modules using ISyncManager.
public class BlogManager
{
    private readonly ISyncManager _syncManager;

    public BlogManager(ISyncManager syncManager)
    {
        _syncManager = syncManager;
    }

    public void PublishBlog(int blogId)
    {
        _syncManager.AddSyncEvent(
            new Alias { TenantId = 1, SiteId = 1 },
            "Blog",
            blogId,
            "Published"
        );
    }
}
7. Best Practices
- Filter early — Always check the entity and action before processing.
- Handle exceptions — Never throw unhandled exceptions inside
EntityChanged. - Log properly — Use structured logging with context placeholders.
- Keep it simple — Extract complex logic to testable services.
public void EntityChanged(SyncEvent syncEvent)
{
    try
    {
        if (syncEvent.EntityName == EntityNames.User && syncEvent.Action == "Login")
        {
            _logger.LogInformation("User {UserId} logged in", syncEvent.EntityId);
        }
    }
    catch (Exception ex)
    {
        _logger.LogError(ex, "Error processing event {Action}", syncEvent.Action);
    }
}
8. Summary
Oqtane’s event system provides a clean, decoupled way to respond to system changes.
It’s perfect for audit logs, notifications, custom workflows, and integrations.
- Automatic discovery of subscribers
- Centralized event distribution
- Supports custom and system events
- Integrates naturally with dependency injection