by Joche Ojeda | Sep 25, 2025 | Dev Memes, Uncategorized
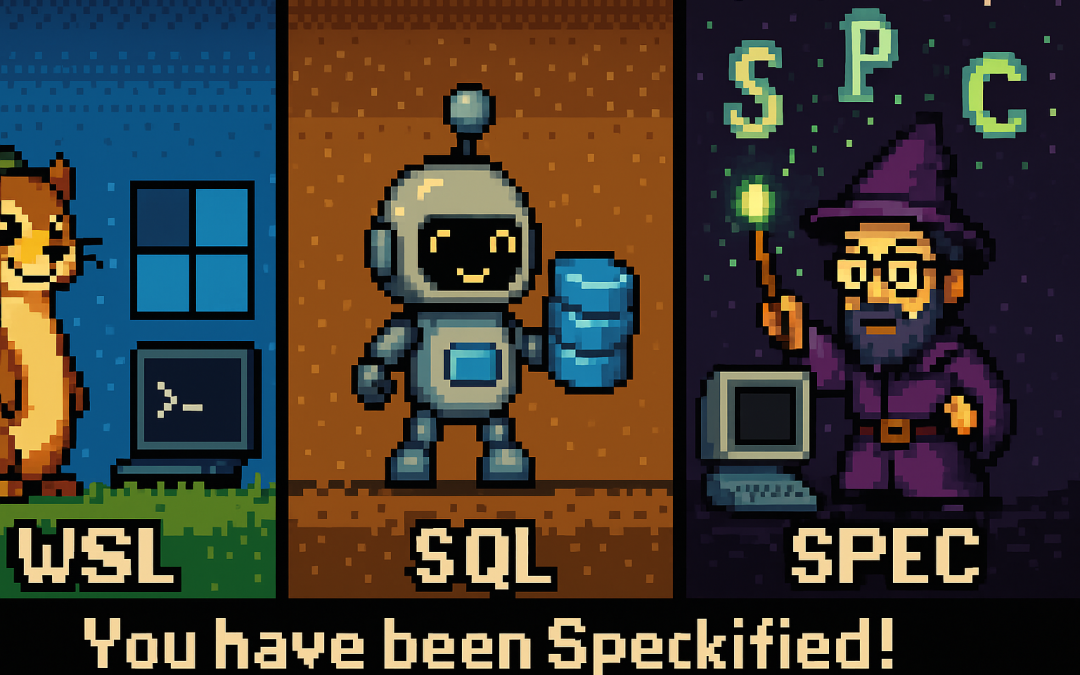
If you hang out around developers long enough, you’ll notice we don’t just use tools — we nickname them, mispronounce them, and sometimes turn them into full-blown mascots. Here are three favorites: WSL, SQL, and GitHub Copilot’s Spec Kit.
WSL → “Weasel”
English reality: WSL stands for Windows Subsystem for Linux.
Nickname: Said quickly as “double-u S L,” it echoes weasel, so the meme stuck.
Spanish (El Salvador / Latin America): In El Salvador and many Latin American countries, the letter W is read as “doble be” (not doble u). So WSL is pronounced “doble be, ese, ele.”
SQL → “Sequel”
English reality: SQL stands for Structured Query Language.
Pronunciation: Both “S-Q-L” and “sequel” are used in English.
Spanish (LatAm): Most developers say it letter by letter: “ese cu e ele.” Bilingual teams sometimes mix in “sequel.”
Spec Kit → “Speckified” (Spooky Spell)
English reality: GitHub Copilot’s Spec Kit helps scaffold code from specs.
Community fun: Projects get “speckified,” a word that mischievously echoes “spookified.” Our playful mascot idea is a wizard enchanting a codebase: You have been Speckified!
Spanish (LatAm): Phonetically, SPEC is “ese, pe, e, ce.” In casual talk many devs just say “espec” (es-pek) to keep the pun alive.
Quick Reference (Latin American / El Salvador Spanish)
| Acronym |
English Pronunciation |
Spanish (LatAm / El Salvador) Phonetics |
Nickname / Mascot |
| WSL |
“double-u S L” (sounds like weasel) |
“doble be, ese, ele” |
Weasel |
| SQL |
“S-Q-L” or “sequel” |
“ese cu e ele” |
Sequel Robot |
| SPEC |
“spec” → “speckified” |
“ese, pe, e, ce” (or “espec”) |
Spec Wizard (spell) |
Why This Matters
These playful twists — weasel, sequel robot, speckified wizard — show how dev culture works:
- Acronyms turn into characters.
- English vs. Spanish pronunciations add layers of humor.
- Memes make otherwise dry tools easier to talk about.
Next time someone says their project is fully speckified on WSL with SQL, you might be hearing about a weasel, a robot, and a wizard casting spooky spec spells.
Related Links
VS Code – Let it Cook – Introducing Spec Kit for Spec-Driven Development! – Episode 13

by Joche Ojeda | Sep 24, 2025 | Github Spec Kit, Vibe Code, Vibe document
I thought vibe coding was chaotic at home. Try doing it while traveling halfway across the world.
Between layovers, hotel lobbies, and unpredictable Wi-Fi, I convinced myself I could keep momentum by letting AI carry the weight. Just toss it some prompts, let it generate code, and keep vibing in transit. Sounds good, right?
It wasn’t. Instead of progress, I found myself trapped in the same entropy loop as before—except now with added airport noise and bad coffee. It finally hit me: coding wasn’t the hard part anymore. The real challenge was lowering the chaos of my ideas into clear, executable requirements.
The Travel Chaos of Vibe Coding
While bouncing from Saint Petersburg to El Salvador, I leaned on vibe coding like a crutch. I threw half-formed prompts at the AI:
- “Build me a service that works offline.”
- “Hook this into a booking flow.”
- “Make it sync when online again.”
And, of course, the AI delivered: endless snippets, scaffolds, and fragments. But none of it fit together. It was like watching a band jam without ever agreeing on the key. Six hours in, all I had was a disjointed mess—again.
Enter GitHub Spec Kit and New Perspectives
Somewhere between flights, I stumbled on GitHub Spec Kit, thanks to a Visual Studio Code podcast episode: Let it Cook – Introducing Spec Kit for Spec-Driven Development! (Episode 13).
Not long after, I tuned into the Merge Conflict podcast: All in on Spec-Driven Development (Episode 479), where James Montemagno and Frank Kruger broke down what spec-driven workflows really mean for developers.
Spec Kit showed me a different angle: instead of treating the AI like a mind reader, treat it like a contractor. Write clear specs, break them down into tasks, and then let the AI handle execution.
James and Frank went further. They contrasted waterfall (where everything is specified upfront) with agile (where progress is iterative and requirements evolve). Their point was simple but profound: no matter the methodology, you can’t skip requirements. Even agile depends on clarity at each iteration.
The Programmer’s True Role
That’s when it clicked: my job as a human programmer isn’t to crank out lines of code anymore. The AI can do that faster than I ever could. My job is to reduce entropy.
I take vague ideas, half-baked business rules, and chaotic travel thoughts—and refine them into something structured. That’s the blueprint AI thrives on. Without it, I’m asking the model to improvise a symphony from random notes. With it, I get clean, working solutions in minutes.
Why Requirements Are the Real Magic
Spec Kit and similar tools are amazing, but they don’t remove the hardest part—they expose it. Writing good requirements is the bottleneck. Once that’s done, the rest flows.
Think of it this way:
- Vibe coding while traveling = chaos squared.
- Spec-driven clarity = progress even in noisy, unpredictable environments.
It’s not about choosing waterfall or agile. It’s about embracing the timeless truth that clarity upfront—whether in a full spec or a tight user story—is what makes AI effective.
Conclusion
My journey from vibe coding on the road to spec-driven clarity taught me that code is no longer the hardest problem. The real magic lies in writing requirements that reduce chaos and give AI a fighting chance to deliver.
So next time you feel tempted to vibe code—whether at home or 30,000 feet in the air—pause. Write the requirement. Structure the idea. Then let the AI do what it does best: execute clarity at scale.
Because in the end, humans reduce entropy. AI executes it.
Related Articles
From Vibe Coding to Vibe Documenting: How I Turned 6 Hours of Chaos into 8 Minutes of Clarity | Joche Ojeda
by Joche Ojeda | Sep 23, 2025 | Oqtane, Vibe Code, Vibe document
Most of us have fallen into the trap of what I like to call vibe coding. It’s that moment when you’re excited about an idea, you open your editor, call on your favorite AI assistant, and just… vibe. You throw half-baked requirements at the model, it spits out a lot of code, and for a while, it feels like progress.
The problem is, vibe coding usually leads to garbage code, wasted time, and mounting frustration. I know this because I recently spent six hours vibe coding a feature I could have completed in under ten minutes—once I stopped vibing and started documenting.
What Is Vibe Coding?
Vibe coding is coding without a plan. It’s asking an AI to build something from incomplete context, hoping it magically fills in the blanks.
It can look like:
- Pasting vague prompts into an LLM: “Build me an activity stream module.”
- Copy-pasting stack overflow snippets without really understanding them.
- Letting AI hallucinate structures, dependencies, and business rules you never specified.
And it feels productive, because you see code flying across your screen. But what’s really happening is that the AI is guessing. It compiles imaginary versions of your system in its “head,” tries different routes, and produces lots of words that look like solutions but don’t actually fit your framework or needs. The result: chaos disguised as progress.
My Oqtane Activity Stream Story
Here’s a concrete example.
I wanted to build an activity stream—basically, a social-network-style feed—on top of Oqtane, a .NET-based CMS. Now, I know the domain of activity streams really well, but I decided to test how far I could get if I let AI build an Oqtane module for me as if I knew nothing about the framework.
For six hours, I vibe coded. I kept prompting the AI with fragments like:
- “Make an Oqtane module for an activity feed.”
- “Add a timeline of user events.”
- “Hook this up to Oqtane’s structure.”
And the AI did what it does best: it generated code. Lots of it. But the code didn’t fit the Oqtane module lifecycle. It missed important patterns, created unnecessary complexity, and left me stuck in a trial-and-error spiral.
Six hours later, I had nothing usable. Just a pile of messy code and a headache.
The Switch to Vibe Documenting
Then I stepped back. Instead of continuing to let the AI guess, I wrote down what I already knew:
- How an Oqtane module is structured.
- What the activity stream needed to display.
- The key integration points with the CMS.
In other words, I documented the requirements as if I were teaching someone new to Oqtane. Then, I fed that documentation to the AI.
The result? In about eight minutes, I had a clean, working Oqtane module for my activity stream. No trial and error. No hallucinated patterns. Just code that fit perfectly into the framework.
Why Documentation Beats Guesswork
The lesson was obvious: the AI is only as good as the clarity of its input. Documentation gives it structure, reducing the entropy of the problem. Without it, you’re effectively asking the AI to be psychic. With it, you’re giving the AI a blueprint it can execute on with precision.
Think about it this way:
- Vibe coding = lots of code, little progress.
- Vibe documenting = clear plan, fast progress.
The irony is that documentation often feels slower up front—but it saves exponential time later. In my case, it turned six wasted hours into eight minutes of actual productivity.
The Human Programmer’s Role
This experience reinforced something important: the human programmer isn’t going anywhere. Our role is to act as the bridge between vague ideas and structured requirements.
We’re the ones who take messy, half-formed thoughts and turn them into clear steps. That’s not just busywork—that’s the essence of engineering. Once those steps exist, the AI can handle the grunt work of coding far more effectively than it can guess at our intentions.
In other words: humans reduce chaos; AI executes clarity.
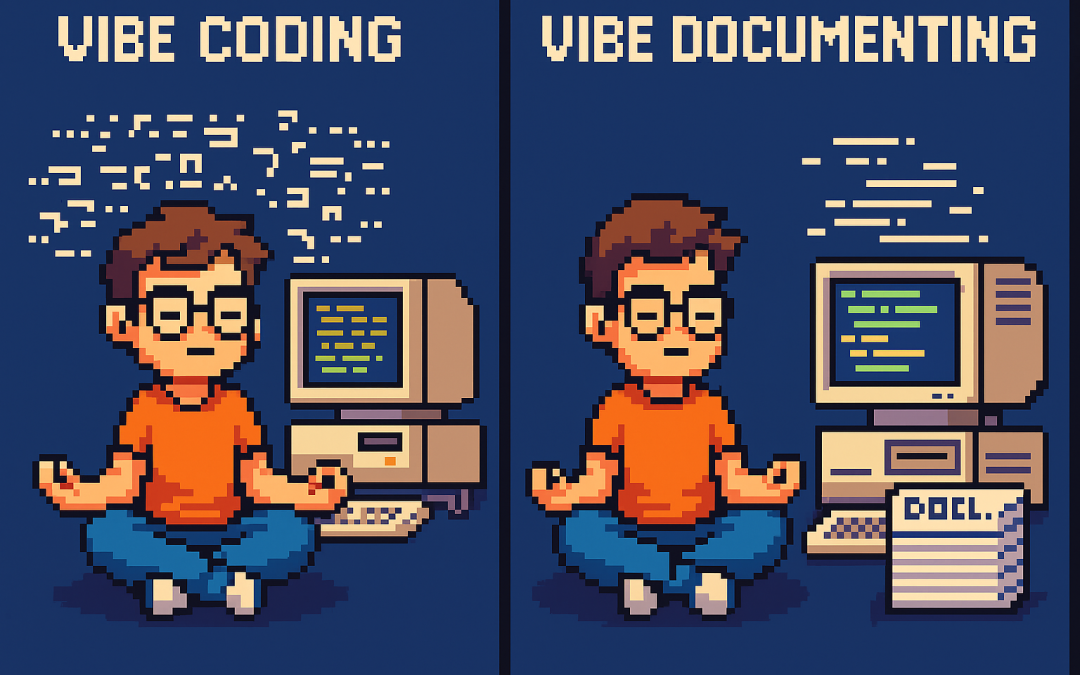
The Guru Lesson
I like to think of it as a guru’s journey. On one side, the vibe coder sits cross-legged in front of a retro computer, letting chaotic lines of code swirl around them. On the other, the vibe documenter floats serenely, armed with neat stacks of documentation, watching clean code flow effortlessly.
The wisdom is simple: don’t vibe code. Vibe document. It’s the difference between six hours of chaos and eight minutes of clarity.
Conclusion
AI coding assistants are incredible, but they’re not mind readers. If you skip documentation, you’ll spend hours wrestling with hallucinated code. If you take the time to document, you’ll unlock the real power of AI: rapid, reliable execution.
So the next time you feel the urge to vibe code, pause. Write down your requirements. Document your framework. Then let the AI do what it does best: build from clarity.
Because vibe coding wastes time—but vibe documenting saves it.
by Joche Ojeda | Aug 5, 2025 | A.I, Copilot
Great News for DevExpress and GitHub Copilot Users!
I have exciting news for developers using DevExpress and GitHub Copilot together.
Lately, I’ve been writing a lot of code and absolutely love using GitHub Copilot for this work. I initially used it on VS Code – while I wasn’t a big fan of VS Code before, it’s always been Microsoft’s favorite child and consistently gets the newest and shiniest functionality first. Now Visual Studio (for serious development work, haha) is also getting love from Microsoft, and both IDEs have implemented agent mode.
Following up on this good news, today (August 5, 2025) I saw a post from Dennis Garavsky from DevExpress in our Facebook group (https://www.facebook.com/groups/701851593510732). He shared instructions on how to use the DevExpress Documentation MCP server – it’s basically just 3 simple steps:
Setup Instructions
1. Enable Agent Mode on GitHub Copilot
First, enable agent mode on GitHub Copilot. You can find detailed instructions here:
https://learn.microsoft.com/en-us/visualstudio/ide/copilot-agent-mode?view=vs-2022
2. Create the MCP Configuration File
Create a .mcp.json file in your user profile directory. You can find your user directory by pasting %USERPROFILE% into Windows Explorer.
Here’s the content for the .mcp.json file:
{
  "servers": {
    "dxdocs": {
      "url": "https://api.devexpress.com/mcp/docs",
      "type": "http"
    },
    "msdocs": {
      "url": "https://learn.microsoft.com/api/mcp",
      "type": "http"
    }
  }
}
3. Enable MCP in Your Tool
Enable the MCP in your development environment (see the attached screenshot for reference).
How to Use It
Now you can add the phrase “Use dxdocs” to your prompts and voilà! The magic happens.
Example prompt:
“Create a domain object for a customer, add a code name and address property and validate for null using XAF validation rules. Use dxdocs”
Important Disclaimer from DevExpress
The DevExpress MCP Documentation Server is currently available as a preview. Certain DevExpress-related coding tasks may still need further server and prompt fine-tuning. Please share your experience in the comments – both with and without this MCP. Let us know what needs improvement, what additional steps you took to get better results with AI tools in general, and any other feedback you have.
Happy coding with your new AI-powered DevExpress development experience!