
by Joche Ojeda | May 5, 2025 | Boring systems, ERP
After returning home from an extended journey through the United States, Greece, and Turkey, I found myself contemplating a common challenge over my morning coffee. There are numerous recurring problems in system design and ORM (Object-Relational Mapping) implementation that developers face repeatedly.
To address these challenges, I’ve decided to tackle a system that most professionals are familiar with—an ERP (Enterprise Resource Planning) system—and develop a design that achieves three critical goals:
- Performance Speed: The system must be fast and responsive
- Technology Agnosticism: The architecture should be platform-independent
- Consistent Performance: The system should maintain its performance over time
Design Decisions
To achieve these goals, I’m implementing the following key design decisions:
- Utilizing the SOLID design principles to ensure maintainability and extensibility
- Building with C# and net9 to leverage its modern language features
- Creating an agnostic architecture that can be reimplemented in various technologies like DevExpress XAF or Entity Framework
Day 1: Foundational Structure
In this first article, I’ll propose an initial folder structure that may evolve as the system develops. I’ll also describe a set of base classes and interfaces that will form the foundation of our system.
You can find all the source code for this solution in the designated repository.
The Core Layer
Today we’re starting with the core layer—a set of interfaces that most entities will implement. The system design follows SOLID principles to ensure it can be easily reimplemented using different technologies.
Base Interfaces
Here’s the foundation of our interface hierarchy:
- IEntity: Core entity interface defining the Id property
- IAuditable: Interface for entities with audit information
- IArchivable: Interface for entities supporting soft delete
- IVersionable: Interface for entities with effective dating
- ITimeTrackable: Interface for entities requiring time tracking
Service Interfaces
To complement our entity interfaces, we’re also defining service interfaces:
- IAuditService: Interface for audit-related operations
- IArchiveService: Interface for archiving operations
Repo
egarim/SivarErp: Open Source ERP
Next Steps
In upcoming articles, I’ll expand on this foundation by implementing concrete classes, developing the domain layer, and demonstrating how this architecture can be applied to specific ERP modules.
The goal is to create a reference architecture that addresses the recurring challenges in system design while remaining adaptable to different technological implementations.
Stay tuned for the next installment where we’ll dive deeper into the implementation details of our core interfaces.
About Us
YouTube
https://www.youtube.com/c/JocheOjedaXAFXAMARINC
Our sites
Let’s discuss your XAF
This call/zoom will give you the opportunity to define the roadblocks in your current XAF solution. We can talk about performance, deployment or custom implementations. Together we will review you pain points and leave you with recommendations to get your app back in track
https://calendly.com/bitframeworks/bitframeworks-free-xaf-support-hour
Our free A.I courses on Udemy

by Joche Ojeda | Apr 28, 2025 | dotnet, Uno Platform
It’s been almost a month since I left home to attend the Microsoft MVP Summit in Seattle. I’m still on the road, currently in Athens, Greece, with numerous notes for upcoming articles. While traveling makes writing challenging, I want to maintain the order of my Uno Platform series to ensure everything makes sense for readers.
In this article, we’ll dive into the structure of an Uno Platform solution. There’s some “black magic” happening behind the scenes, so understanding how everything works will make development significantly easier.
What is Uno Platform?
Before we dive into the anatomy, let’s briefly explain what Uno Platform is. Uno Platform is an open-source framework that enables developers to build cross-platform applications from a single codebase. Using C# and XAML, you can create applications that run on Windows, iOS, Android, macOS, Linux, and WebAssembly.
Root Solution Structure
An Uno Platform solution follows a specific structure that facilitates cross-platform development. Let’s break down the key components:
Main (and only) Project
The core of an Uno Platform solution is the main shared project (in our example, “UnoAnatomy”). This project contains cross-platform code shared across all target platforms and includes:
- Assets: Contains shared resources like images and icons used across all platforms. These assets may be adapted for different screen densities and platforms as needed.
- Serialization: Here is where the JsonSerializerContext lives, Since .NET 6 serialization context allows controlling how objects are serialized through the JsonSerializerContext class. It provides ahead-of-time metadata generation for better performance and reduces reflection usage, particularly beneficial for AOT compilation scenarios like Blazor WebAssembly and native apps.
- Models: Contains business model classes representing core domain entities in your application.
- Presentation: Holds UI components including pages, controls, and views. This typically includes files like
Shell.xaml.cs and MainPage.xaml.cs that implement the application’s UI elements and layout.
- Platforms:
- • Android: Contains the Android-specific entry point (MainActivity.Android.cs) and any other Android-specific configurations or code.
- • iOS: Contains the iOS-specific entry point (Main.iOS.cs).
- • MacCatalyst: Contains the MacCatalyst-specific entry point (Main.maccatalyst.cs).
- • BrowserWasm: Contains the Browser WASM specific configurations or code.
- • Desktop: Contains the Desktop specific configurations or code.
- Services: Contains service classes implementing business logic, data access, etc. This folder often includes subfolders like:
- Strings: the purpose of this folder is to store the localized string resources for the application so it can be translated to multiple languages.
- Styles: this folder contains the styles or color configuration for the app.
Build Configuration Files
Several build configuration files in the root of the solution control the build process:
- Directory.Build.props: Contains global MSBuild properties applied to all projects.
- Directory.Build.targets: Contains global MSBuild targets for all projects.
- Directory.Packages.props: Centralizes package versions for dependency management.
- global.json: Specifies the Uno.SDK version and other .NET SDK configurations.
The Power of Uno.Sdk
One of the most important aspects of modern Uno Platform development is the Uno.Sdk, which significantly simplifies the development process.
What is Uno.Sdk?
Uno.Sdk is a specialized MSBuild SDK that streamlines Uno Platform development by providing:
- A cross-platform development experience that simplifies targeting multiple platforms from a single project
- Automatic management of platform-specific dependencies and configurations
- A simplified build process that handles the complexity of building for different target platforms
- Feature-based configuration that enables adding functionality through the UnoFeatures property
In your project file, you’ll see <Project Sdk="Uno.Sdk"> at the top, indicating that this project uses the Uno SDK rather than the standard .NET SDK.
Key Components of the Project File
TargetFrameworks
<TargetFrameworks>net9.0-android;net9.0-ios;net9.0-maccatalyst;net9.0-windows10.0.26100;net9.0-browserwasm;net9.0-desktop</TargetFrameworks>
This line specifies that your application targets:
- Android
- iOS
- macOS (via Mac Catalyst)
- Windows (Windows 10/11 with SDK version 10.0.26100)
- WebAssembly (for browser-based applications)
- Desktop (for cross-platform desktop applications)
All of these targets use .NET 9 as the base framework.
Single Project Configuration
<OutputType>Exe</OutputType>
<UnoSingleProject>true</UnoSingleProject>
OutputType: Specifies this project builds an executable applicationUnoSingleProject: Enables Uno’s single-project approach, allowing you to maintain one codebase for all platforms
Application Metadata
<ApplicationTitle>UnoAnatomy</ApplicationTitle>
<ApplicationId>com.companyname.UnoAnatomy</ApplicationId>
<ApplicationDisplayVersion>1.0</ApplicationDisplayVersion>
<ApplicationVersion>1</ApplicationVersion>
<ApplicationPublisher>joche</ApplicationPublisher>
<Description>UnoAnatomy powered by Uno Platform.</Description>
These properties define your app’s identity and metadata used in app stores and installation packages.
UnoFeatures
The most powerful aspect of Uno.Sdk is the UnoFeatures property:
<UnoFeatures>
  Material;
  Dsp;
  Hosting;
  Toolkit;
  Logging;
  Mvvm;
  Configuration;
  Http;
  Serialization;
  Localization;
  Navigation;
  ThemeService;
</UnoFeatures>
This automatically adds relevant NuGet packages for each listed feature:
- Material: Material Design UI components
- Dsp: Digital Signal Processing capabilities
- Hosting: Dependency injection and host builder pattern
- Toolkit: Community Toolkit components
- Logging: Logging infrastructure
- Mvvm: Model-View-ViewModel pattern implementation
- Configuration: Application configuration framework
- Http: HTTP client capabilities
- Serialization: Data serialization/deserialization
- Localization: Multi-language support
- Navigation: Navigation services
- ThemeService: Dynamic theme support
The UnoFeatures property eliminates the need to manually add numerous NuGet packages and ensures compatibility between components.
Benefits of the Uno Platform Structure
This structured approach to cross-platform development offers several advantages:
- Code Sharing: Most code is shared across platforms, reducing duplication and maintenance overhead.
- Platform-Specific Adaptation: When needed, the structure allows for platform-specific implementations.
- Simplified Dependencies: The Uno.Sdk handles complex dependency management behind the scenes.
- Consistent Experience: Ensures a consistent development experience across all target platforms.
- Future-Proofing: The architecture makes it easier to add support for new platforms in the future.
Conclusion
Understanding the anatomy of an Uno Platform solution is crucial for effective cross-platform development. The combination of shared code, platform-specific heads, and the powerful Uno.Sdk creates a development experience that makes it much easier to build and maintain applications across multiple platforms from a single codebase.
By leveraging this structure and the features provided by the Uno Platform, you can focus on building your application’s functionality rather than dealing with the complexities of cross-platform development.
In my next article in this series, we’ll dive deeper into the practical aspects of developing with Uno Platform, exploring how to leverage these structural components to build robust cross-platform applications.
Related articles
Getting Started with Uno Platform: First Steps and Configuration Choices | Joche Ojeda
My Adventures Picking a UI Framework: Why I Chose Uno Platform | Joche Ojeda
Exploring the Uno Platform: Handling Unsafe Code in Multi-Target Applications | Joche Ojeda
About Us
YouTube
https://www.youtube.com/c/JocheOjedaXAFXAMARINC
Our sites
Let’s discuss your XAF
This call/zoom will give you the opportunity to define the roadblocks in your current XAF solution. We can talk about performance, deployment or custom implementations. Together we will review you pain points and leave you with recommendations to get your app back in track
https://calendly.com/bitframeworks/bitframeworks-free-xaf-support-hour
Our free A.I courses on Udemy

by Joche Ojeda | Apr 20, 2025 | WSL
My Docker Adventure in Athens
Hello fellow tech enthusiasts!
I’m currently in Athens, Greece, enjoying a lovely Easter Sunday, when I decided to tackle a little tech project – getting Docker running on my Microsoft Surface with an ARM64 CPU. If you’ve ever tried to do this, you might know it’s not as straightforward as it sounds!
After some research, I discovered something important: there’s a difference between Docker Enterprise and Docker Community Edition (CE). While the enterprise version doesn’t support ARM64 yet, Docker CE does have versions for both ARM64 and x64 architectures. Perfect!
The WSL2 Solution
I initially tried to install Docker directly on Windows, but quickly ran into roadblocks. That’s when I decided to try the Windows Subsystem for Linux (WSL2) route instead. Spoiler alert: it worked like a charm!
While you won’t get the nice Docker Desktop UI that Windows users might be accustomed to, the command line interface through WSL2 works perfectly fine. After all, Docker was born on Linux, so running it in a Linux environment makes sense!
Step-by-Step Guide to Installing Docker CE on WSL2
Here’s how I got Docker CE up and running on my Surface using WSL2:
Step 1: Update Your Packages
First, make sure your WSL2 system is up to date:
sudo apt update && sudo apt upgrade -y
Step 2: Install Required Packages
Install the necessary packages to use HTTPS repositories:
sudo apt install -y apt-transport-https ca-certificates curl software-properties-common gnupg lsb-release
Step 3: Add Docker’s Official GPG Key
curl -fsSL https://download.docker.com/linux/ubuntu/gpg | sudo gpg --dearmor -o /usr/share/keyrings/docker-archive-keyring.gpg
Step 4: Set Up the Stable Docker Repository
echo "deb [arch=$(dpkg --print-architecture) signed-by=/usr/share/keyrings/docker-archive-keyring.gpg] https://download.docker.com/linux/ubuntu $(lsb_release -cs) stable" | sudo tee /etc/apt/sources.list.d/docker.list > /dev/null
Step 5: Update APT with the New Repository
sudo apt update
Step 6: Install Docker CE
sudo apt install -y docker-ce docker-ce-cli containerd.io
Step 7: Start the Docker Service
sudo service docker start
Step 8: Add Your User to the Docker Group
This allows you to run Docker without sudo:
sudo usermod -aG docker $USER
Step 9: Apply the Group Changes
Either log out and back in, or run:
newgrp docker
Step 10: Verify Your Installation
docker --version
docker run hello-world
Pro Tip!
If you want Docker to start automatically when you launch WSL2, add the service start command to your .bashrc or .zshrc file:
echo "sudo service docker start" >> ~/.bashrc
Final Thoughts
What started as a potentially frustrating experience turned into a surprisingly smooth process. WSL2 continues to impress me with how well it bridges the Windows and Linux worlds. If you have a Surface or any other ARM64-based Windows device and need to run Docker, I highly recommend the WSL2 approach.
Have you tried running Docker on an ARM device? What was your experience like? Let me know in the comments below!
Happy containerizing! 🐳

by Joche Ojeda | Apr 2, 2025 | Testing
In the last days, I have been dealing with a chat prototype that uses SignalR. I’ve been trying to follow the test-driven development (TDD) approach as I like this design pattern. I always try to find a way to test my code and define use cases so that when I’m refactoring or writing code, as long as the tests pass, I know everything is fine.
When doing ORM-related problems, testing is relatively easy because you can set up a memory provider, have a clean database, perform your operations, and then revert to normal. But when testing APIs, there are several approaches.
Some approaches are more like unit tests where you get a controller and directly pass values by mocking them. However, I prefer tests that are more like integration tests – for example, I want to test a scenario where I send a message to a chat and verify that the message send event was real. I want to show the complete set of moving parts and make sure they work together.
In this article, I want to explore how to do this type of test with REST APIs by creating a test host server. This test host creates two important things: a handler and an HTTP client. If you use the HTTP client, each HTTP operation (POST, GET, etc.) will be sent to the controllers that are set up for the test host. For the test host, you do the same configuration as you would for any other host – you can use a startup class or add the services you need and configure them.
I wanted to do the same for SignalR chat applications. In this case, you don’t need the HTTP client; you need the handler. This means that each request you make using that handler will be directed to the hub hosted on the HTTP test host.
Here’s the code that shows how to create the test host:
// ARRANGE
// Build a test server
var hostBuilder = new HostBuilder()
    .ConfigureWebHost(webHost =>
    {
        webHost.UseTestServer();
        webHost.UseStartup<Startup>();
    });

var host = await hostBuilder.StartAsync();

//Create a test server
var server = host.GetTestServer();
And now the code for handling SignalR connections:
         // Create SignalR connection
         var connection = new HubConnectionBuilder()
             .WithUrl("http://localhost/chathub", options =>
             {
                 // Set up the connection to use the test server
                 options.HttpMessageHandlerFactory = _ => server.CreateHandler();
             })
             .Build();

         string receivedUser = null;
         string receivedMessage = null;

         // Set up a handler for received messages
         connection.On<string, string>("ReceiveMessage", (user, message) =>
         {
             receivedUser = user;
             receivedMessage = message;
         });
//if we take a closer look, we can see the creation of the test handler "server.CreateHandler"
var connection = new HubConnectionBuilder() .WithUrl("http://localhost/chathub", options =>
{
// Set up the connection to use the test server
options.HttpMessageHandlerFactory = _ => server.CreateHandler();
}) .Build();
Now let’s open a SignalR connection and see if we can connect to our test server:
          string receivedUser = null;
          string receivedMessage = null;

          // Set up a handler for received messages
          connection.On<string, string>("ReceiveMessage", (user, message) =>
          {
              receivedUser = user;
              receivedMessage = message;
          });

          // ACT
          // Start the connection
          await connection.StartAsync();

          // Send a test message through the hub
          await connection.InvokeAsync("SendMessage", "TestUser", "Hello SignalR");

          // Wait a moment for the message to be processed
          await Task.Delay(100);

          // ASSERT
          // Verify the message was received correctly
          Assert.That("TestUser"==receivedUser);
          Assert.That("Hello SignalR"== receivedMessage);

          // Clean up
          await connection.DisposeAsync();
You can find the complete source of this example here: https://github.com/egarim/TestingSignalR/blob/master/UnitTest1.cs
by Joche Ojeda | Apr 2, 2025 | Uncategorized
It’s been a week since the Microsoft MVP Summit, and now I finally sit at Javier’s home trying to write about my trip and experience there. So let’s start!
The Journey
First, I needed to fly via Istanbul. That meant waking up around 2:00 AM to go to the airport and catch my flight at 6:00 AM. In Istanbul, I was really lucky because I was in the new airport which is huge and it has a great business lounge to wait in, so I could get some rest between my flights from Istanbul to Seattle.
I tried to sleep a little. The main problem was that the business lounge was on one side of the airport and my gate was on the other side, about 1 kilometer away. It’s a really big airport! I had to walk all that distance, and they announced the gate really late, so I only had about 15 minutes to get there—a really short time.
After that, I took my flight to the States, from Istanbul to Seattle. The route goes through the Arctic (near the North Pole)—you go up and then a little bit to the right, and then you end up in Seattle. It was a strange route; I’d never used it before. The flight was long, around 15 hours, but it wasn’t bad. I enjoyed Turkish Airlines when they use the big airplanes.
Arrival Challenges
I landed in Seattle around 6:00 PM. Then I had to go through immigration control and collect my luggage, which took almost two hours. After that, I went to the Airbnb, which was super beautiful, but I couldn’t get in because the owners had left the gate closed from the inside, and there were no lights at all, so it was impossible to enter. I waited for two hours for Javier to contact them, and after a while, it started raining, so I decided to go to a hotel. I booked a hotel for the night and took a 30-minute taxi ride. I finally went to bed on Monday at 11:00 PM, which was really late.
Day One at the Summit
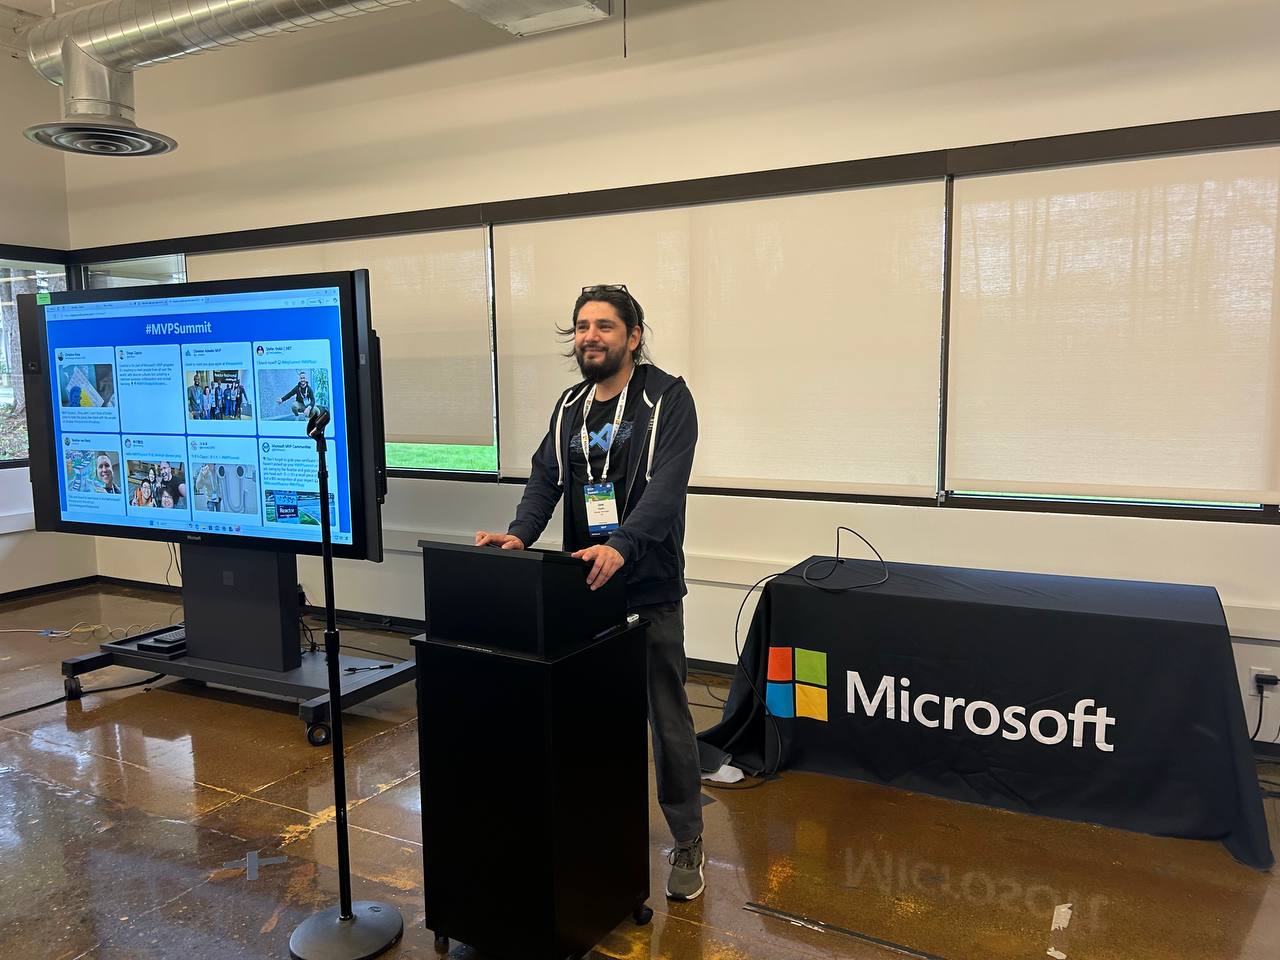
The next day, I needed to drop my bags at the Airbnb and go to the MVP Summit. It was a nice experience. Javier was flying in that day and arrived around 3:00 PM, so I went to the first part alone. I missed the keynote because I had to drop off my bags and do all that stuff, so I ended up arriving around 11:00 AM.
The first person I met was Veronica, and we talked for a bit. Then I went to one of the sessions—of course, it was a Copilot session. In the afternoon, I met up with Javier, we grabbed some swag, and went to the Hub. Then I met Pablo from Argentina, and by the end of the day, I got together with Michael Washington, who I always hang out with during the MVP Summits.
Time to go home—it was a long day. We went back to the Airbnb, but didn’t do much. We just watched a TV show that our friend Hector recommended on Netflix.
Day Two: Meeting Peers
For day two, the sessions were great, but what I recall most are my meetings with specific people. When you go to the MVP Summits, you get to meet your peers. Usually, it’s like you’re good at one thing—for example, Javier and I do AI courses, and most of what we write about is general development—but there are people who really specialize.
For instance, I met the people from the Uno team, amazing people. Jerome and his team are always on the bleeding edge of .NET. We talked about the “black magic” they’ve written for their multi-target single application for Uno. It’s always nice to meet the Uno team.

I met with Michael Washington again several times in the hallways of Microsoft, and we talked about how to redirect Microsoft AI extensions to use LLM Studio, which is kind of tricky. It’s not something you can do really easily, like with Semantic Kernel where you only need to replace the HTTP client and then you’re good to go. In LLM Studio, it’s a different trick, so I’ll write about it later.
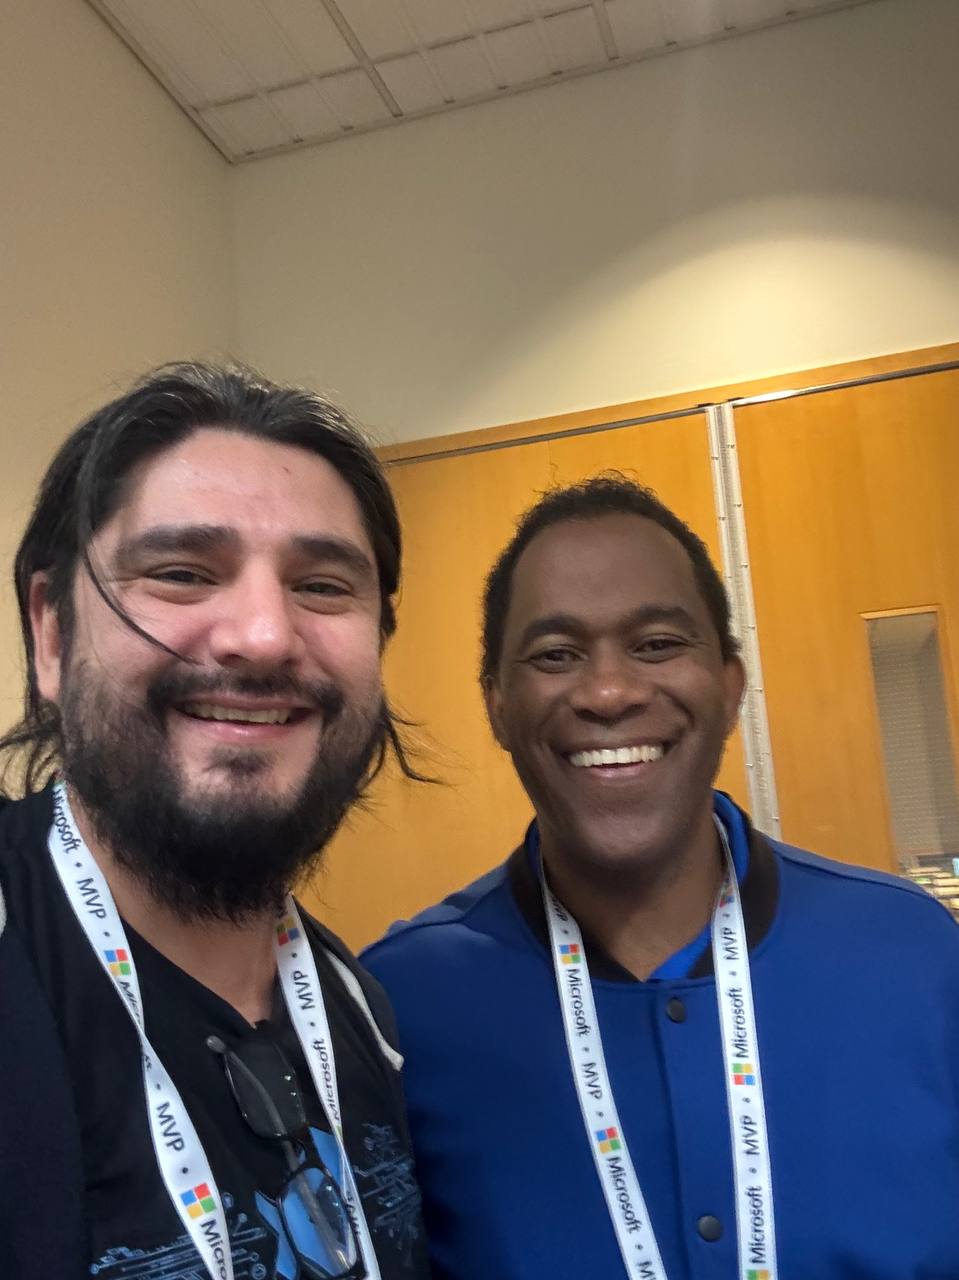
In one of the sessions, Mads Kristensen sat by my side, and I was trying to get some information from him on how to create an extension. Long ago, there was an extension from Oliver Sturm called “Instant Program Gratification” or something similar that displayed a huge congratulation message on the screen every time your compile succeeded, and if it failed, it would display something like “Hey, you need more coffee!” on the screen. I asked Mads how to achieve that with the new extension toolkit, and he explained it to me—he’s the king of extensions for Visual Studio.
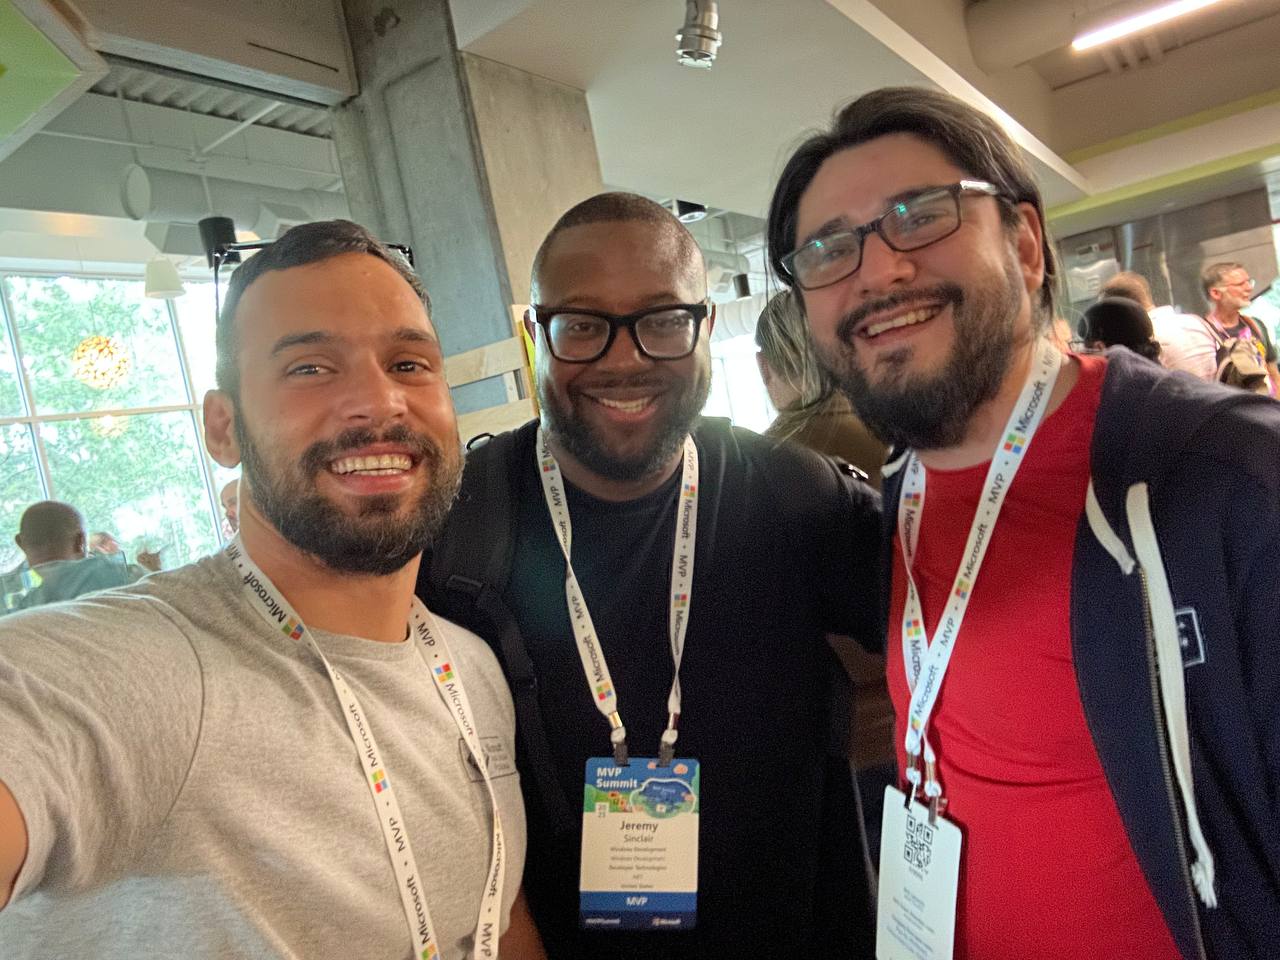
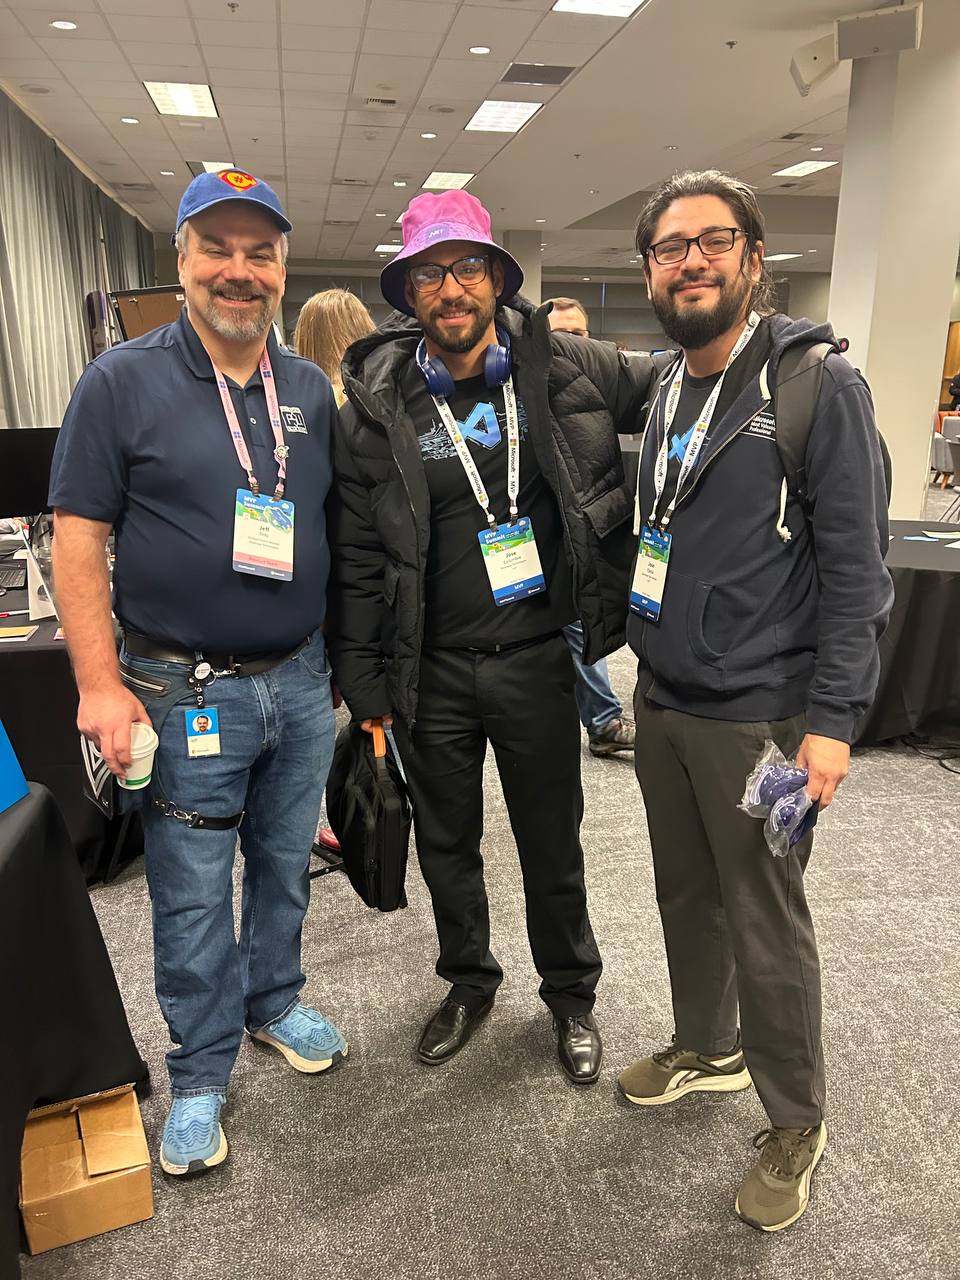
Then I met someone new, Jeremy Sinclair, whom Javier introduced me to. We had one of those deep technical conversations about how Windows runs on ARM CPUs and the problems this can bring or how easy some things can be. It’s ironic because the Android architecture is usually ARM, but it doesn’t run on ARM computers because ARM computers emulate x64. We talked a lot about the challenges you might encounter and how to address them. Jeremy has managed to do it; he’s written some articles about what to expect when moving to an ARM computer. He also talked about how the future and the present for MAUI is at the moment.
He was also wearing the Ray-Ban Meta glasses, and I asked him, “Hey, how are they?” He told me they’re nice, though the battery life isn’t great, but they’re kind of fun. So I ordered a pair of Meta Ray-Ban AI glasses, and I like them so far.
More Memorable Conversations
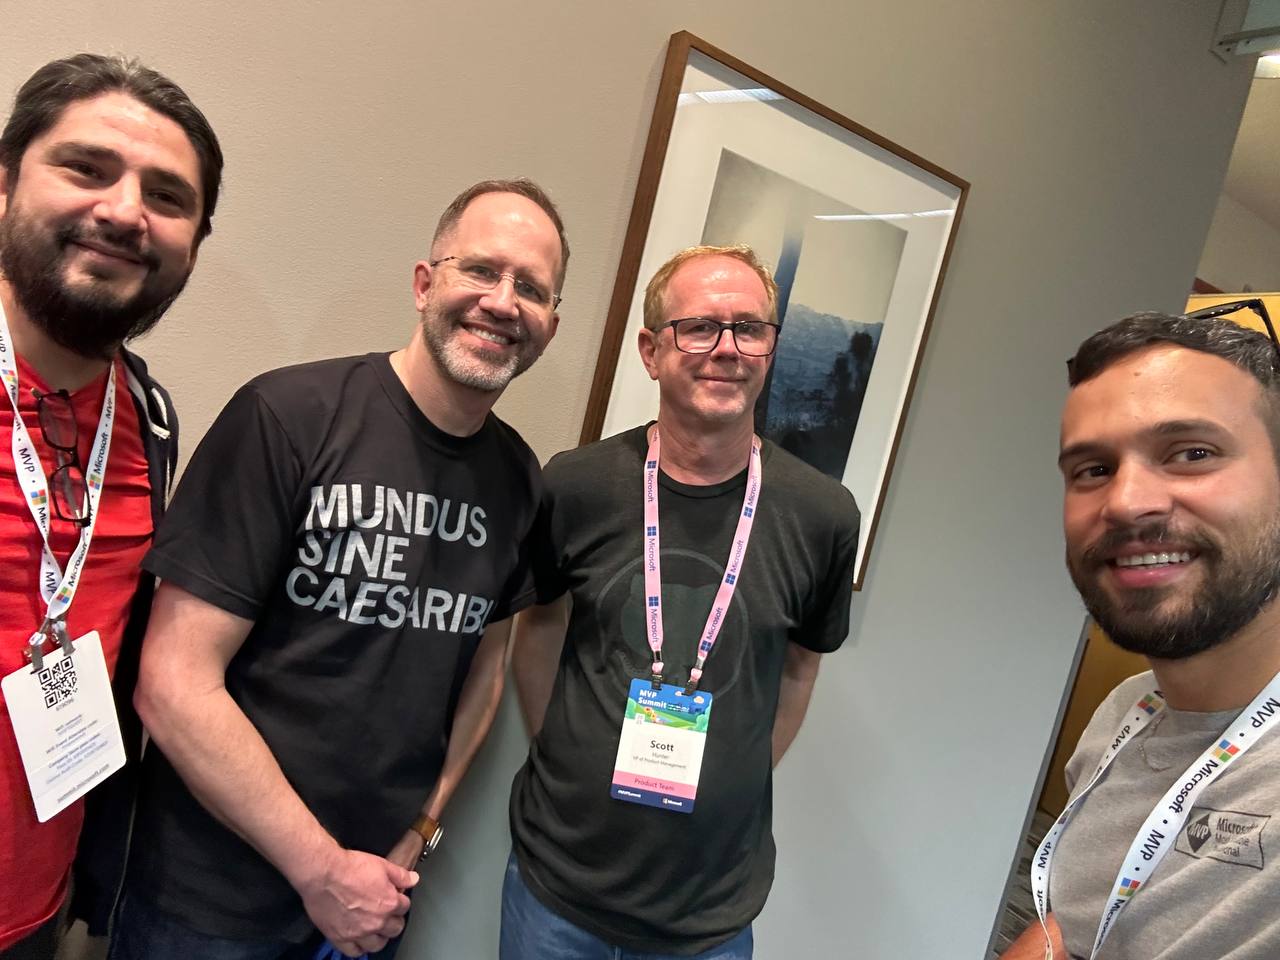
Another great conversation that we had with Javier was with James Montemagno. We met him in the Hub, and then we talked a lot about how we started. I’ve been a long-term fan of Merge Conflict, their podcast, and Javier introduced me to that podcast a long time ago when we met around 9 years ago. When he was traveling to work, he called me, we talked mostly about development for about one hour on his way to work, and then he told me, “Hey, I listen to this and this podcast, I listen to that and that podcast.” So I became a follower of Merge Conflict after that.
James explained all the adventures on the Xamarin team, how it went when Xamarin joined Microsoft, about the difference between Xamarin from Microsoft and Xamarin from Xamarin Forms, and how life is changing for him as more of a project manager than an advocate. So he’s kind of busy all the time, but we had this really long conversation, like 40 minutes or so. He was really open about talking about his adventure of joining Microsoft and eventually working in the MAUI team.
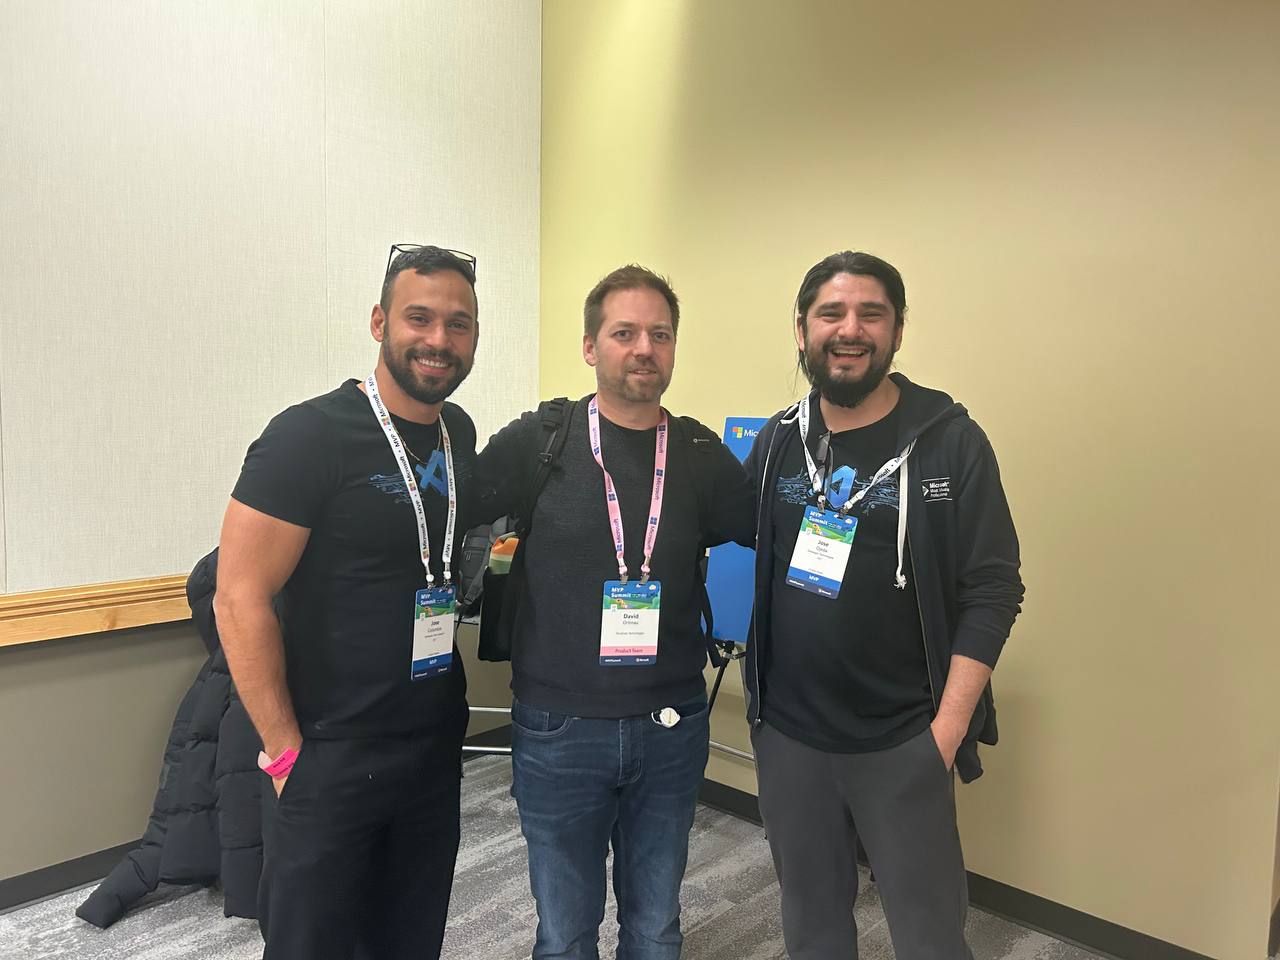
We also met David from the MAUI team, and he was so nice. Long time ago, he featured our company in the list of companies that have made apps with MAUI, and we were on the list they showed in one of the conferences. So we thanked him for that.
That’s everyone I met at the MVP Summit. I had a great time, and I can’t believe it’s been a year already. I’m looking forward to meeting everyone next year and seeing what we come up with during 2025!