Ubunto add missing resolution (18.04.4 LTS && 20.04 LTS)
1) Determine Name of Display
sudo xrandr -q
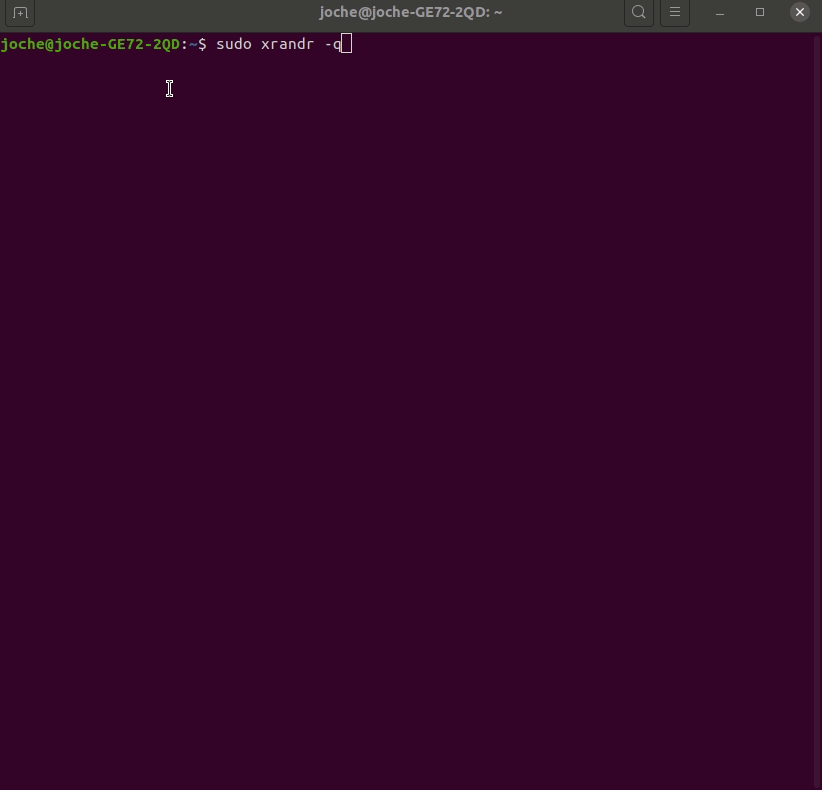
In my case, I will add the missing resolution to the display HDMI-2 (below you can see that I highlight all the current resolutions for this display)
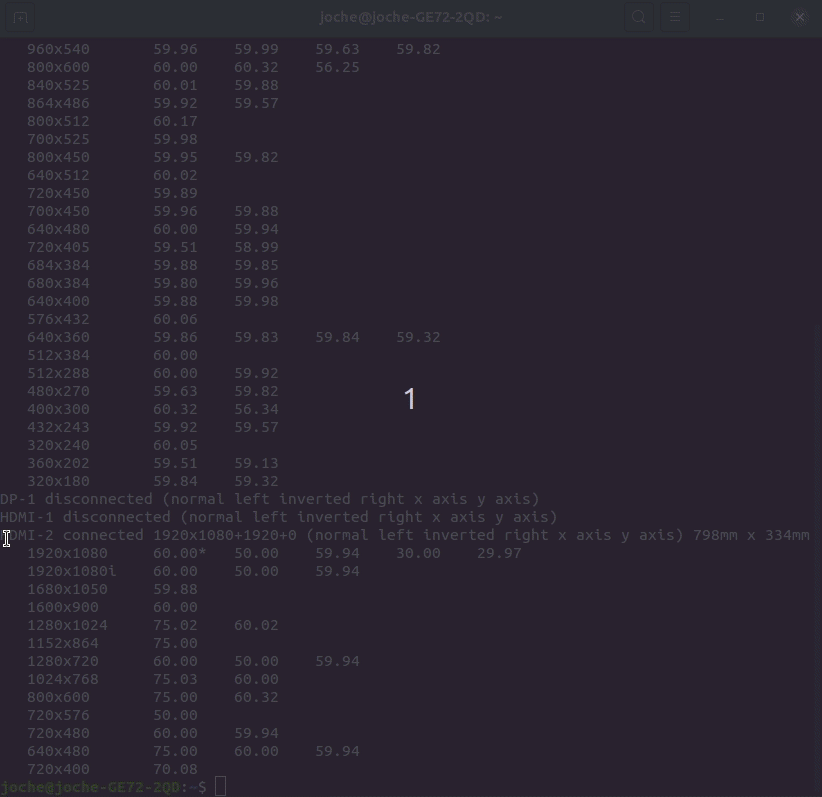
List of currently supported resolutions
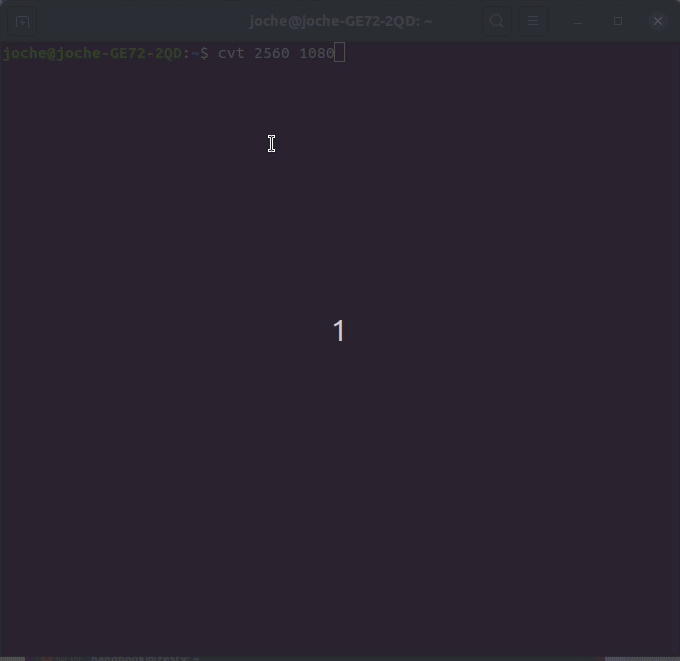
- Run command to calculate VESA CVT mode lines by given resolution
cvt 2560 1080 (in this case 2560 is my monitor width and 1080 is the hight, you should replace these values to something that match your current need)
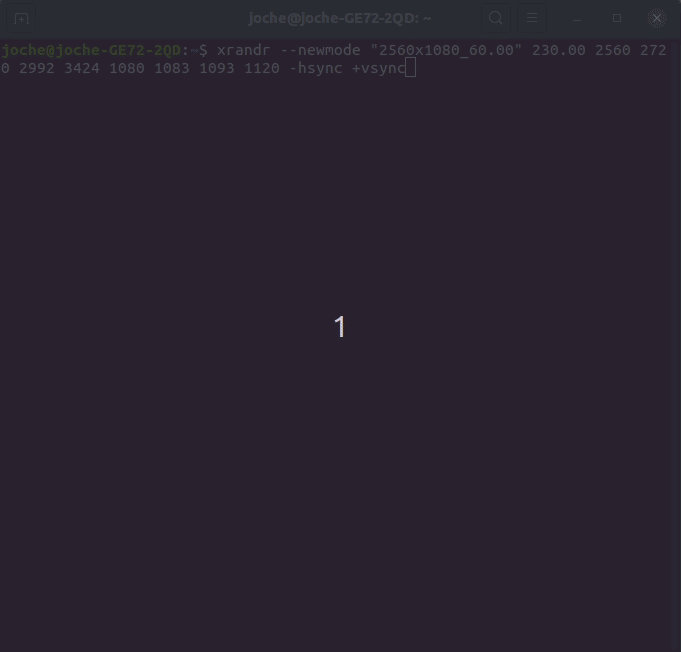
- Now we need to run the command “sudo xrandr –newmode” and then paste the output value from step 2, in the end, it will look like the snippet below
xrandr --newmode "2560x1080_60.00" 230.00 2560 2720 2992 3424 1080 1083 1093 1120 -hsync +vsync
Add new resolution
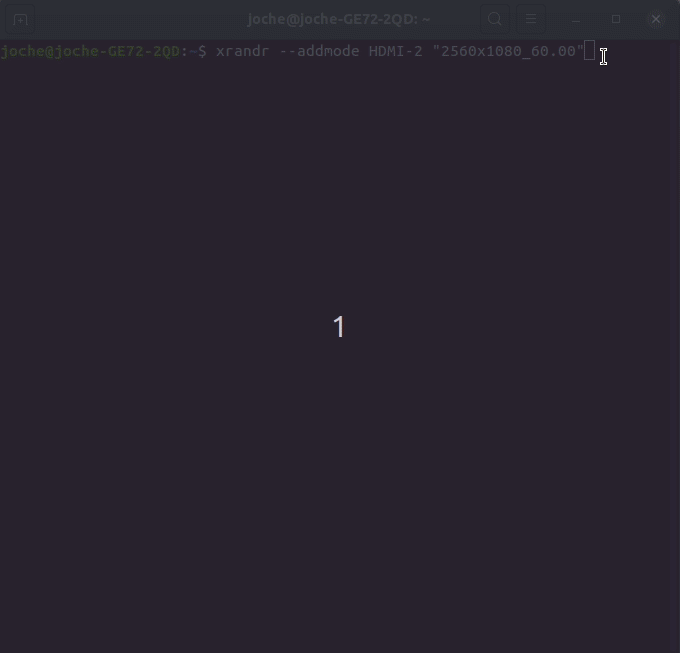
- Now add the newly created mode for your display device, the structure of the command is “xrandr –addmode DisplayId Resolution”, you should replace the DisplayId for the id you got in step 1 and the resolution from what you got in
xrandr –addmode HDMI-2 “2560x1080_60.00”
Add New Resolution To Display
- Set the new resolution
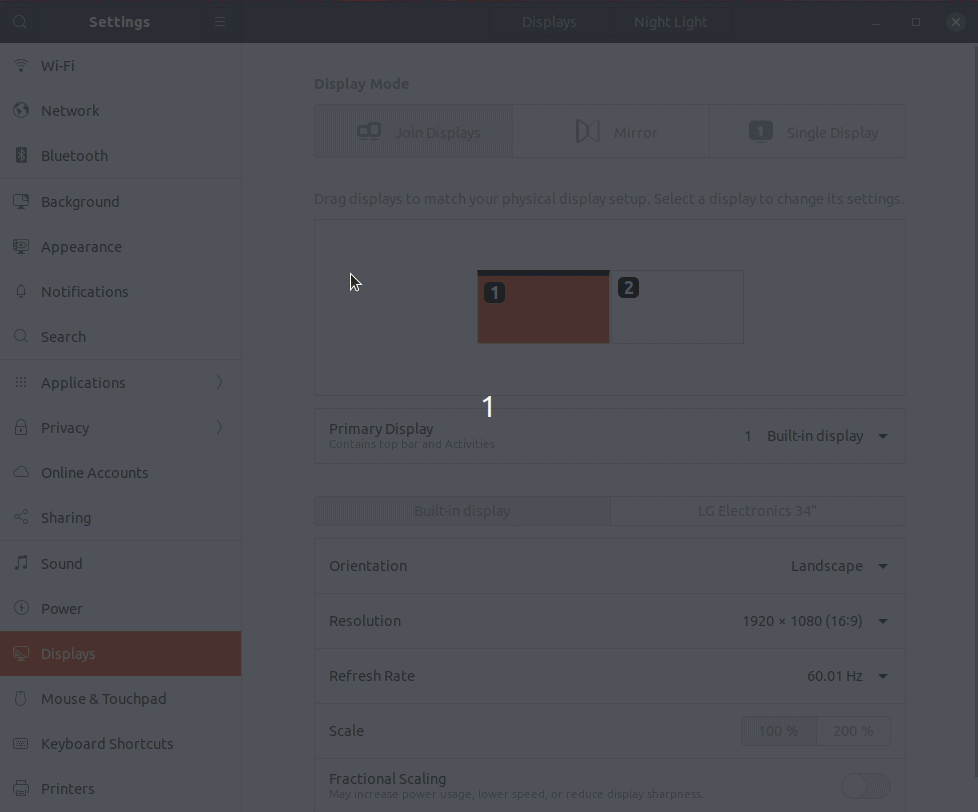
Set The New Resolution
- So far we added the new resolution and associated it to the monitor that we want, this is not permanent it will just work until you reboot, so to make these changes permanent you need to edit your profile using the following command
gedit ~/.profile
Paste the commands from step 3 and 4 and save the file
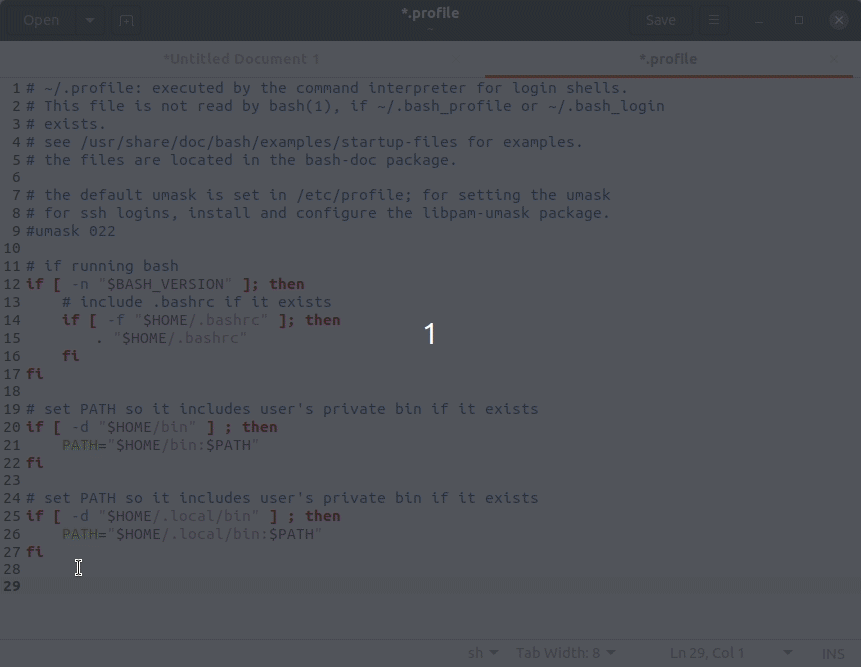
Edit Profile To Add Resolution