
by Joche Ojeda | Apr 28, 2025 | dotnet, Uno Platform
It’s been almost a month since I left home to attend the Microsoft MVP Summit in Seattle. I’m still on the road, currently in Athens, Greece, with numerous notes for upcoming articles. While traveling makes writing challenging, I want to maintain the order of my Uno Platform series to ensure everything makes sense for readers.
In this article, we’ll dive into the structure of an Uno Platform solution. There’s some “black magic” happening behind the scenes, so understanding how everything works will make development significantly easier.
What is Uno Platform?
Before we dive into the anatomy, let’s briefly explain what Uno Platform is. Uno Platform is an open-source framework that enables developers to build cross-platform applications from a single codebase. Using C# and XAML, you can create applications that run on Windows, iOS, Android, macOS, Linux, and WebAssembly.
Root Solution Structure
An Uno Platform solution follows a specific structure that facilitates cross-platform development. Let’s break down the key components:
Main (and only) Project
The core of an Uno Platform solution is the main shared project (in our example, “UnoAnatomy”). This project contains cross-platform code shared across all target platforms and includes:
- Assets: Contains shared resources like images and icons used across all platforms. These assets may be adapted for different screen densities and platforms as needed.
- Serialization: Here is where the JsonSerializerContext lives, Since .NET 6 serialization context allows controlling how objects are serialized through the JsonSerializerContext class. It provides ahead-of-time metadata generation for better performance and reduces reflection usage, particularly beneficial for AOT compilation scenarios like Blazor WebAssembly and native apps.
- Models: Contains business model classes representing core domain entities in your application.
- Presentation: Holds UI components including pages, controls, and views. This typically includes files like
Shell.xaml.cs and MainPage.xaml.cs that implement the application’s UI elements and layout.
- Platforms:
- • Android: Contains the Android-specific entry point (MainActivity.Android.cs) and any other Android-specific configurations or code.
- • iOS: Contains the iOS-specific entry point (Main.iOS.cs).
- • MacCatalyst: Contains the MacCatalyst-specific entry point (Main.maccatalyst.cs).
- • BrowserWasm: Contains the Browser WASM specific configurations or code.
- • Desktop: Contains the Desktop specific configurations or code.
- Services: Contains service classes implementing business logic, data access, etc. This folder often includes subfolders like:
- Strings: the purpose of this folder is to store the localized string resources for the application so it can be translated to multiple languages.
- Styles: this folder contains the styles or color configuration for the app.
Build Configuration Files
Several build configuration files in the root of the solution control the build process:
- Directory.Build.props: Contains global MSBuild properties applied to all projects.
- Directory.Build.targets: Contains global MSBuild targets for all projects.
- Directory.Packages.props: Centralizes package versions for dependency management.
- global.json: Specifies the Uno.SDK version and other .NET SDK configurations.
The Power of Uno.Sdk
One of the most important aspects of modern Uno Platform development is the Uno.Sdk, which significantly simplifies the development process.
What is Uno.Sdk?
Uno.Sdk is a specialized MSBuild SDK that streamlines Uno Platform development by providing:
- A cross-platform development experience that simplifies targeting multiple platforms from a single project
- Automatic management of platform-specific dependencies and configurations
- A simplified build process that handles the complexity of building for different target platforms
- Feature-based configuration that enables adding functionality through the UnoFeatures property
In your project file, you’ll see <Project Sdk="Uno.Sdk"> at the top, indicating that this project uses the Uno SDK rather than the standard .NET SDK.
Key Components of the Project File
TargetFrameworks
<TargetFrameworks>net9.0-android;net9.0-ios;net9.0-maccatalyst;net9.0-windows10.0.26100;net9.0-browserwasm;net9.0-desktop</TargetFrameworks>
This line specifies that your application targets:
- Android
- iOS
- macOS (via Mac Catalyst)
- Windows (Windows 10/11 with SDK version 10.0.26100)
- WebAssembly (for browser-based applications)
- Desktop (for cross-platform desktop applications)
All of these targets use .NET 9 as the base framework.
Single Project Configuration
<OutputType>Exe</OutputType>
<UnoSingleProject>true</UnoSingleProject>
OutputType: Specifies this project builds an executable applicationUnoSingleProject: Enables Uno’s single-project approach, allowing you to maintain one codebase for all platforms
Application Metadata
<ApplicationTitle>UnoAnatomy</ApplicationTitle>
<ApplicationId>com.companyname.UnoAnatomy</ApplicationId>
<ApplicationDisplayVersion>1.0</ApplicationDisplayVersion>
<ApplicationVersion>1</ApplicationVersion>
<ApplicationPublisher>joche</ApplicationPublisher>
<Description>UnoAnatomy powered by Uno Platform.</Description>
These properties define your app’s identity and metadata used in app stores and installation packages.
UnoFeatures
The most powerful aspect of Uno.Sdk is the UnoFeatures property:
<UnoFeatures>
  Material;
  Dsp;
  Hosting;
  Toolkit;
  Logging;
  Mvvm;
  Configuration;
  Http;
  Serialization;
  Localization;
  Navigation;
  ThemeService;
</UnoFeatures>
This automatically adds relevant NuGet packages for each listed feature:
- Material: Material Design UI components
- Dsp: Digital Signal Processing capabilities
- Hosting: Dependency injection and host builder pattern
- Toolkit: Community Toolkit components
- Logging: Logging infrastructure
- Mvvm: Model-View-ViewModel pattern implementation
- Configuration: Application configuration framework
- Http: HTTP client capabilities
- Serialization: Data serialization/deserialization
- Localization: Multi-language support
- Navigation: Navigation services
- ThemeService: Dynamic theme support
The UnoFeatures property eliminates the need to manually add numerous NuGet packages and ensures compatibility between components.
Benefits of the Uno Platform Structure
This structured approach to cross-platform development offers several advantages:
- Code Sharing: Most code is shared across platforms, reducing duplication and maintenance overhead.
- Platform-Specific Adaptation: When needed, the structure allows for platform-specific implementations.
- Simplified Dependencies: The Uno.Sdk handles complex dependency management behind the scenes.
- Consistent Experience: Ensures a consistent development experience across all target platforms.
- Future-Proofing: The architecture makes it easier to add support for new platforms in the future.
Conclusion
Understanding the anatomy of an Uno Platform solution is crucial for effective cross-platform development. The combination of shared code, platform-specific heads, and the powerful Uno.Sdk creates a development experience that makes it much easier to build and maintain applications across multiple platforms from a single codebase.
By leveraging this structure and the features provided by the Uno Platform, you can focus on building your application’s functionality rather than dealing with the complexities of cross-platform development.
In my next article in this series, we’ll dive deeper into the practical aspects of developing with Uno Platform, exploring how to leverage these structural components to build robust cross-platform applications.
Related articles
Getting Started with Uno Platform: First Steps and Configuration Choices | Joche Ojeda
My Adventures Picking a UI Framework: Why I Chose Uno Platform | Joche Ojeda
Exploring the Uno Platform: Handling Unsafe Code in Multi-Target Applications | Joche Ojeda
About Us
YouTube
https://www.youtube.com/c/JocheOjedaXAFXAMARINC
Our sites
Let’s discuss your XAF
This call/zoom will give you the opportunity to define the roadblocks in your current XAF solution. We can talk about performance, deployment or custom implementations. Together we will review you pain points and leave you with recommendations to get your app back in track
https://calendly.com/bitframeworks/bitframeworks-free-xaf-support-hour
Our free A.I courses on Udemy

by Joche Ojeda | Feb 24, 2025 | Linux, Postgres, SyncFrameworkV2, Ubuntu, WSL
After a problematic Windows update on my Surface computer that prevented me from compiling .NET applications, I spent days trying various fixes without success. Eventually, I had to format my computer and start fresh. This meant setting up everything again – Visual Studio, testing databases, and all the other development tools.To make future setups easier, I created a collection of WSL 2 scripts that automate the installation of tools I frequently use, like PostgreSQL and MySQL for testing purposes. While these scripts contain some practices that wouldn’t be recommended for production (like hardcoded passwords), they’re specifically designed for testing environments. The passwords used are already present in the sync framework source code, so there’s no additional security risk.I decided to share these scripts not as a perfect solution, but as a starting point for others who might need to set up similar testing environments. You can use them as inspiration for your own scripts or modify the default passwords to match your needs.
Note that these are specifically for testing purposes – particularly for working with the sync framework – and the hardcoded credentials should never be used in a production environment.
https://github.com/egarim/MyWslScripts
LDAP Scripts
MyWslScripts/ldap-setup.sh at master · egarim/MyWslScripts
MyWslScripts/add-ldap-user.sh at master · egarim/MyWslScripts
MySQL
MyWslScripts/install_mysql.sh at master · egarim/MyWslScripts
Postgres
MyWslScripts/install_postgres.sh at master · egarim/MyWslScripts
Redis
MyWslScripts/redis-install.sh at master · egarim/MyWslScripts
Let me know if you’d like me to share the actual scripts in a follow-up post!

by Joche Ojeda | Jan 21, 2025 | Uncategorized
During my recent AI research break, I found myself taking a walk down memory lane, reflecting on my early career in data analysis and ETL operations. This journey brought me back to an interesting aspect of software development that has evolved significantly over the years: the management of shared libraries.
The VB6 Era: COM Components and DLL Hell
My journey began with Visual Basic 6, where shared libraries were managed through COM components. The concept seemed straightforward: store shared DLLs in the Windows System directory (typically C:\Windows\System32) and register them using regsvr32.exe. The Windows Registry kept track of these components under HKEY_CLASSES_ROOT.
However, this system had a significant flaw that we now famously know as “DLL Hell.” Let me share a practical example: Imagine you have two systems, A and B, both using Crystal Reports 7. If you uninstall either system, the other would break because the shared DLL would be removed. Version control was primarily managed by location, making it a precarious system at best.
Enter .NET Framework: The GAC Revolution
When Microsoft introduced the .NET Framework, it brought a sophisticated solution to these problems: the Global Assembly Cache (GAC). Located at C:\Windows\Microsoft.NET\assembly\ (for .NET 4.0 and later), the GAC represented a significant improvement in shared library management.
The most revolutionary aspect was the introduction of assembly identity. Instead of relying solely on filenames and locations, each assembly now had a unique identity consisting of:
- Simple name (e.g., “MyCompany.MyLibrary”)
- Version number (e.g., “1.0.0.0”)
- Culture information
- Public key token
A typical assembly full name would look like this:
MyCompany.MyLibrary, Version=1.0.0.0, Culture=neutral, PublicKeyToken=b77a5c561934e089
This robust identification system meant that multiple versions of the same assembly could coexist peacefully, solving many of the versioning nightmares that plagued the VB6 era.
The Modern Approach: Private Dependencies
Fast forward to 2025, and we’re living in what I call the “brave new world” of .NET for multi-operative systems. The landscape has changed dramatically. Storage is no longer the premium resource it once was, and the trend has shifted away from shared libraries toward application-local deployment.
Modern applications often ship with their own private version of the .NET runtime and dependencies. This approach eliminates the risks associated with shared components and gives applications complete control over their runtime environment.
Reflection on Technology Evolution
While researching Blazor’s future and seeing discussions about Microsoft’s technology choices, I’m reminded that technology evolution is a constant journey. Organizations move slowly in production environments, and that’s often for good reason. The shift from COM components to GAC to private dependencies wasn’t just a technical evolution – it was a response to real-world problems and changing resources.
This journey from VB6 to modern .NET reveals an interesting pattern: sometimes the best solution isn’t sharing resources but giving each application its own isolated environment. It’s fascinating how the decreasing cost of storage and increasing need for reliability has transformed our approach to dependency management.
As I return to my AI research, this trip down memory lane serves as a reminder that while technology constantly evolves, understanding its history helps us appreciate the solutions we have today and better prepare for the challenges of tomorrow.
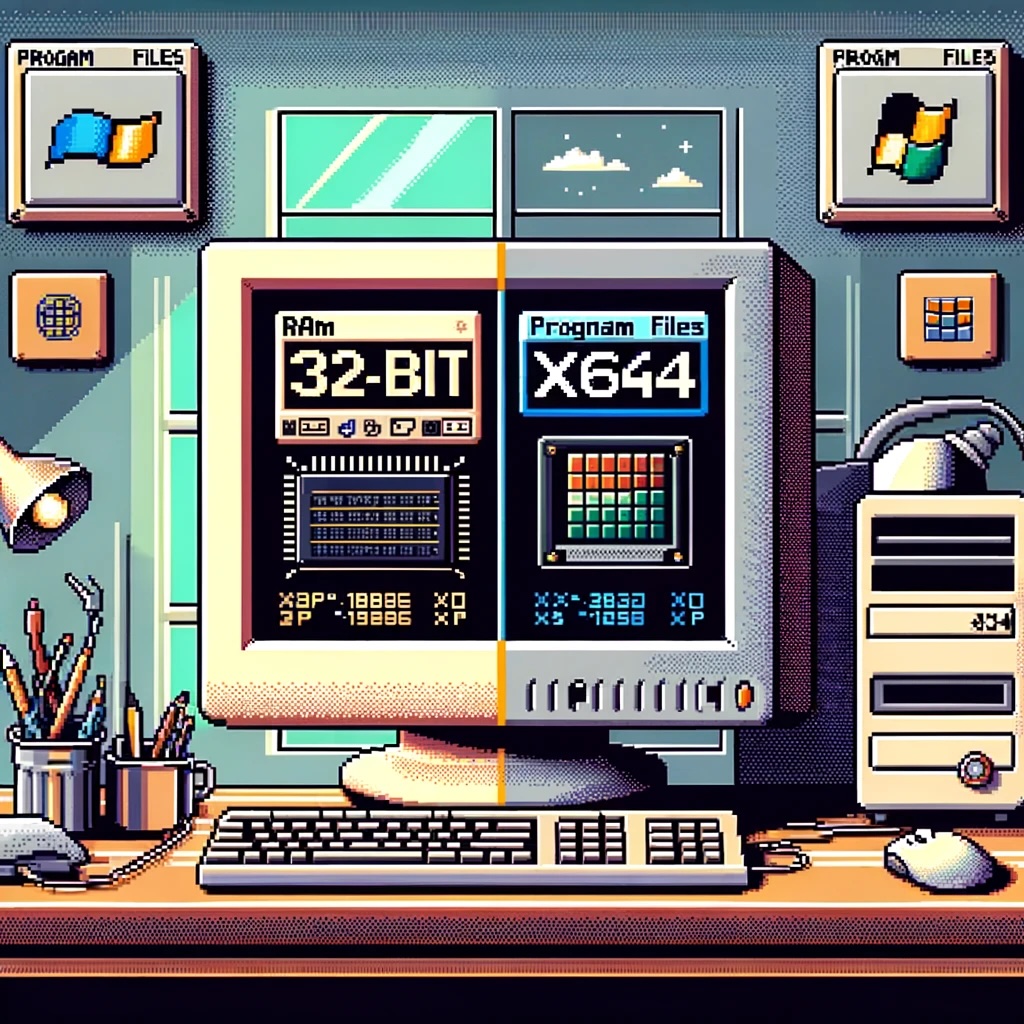
by Joche Ojeda | May 25, 2024 | CPU
A Brief Historical Context
x86 Architecture: The x86 architecture, referring to 32-bit processors, was originally developed by Intel. It was the foundation for early Windows operating systems and supported up to 4GB of RAM.
x64 Architecture: Also known as x86-64 or AMD64, the x64 architecture was introduced to overcome the limitations of x86. This 64-bit architecture supports significantly more RAM (up to 16 exabytes theoretically) and offers enhanced performance and security features.
The Transition Period
The shift from x86 to x64 began in the early 2000s:
- Windows XP Professional x64 Edition: Released in April 2005, this was one of the first major Windows versions to support 64-bit architecture.
- Windows Vista: Launched in 2007, it offered both 32-bit and 64-bit versions, encouraging a gradual migration to the 64-bit platform.
- Windows 7 and Beyond: By the release of Windows 7 in 2009, the push towards 64-bit systems became more pronounced, with most new PCs shipping with 64-bit Windows by default.
Impact on Program File Structure
To manage compatibility and distinguish between 32-bit and 64-bit applications, Windows implemented separate directories:
- 32-bit Applications: Installed in the
C:\Program Files (x86)\ directory.
- 64-bit Applications: Installed in the
C:\Program Files\ directory.
This separation ensures that the correct version of libraries and components is used by the respective applications.
Naming Convention for x64 and x86 Programs
x86 Programs: Often referred to simply as “32-bit” programs, they are installed in the Program Files (x86) directory.
x64 Programs: Referred to as “64-bit” programs, they are installed in the Program Files directory.
Why “Program Files (x86)” Instead of “Program Files (x64)”?
The decision to create Program Files (x86) instead of Program Files (x64) was driven by two main factors:
- Backward Compatibility: Many existing applications and scripts were hardcoded to use the
C:\Program Files\ path. Changing this path for 64-bit applications would have caused significant compatibility issues. By keeping 64-bit applications in Program Files and moving 32-bit applications to a new directory, Microsoft ensured that existing software would continue to function without modification.
- Clarity: Since 32-bit applications were the legacy standard, explicitly marking their directory with
(x86) indicated they were not the default or modern standard. Thus, Program Files without any suffix indicates the use of the newer, 64-bit standard.
Common Confusions
- Program Files Directories: Users often wonder why there are two “Program Files” directories and what the difference is. The presence of
Program Files and Program Files (x86) is to segregate 64-bit and 32-bit applications, respectively.
- Compatibility Issues: Running 32-bit applications on a 64-bit Windows system is generally smooth due to the Windows-on-Windows 64-bit (WoW64) subsystem, but there can be occasional compatibility issues with older software. Conversely, 64-bit applications cannot run on a 32-bit system.
- Driver Support: During the initial transition period, a common issue was the lack of 64-bit drivers for certain hardware, which caused compatibility problems and discouraged some users from migrating to 64-bit Windows.
- Performance Misconceptions: Some users believed that simply switching to a 64-bit operating system would automatically result in better performance. While 64-bit systems can handle more RAM and potentially run applications more efficiently, the actual performance gain depends on whether the applications themselves are optimized for 64-bit.
- Application Availability: Initially, not all software had 64-bit versions, leading to a mix of 32-bit and 64-bit applications on the same system. Over time, most major applications have transitioned to 64-bit.
Conclusion
The transition from x86 to x64 in Windows marked a significant evolution in computing capabilities, allowing for better performance, enhanced security, and the ability to utilize more memory. However, it also introduced some complexities, particularly in terms of program file structures and compatibility. Understanding the distinctions between 32-bit and 64-bit applications, and how Windows manages these, is crucial for troubleshooting and optimizing system performance.
By appreciating these nuances, users and developers alike can better navigate the modern computing landscape and make the most of their hardware and software investments.

by Joche Ojeda | May 15, 2024 | C#, dotnet, Linux, Ubuntu, WSL
Hello, dear readers! Today, we’re going to talk about something called the Windows Subsystem for Linux, or WSL for short. Now, don’t worry if you’re not a tech wizard – this guide is meant to be approachable for everyone!
What is WSL?
In simple terms, WSL is a feature in Windows that allows you to use Linux right within your Windows system. Think of it as having a little bit of Linux magic right in your Windows computer!
Why Should I Care?
Well, WSL is like having a Swiss Army knife on your computer. It can make certain tasks easier and faster, and it can even let you use tools that were previously only available on Linux.
Is It Hard to Use?
Not at all! If you’ve ever used the Command Prompt on your Windows computer, then you’re already halfway there. And even if you haven’t, there are plenty of easy-to-follow guides out there to help you get started.
Do I Need to Be a Computer Expert to Use It?
Absolutely not! While WSL is a powerful tool that many developers love to use, it’s also quite user-friendly. With a bit of curiosity and a dash of patience, anyone can start exploring the world of WSL.
As a DotNet developer, you might be wondering why there’s so much buzz around the Windows Subsystem for Linux (WSL). Let’s dive into the reasons why WSL could be a game-changer for you.
- Seamless Integration: WSL provides a full-fledged Linux environment right within your Windows system. This means you can run Linux commands and applications without needing a separate machine or dual-boot setup.
- Development Environment Consistency: With WSL, you can maintain consistency between your development and production environments, especially if your applications are deployed on Linux servers. This can significantly reduce the “it works on my machine” syndrome.
- Access to Linux-Only Tools: Some tools and utilities are only available or work better on Linux. WSL brings these tools to your Windows desktop, expanding your toolkit without additional overhead.
- Improved Performance: WSL 2, the latest version, runs a real Linux kernel inside a lightweight virtual machine (VM), which leads to faster file system performance and complete system call compatibility.
- Docker Support: WSL 2 provides full Docker support without requiring additional layers for translation between Windows and Linux, resulting in a more efficient and seamless Docker experience.
In conclusion, WSL is not just a fancy tool; it’s a powerful ally that can enhance your productivity and capabilities as a DotNet developer.