
by Joche Ojeda | Apr 28, 2025 | dotnet, Uno Platform
It’s been almost a month since I left home to attend the Microsoft MVP Summit in Seattle. I’m still on the road, currently in Athens, Greece, with numerous notes for upcoming articles. While traveling makes writing challenging, I want to maintain the order of my Uno Platform series to ensure everything makes sense for readers.
In this article, we’ll dive into the structure of an Uno Platform solution. There’s some “black magic” happening behind the scenes, so understanding how everything works will make development significantly easier.
What is Uno Platform?
Before we dive into the anatomy, let’s briefly explain what Uno Platform is. Uno Platform is an open-source framework that enables developers to build cross-platform applications from a single codebase. Using C# and XAML, you can create applications that run on Windows, iOS, Android, macOS, Linux, and WebAssembly.
Root Solution Structure
An Uno Platform solution follows a specific structure that facilitates cross-platform development. Let’s break down the key components:
Main (and only) Project
The core of an Uno Platform solution is the main shared project (in our example, “UnoAnatomy”). This project contains cross-platform code shared across all target platforms and includes:
- Assets: Contains shared resources like images and icons used across all platforms. These assets may be adapted for different screen densities and platforms as needed.
- Serialization: Here is where the JsonSerializerContext lives, Since .NET 6 serialization context allows controlling how objects are serialized through the JsonSerializerContext class. It provides ahead-of-time metadata generation for better performance and reduces reflection usage, particularly beneficial for AOT compilation scenarios like Blazor WebAssembly and native apps.
- Models: Contains business model classes representing core domain entities in your application.
- Presentation: Holds UI components including pages, controls, and views. This typically includes files like
Shell.xaml.cs and MainPage.xaml.cs that implement the application’s UI elements and layout.
- Platforms:
- • Android: Contains the Android-specific entry point (MainActivity.Android.cs) and any other Android-specific configurations or code.
- • iOS: Contains the iOS-specific entry point (Main.iOS.cs).
- • MacCatalyst: Contains the MacCatalyst-specific entry point (Main.maccatalyst.cs).
- • BrowserWasm: Contains the Browser WASM specific configurations or code.
- • Desktop: Contains the Desktop specific configurations or code.
- Services: Contains service classes implementing business logic, data access, etc. This folder often includes subfolders like:
- Strings: the purpose of this folder is to store the localized string resources for the application so it can be translated to multiple languages.
- Styles: this folder contains the styles or color configuration for the app.
Build Configuration Files
Several build configuration files in the root of the solution control the build process:
- Directory.Build.props: Contains global MSBuild properties applied to all projects.
- Directory.Build.targets: Contains global MSBuild targets for all projects.
- Directory.Packages.props: Centralizes package versions for dependency management.
- global.json: Specifies the Uno.SDK version and other .NET SDK configurations.
The Power of Uno.Sdk
One of the most important aspects of modern Uno Platform development is the Uno.Sdk, which significantly simplifies the development process.
What is Uno.Sdk?
Uno.Sdk is a specialized MSBuild SDK that streamlines Uno Platform development by providing:
- A cross-platform development experience that simplifies targeting multiple platforms from a single project
- Automatic management of platform-specific dependencies and configurations
- A simplified build process that handles the complexity of building for different target platforms
- Feature-based configuration that enables adding functionality through the UnoFeatures property
In your project file, you’ll see <Project Sdk="Uno.Sdk"> at the top, indicating that this project uses the Uno SDK rather than the standard .NET SDK.
Key Components of the Project File
TargetFrameworks
<TargetFrameworks>net9.0-android;net9.0-ios;net9.0-maccatalyst;net9.0-windows10.0.26100;net9.0-browserwasm;net9.0-desktop</TargetFrameworks>
This line specifies that your application targets:
- Android
- iOS
- macOS (via Mac Catalyst)
- Windows (Windows 10/11 with SDK version 10.0.26100)
- WebAssembly (for browser-based applications)
- Desktop (for cross-platform desktop applications)
All of these targets use .NET 9 as the base framework.
Single Project Configuration
<OutputType>Exe</OutputType>
<UnoSingleProject>true</UnoSingleProject>
OutputType: Specifies this project builds an executable applicationUnoSingleProject: Enables Uno’s single-project approach, allowing you to maintain one codebase for all platforms
Application Metadata
<ApplicationTitle>UnoAnatomy</ApplicationTitle>
<ApplicationId>com.companyname.UnoAnatomy</ApplicationId>
<ApplicationDisplayVersion>1.0</ApplicationDisplayVersion>
<ApplicationVersion>1</ApplicationVersion>
<ApplicationPublisher>joche</ApplicationPublisher>
<Description>UnoAnatomy powered by Uno Platform.</Description>
These properties define your app’s identity and metadata used in app stores and installation packages.
UnoFeatures
The most powerful aspect of Uno.Sdk is the UnoFeatures property:
<UnoFeatures>
  Material;
  Dsp;
  Hosting;
  Toolkit;
  Logging;
  Mvvm;
  Configuration;
  Http;
  Serialization;
  Localization;
  Navigation;
  ThemeService;
</UnoFeatures>
This automatically adds relevant NuGet packages for each listed feature:
- Material: Material Design UI components
- Dsp: Digital Signal Processing capabilities
- Hosting: Dependency injection and host builder pattern
- Toolkit: Community Toolkit components
- Logging: Logging infrastructure
- Mvvm: Model-View-ViewModel pattern implementation
- Configuration: Application configuration framework
- Http: HTTP client capabilities
- Serialization: Data serialization/deserialization
- Localization: Multi-language support
- Navigation: Navigation services
- ThemeService: Dynamic theme support
The UnoFeatures property eliminates the need to manually add numerous NuGet packages and ensures compatibility between components.
Benefits of the Uno Platform Structure
This structured approach to cross-platform development offers several advantages:
- Code Sharing: Most code is shared across platforms, reducing duplication and maintenance overhead.
- Platform-Specific Adaptation: When needed, the structure allows for platform-specific implementations.
- Simplified Dependencies: The Uno.Sdk handles complex dependency management behind the scenes.
- Consistent Experience: Ensures a consistent development experience across all target platforms.
- Future-Proofing: The architecture makes it easier to add support for new platforms in the future.
Conclusion
Understanding the anatomy of an Uno Platform solution is crucial for effective cross-platform development. The combination of shared code, platform-specific heads, and the powerful Uno.Sdk creates a development experience that makes it much easier to build and maintain applications across multiple platforms from a single codebase.
By leveraging this structure and the features provided by the Uno Platform, you can focus on building your application’s functionality rather than dealing with the complexities of cross-platform development.
In my next article in this series, we’ll dive deeper into the practical aspects of developing with Uno Platform, exploring how to leverage these structural components to build robust cross-platform applications.
Related articles
Getting Started with Uno Platform: First Steps and Configuration Choices | Joche Ojeda
My Adventures Picking a UI Framework: Why I Chose Uno Platform | Joche Ojeda
Exploring the Uno Platform: Handling Unsafe Code in Multi-Target Applications | Joche Ojeda
About Us
YouTube
https://www.youtube.com/c/JocheOjedaXAFXAMARINC
Our sites
Let’s discuss your XAF
This call/zoom will give you the opportunity to define the roadblocks in your current XAF solution. We can talk about performance, deployment or custom implementations. Together we will review you pain points and leave you with recommendations to get your app back in track
https://calendly.com/bitframeworks/bitframeworks-free-xaf-support-hour
Our free A.I courses on Udemy
by Joche Ojeda | Apr 2, 2025 | Uncategorized
It’s been a week since the Microsoft MVP Summit, and now I finally sit at Javier’s home trying to write about my trip and experience there. So let’s start!
The Journey
First, I needed to fly via Istanbul. That meant waking up around 2:00 AM to go to the airport and catch my flight at 6:00 AM. In Istanbul, I was really lucky because I was in the new airport which is huge and it has a great business lounge to wait in, so I could get some rest between my flights from Istanbul to Seattle.
I tried to sleep a little. The main problem was that the business lounge was on one side of the airport and my gate was on the other side, about 1 kilometer away. It’s a really big airport! I had to walk all that distance, and they announced the gate really late, so I only had about 15 minutes to get there—a really short time.
After that, I took my flight to the States, from Istanbul to Seattle. The route goes through the Arctic (near the North Pole)—you go up and then a little bit to the right, and then you end up in Seattle. It was a strange route; I’d never used it before. The flight was long, around 15 hours, but it wasn’t bad. I enjoyed Turkish Airlines when they use the big airplanes.
Arrival Challenges
I landed in Seattle around 6:00 PM. Then I had to go through immigration control and collect my luggage, which took almost two hours. After that, I went to the Airbnb, which was super beautiful, but I couldn’t get in because the owners had left the gate closed from the inside, and there were no lights at all, so it was impossible to enter. I waited for two hours for Javier to contact them, and after a while, it started raining, so I decided to go to a hotel. I booked a hotel for the night and took a 30-minute taxi ride. I finally went to bed on Monday at 11:00 PM, which was really late.
Day One at the Summit
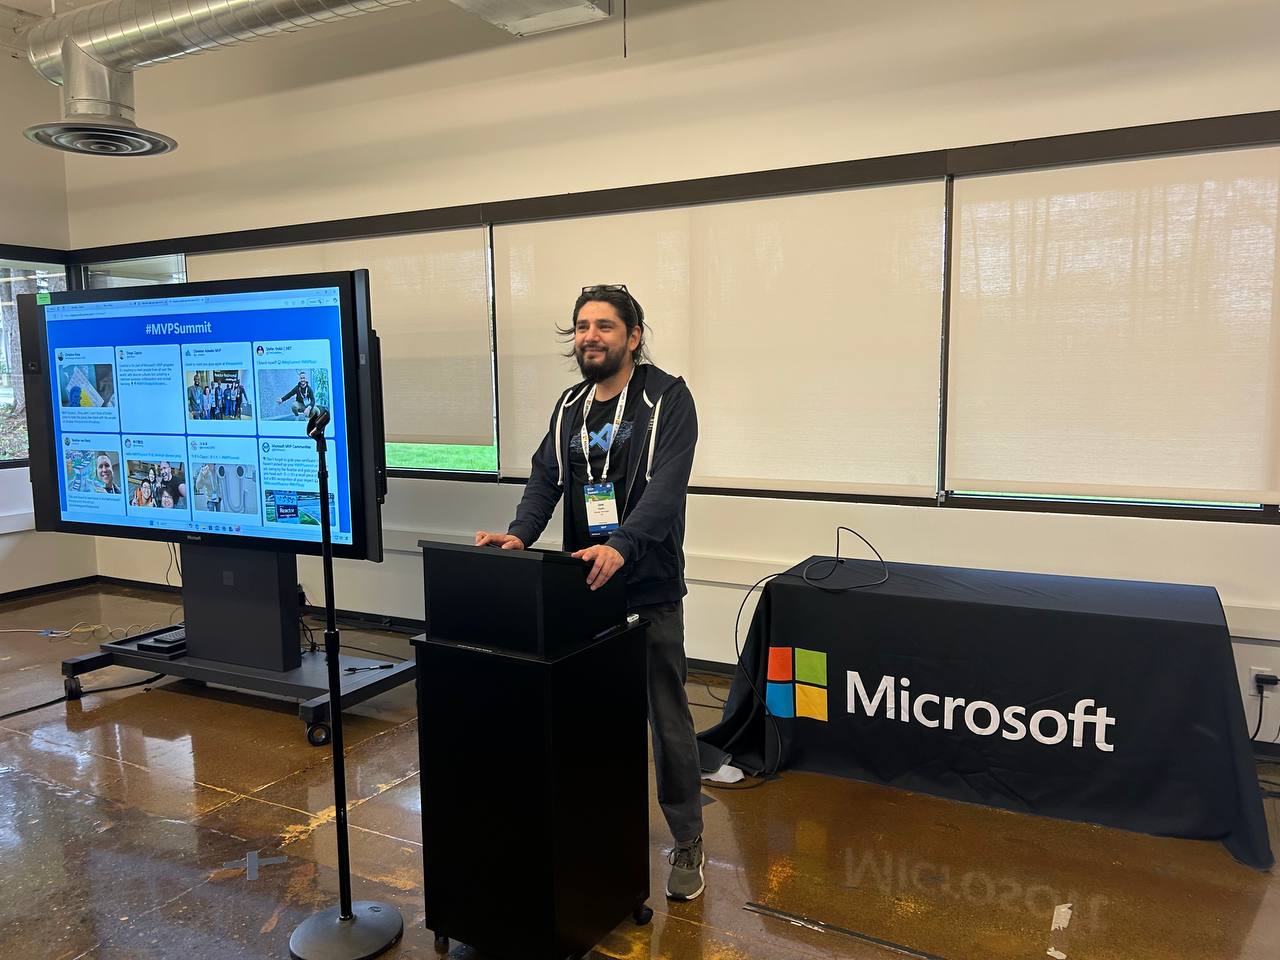
The next day, I needed to drop my bags at the Airbnb and go to the MVP Summit. It was a nice experience. Javier was flying in that day and arrived around 3:00 PM, so I went to the first part alone. I missed the keynote because I had to drop off my bags and do all that stuff, so I ended up arriving around 11:00 AM.
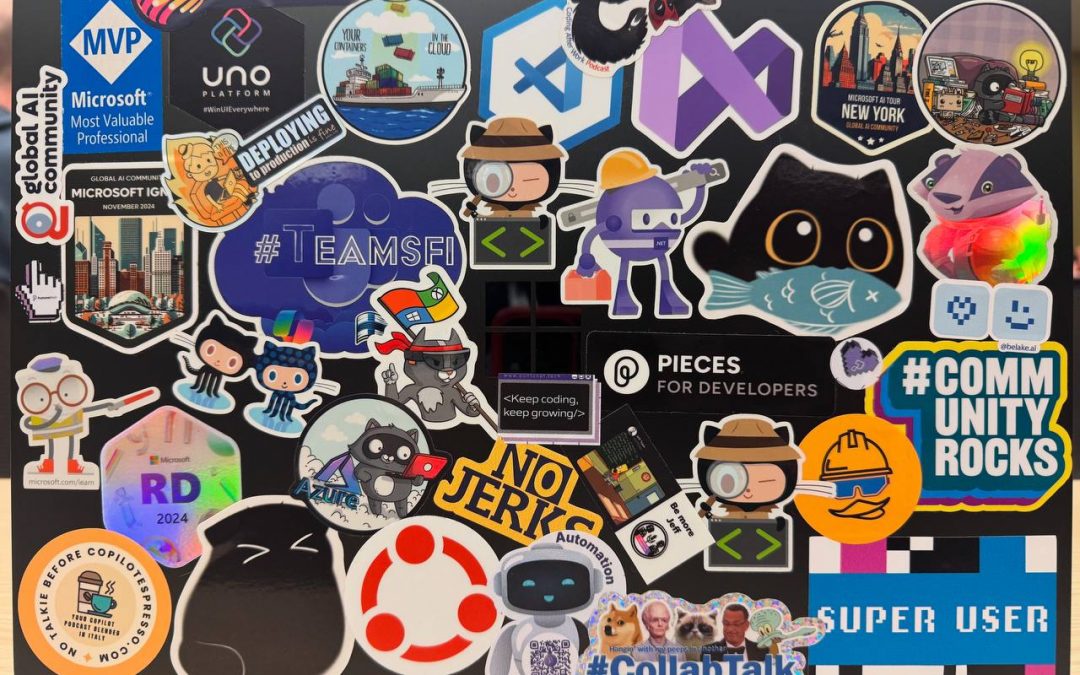
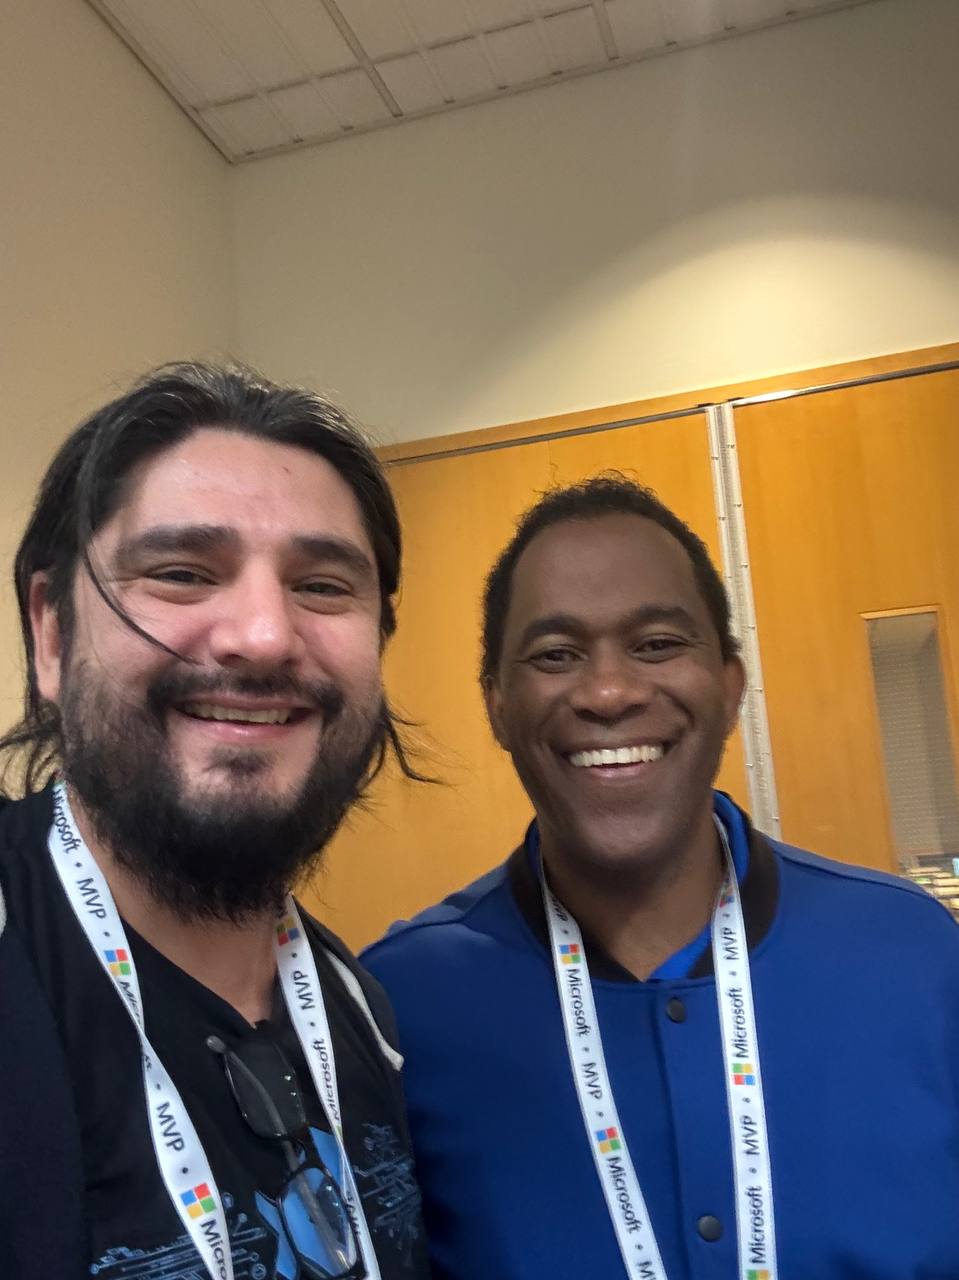
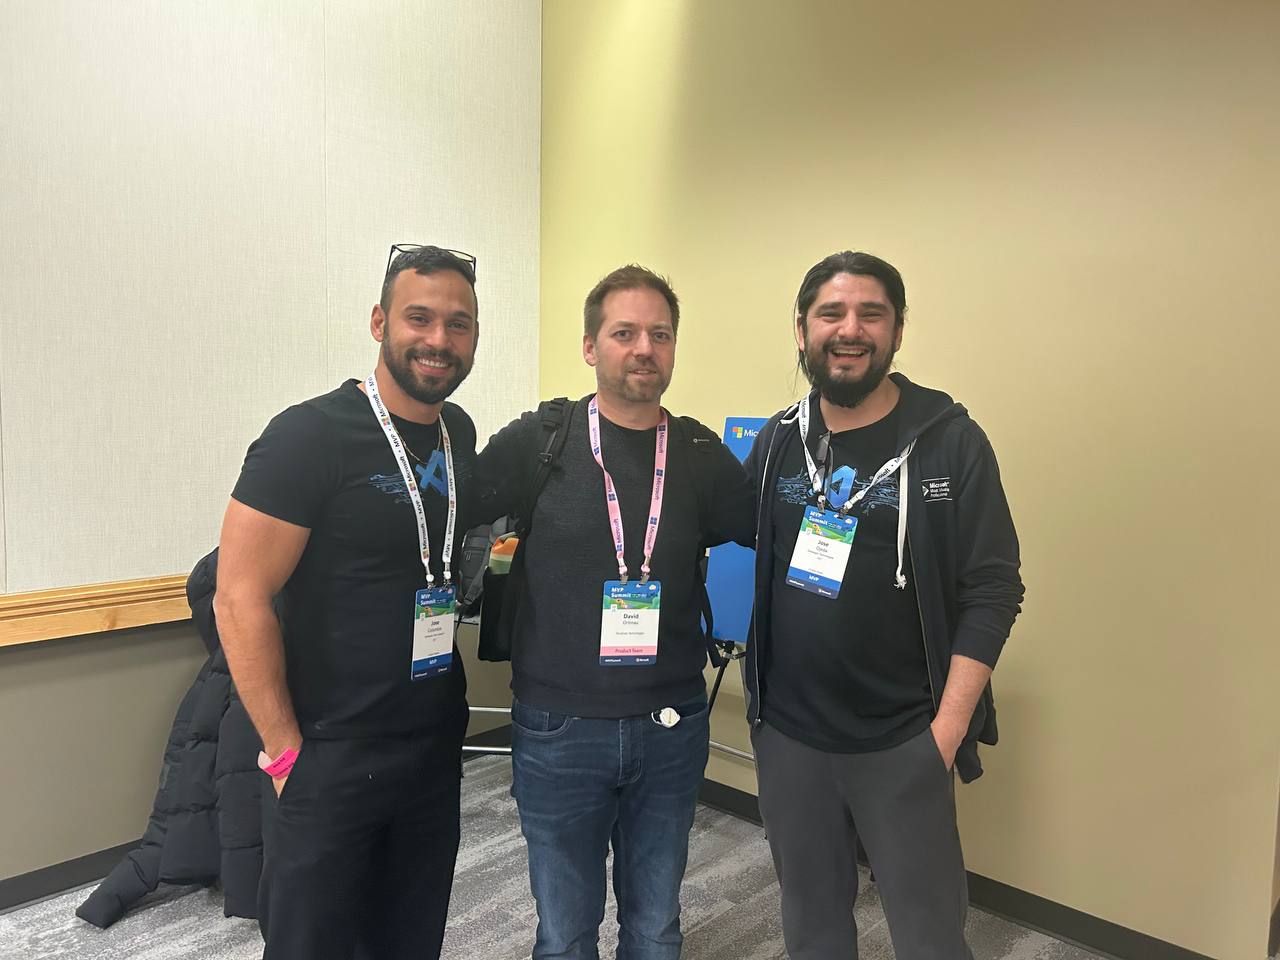
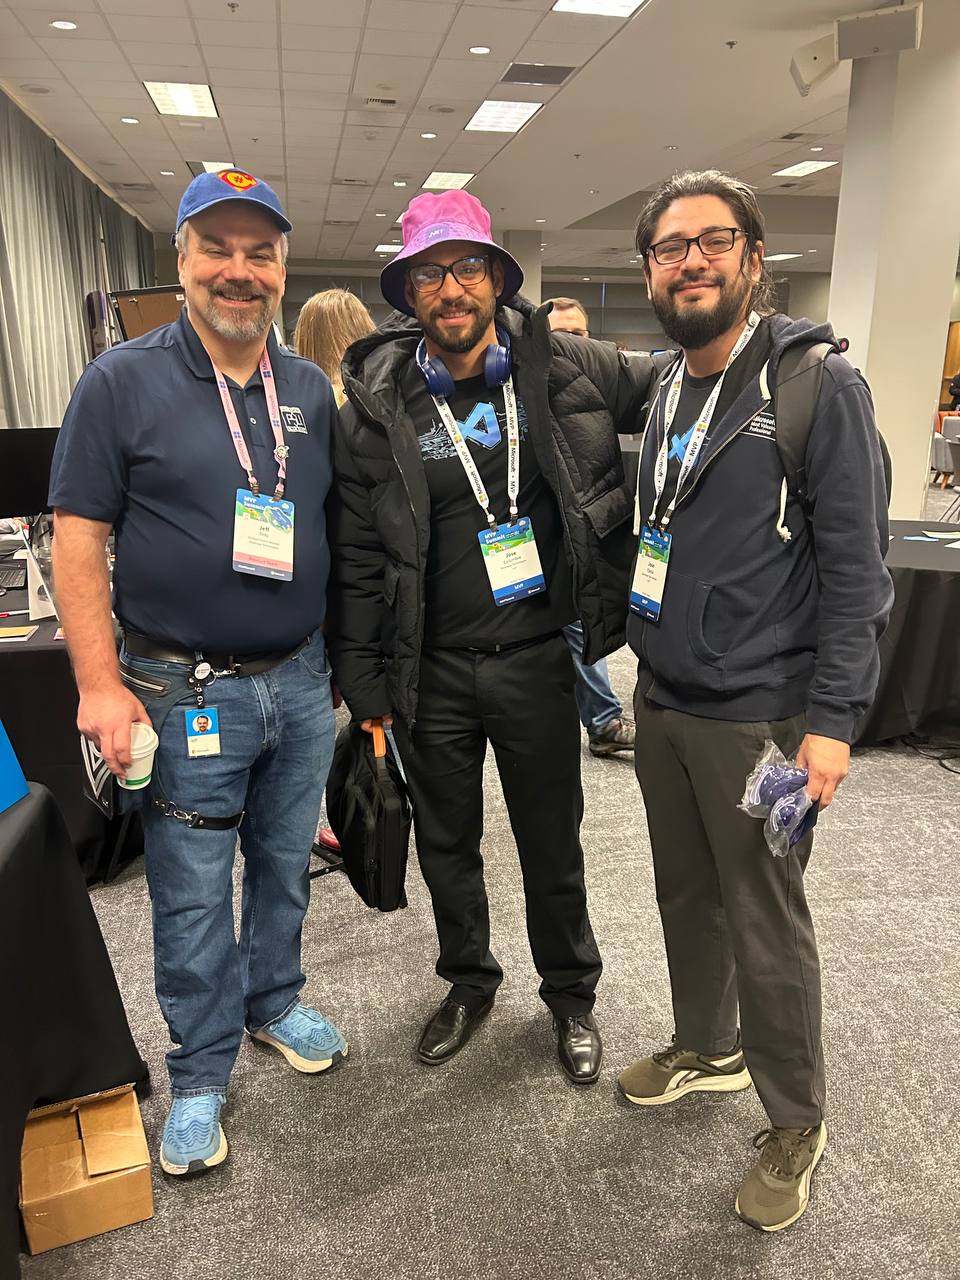
The first person I met was Veronica, and we talked for a bit. Then I went to one of the sessions—of course, it was a Copilot session. In the afternoon, I met up with Javier, we grabbed some swag, and went to the Hub. Then I met Pablo from Argentina, and by the end of the day, I got together with Michael Washington, who I always hang out with during the MVP Summits.
Time to go home—it was a long day. We went back to the Airbnb, but didn’t do much. We just watched a TV show that our friend Hector recommended on Netflix.
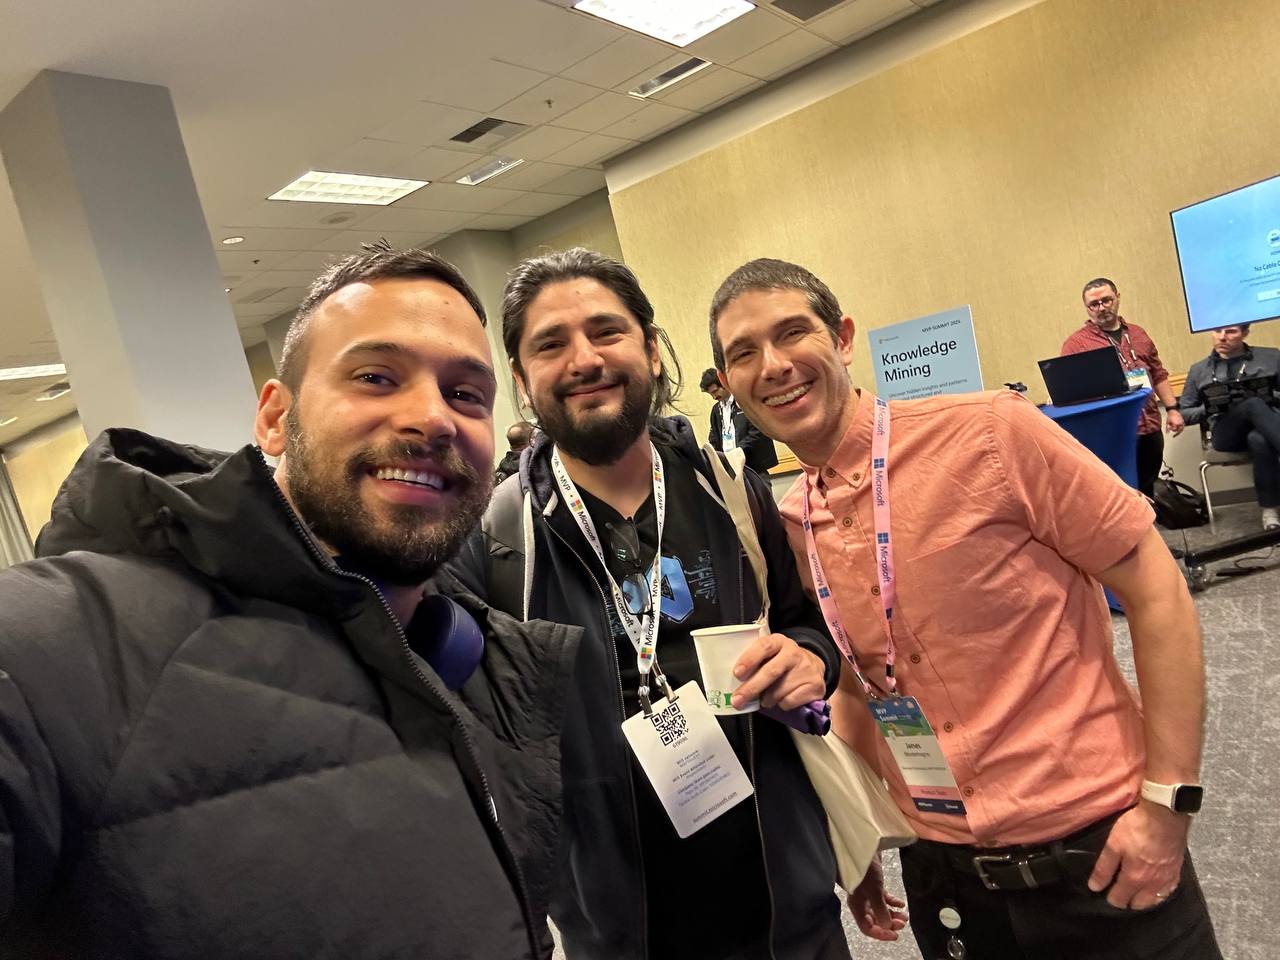
Day Two: Meeting Peers
For day two, the sessions were great, but what I recall most are my meetings with specific people. When you go to the MVP Summits, you get to meet your peers. Usually, it’s like you’re good at one thing—for example, Javier and I do AI courses, and most of what we write about is general development—but there are people who really specialize.
For instance, I met the people from the Uno team, amazing people. Jerome and his team are always on the bleeding edge of .NET. We talked about the “black magic” they’ve written for their multi-target single application for Uno. It’s always nice to meet the Uno team.

I met with Michael Washington again several times in the hallways of Microsoft, and we talked about how to redirect Microsoft AI extensions to use LLM Studio, which is kind of tricky. It’s not something you can do really easily, like with Semantic Kernel where you only need to replace the HTTP client and then you’re good to go. In LLM Studio, it’s a different trick, so I’ll write about it later.
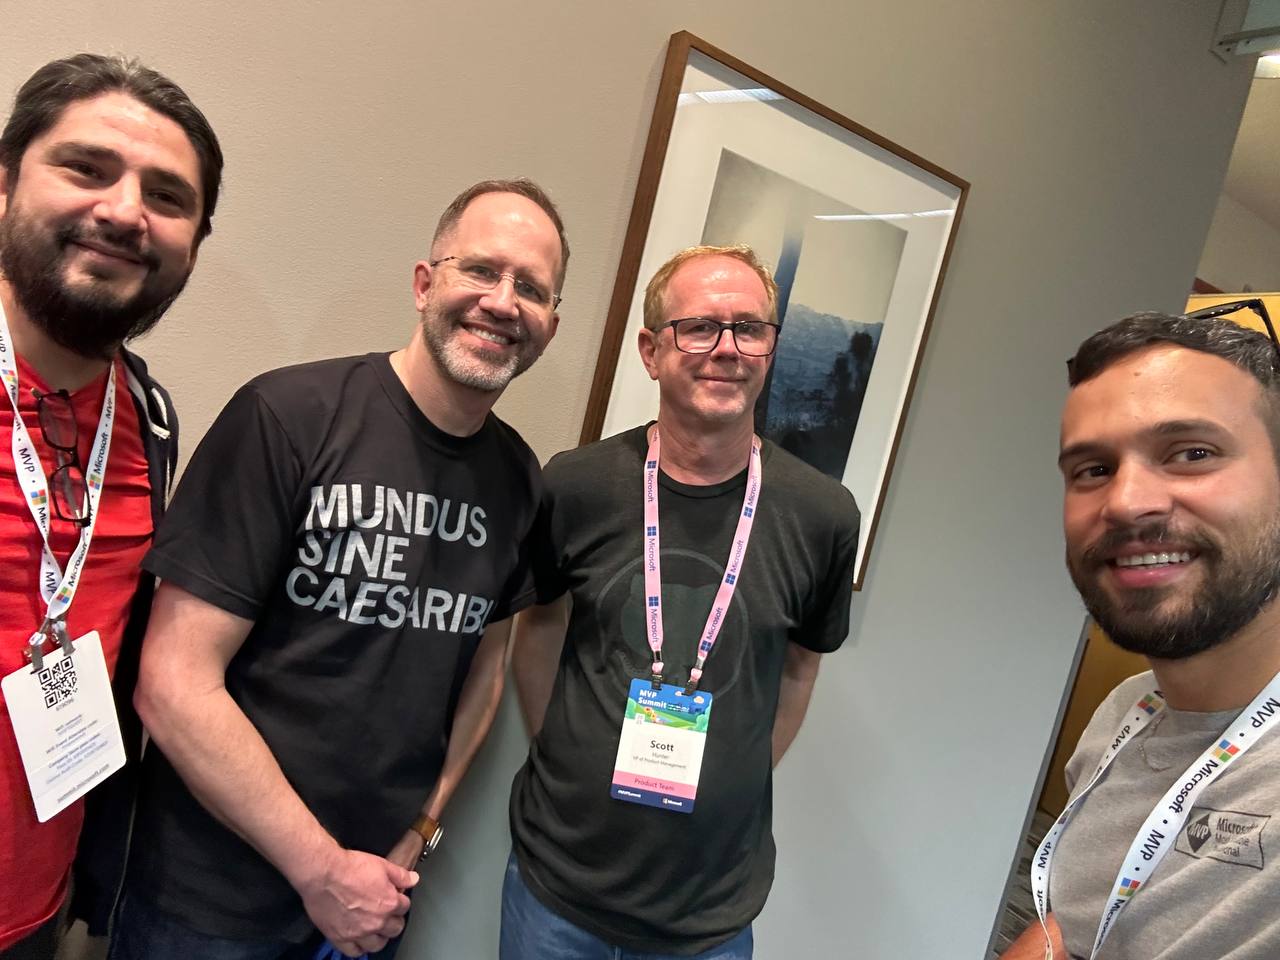
In one of the sessions, Mads Kristensen sat by my side, and I was trying to get some information from him on how to create an extension. Long ago, there was an extension from Oliver Sturm called “Instant Program Gratification” or something similar that displayed a huge congratulation message on the screen every time your compile succeeded, and if it failed, it would display something like “Hey, you need more coffee!” on the screen. I asked Mads how to achieve that with the new extension toolkit, and he explained it to me—he’s the king of extensions for Visual Studio.
Then I met someone new, Jeremy Sinclair, whom Javier introduced me to. We had one of those deep technical conversations about how Windows runs on ARM CPUs and the problems this can bring or how easy some things can be. It’s ironic because the Android architecture is usually ARM, but it doesn’t run on ARM computers because ARM computers emulate x64. We talked a lot about the challenges you might encounter and how to address them. Jeremy has managed to do it; he’s written some articles about what to expect when moving to an ARM computer. He also talked about how the future and the present for MAUI is at the moment.
He was also wearing the Ray-Ban Meta glasses, and I asked him, “Hey, how are they?” He told me they’re nice, though the battery life isn’t great, but they’re kind of fun. So I ordered a pair of Meta Ray-Ban AI glasses, and I like them so far.

More Memorable Conversations
Another great conversation that we had with Javier was with James Montemagno. We met him in the Hub, and then we talked a lot about how we started. I’ve been a long-term fan of Merge Conflict, their podcast, and Javier introduced me to that podcast a long time ago when we met around 9 years ago. When he was traveling to work, he called me, we talked mostly about development for about one hour on his way to work, and then he told me, “Hey, I listen to this and this podcast, I listen to that and that podcast.” So I became a follower of Merge Conflict after that.
James explained all the adventures on the Xamarin team, how it went when Xamarin joined Microsoft, about the difference between Xamarin from Microsoft and Xamarin from Xamarin Forms, and how life is changing for him as more of a project manager than an advocate. So he’s kind of busy all the time, but we had this really long conversation, like 40 minutes or so. He was really open about talking about his adventure of joining Microsoft and eventually working in the MAUI team.
We also met David from the MAUI team, and he was so nice. Long time ago, he featured our company in the list of companies that have made apps with MAUI, and we were on the list they showed in one of the conferences. So we thanked him for that.
That’s everyone I met at the MVP Summit. I had a great time, and I can’t believe it’s been a year already. I’m looking forward to meeting everyone next year and seeing what we come up with during 2025!

by Joche Ojeda | Mar 13, 2025 | netcore, Uno Platform
For the past two weeks, I’ve been experimenting with the Uno Platform in two ways: creating small prototypes to explore features I’m curious about and downloading example applications from the Uno Gallery. In this article, I’ll explain the first steps you need to take when creating an Uno Platform application, the decisions you’ll face, and what I’ve found useful so far in my journey.
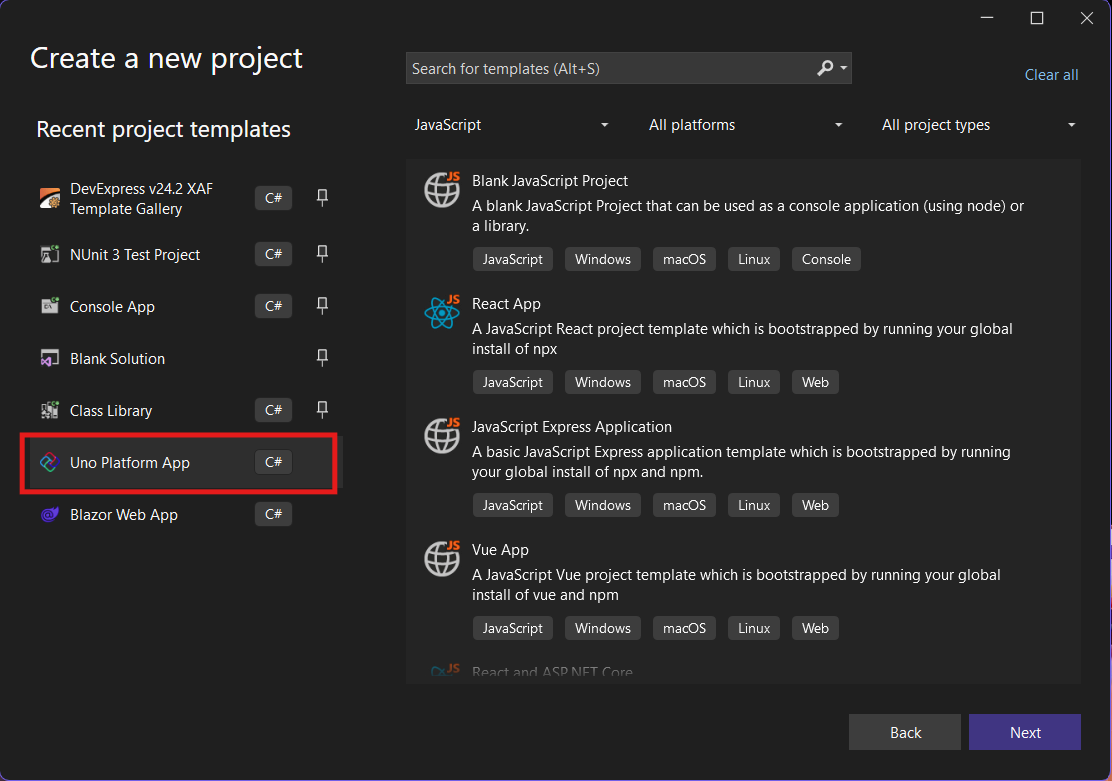
Step 1: Create a New Project
I’m using Visual Studio 2022, though the extensions and templates work well with previous versions too. I have both studio versions installed, and Uno Platform works well in both.
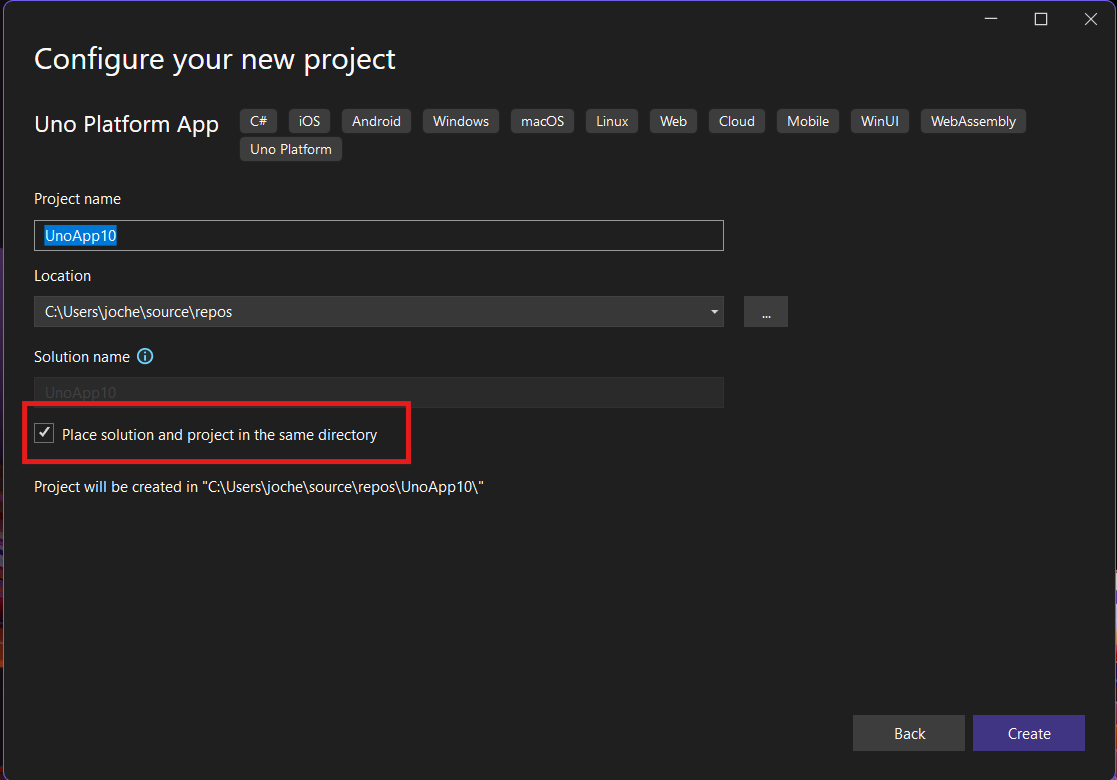
Step 2: Project Setup
After naming your project, it’s important to select “Place solution and project in the same directory” because of the solution layout requirements. You need the directory properties file to move forward. I’ll talk more about the solution structure in a future post, but for now, know that without checking this option, you won’t be able to proceed properly.
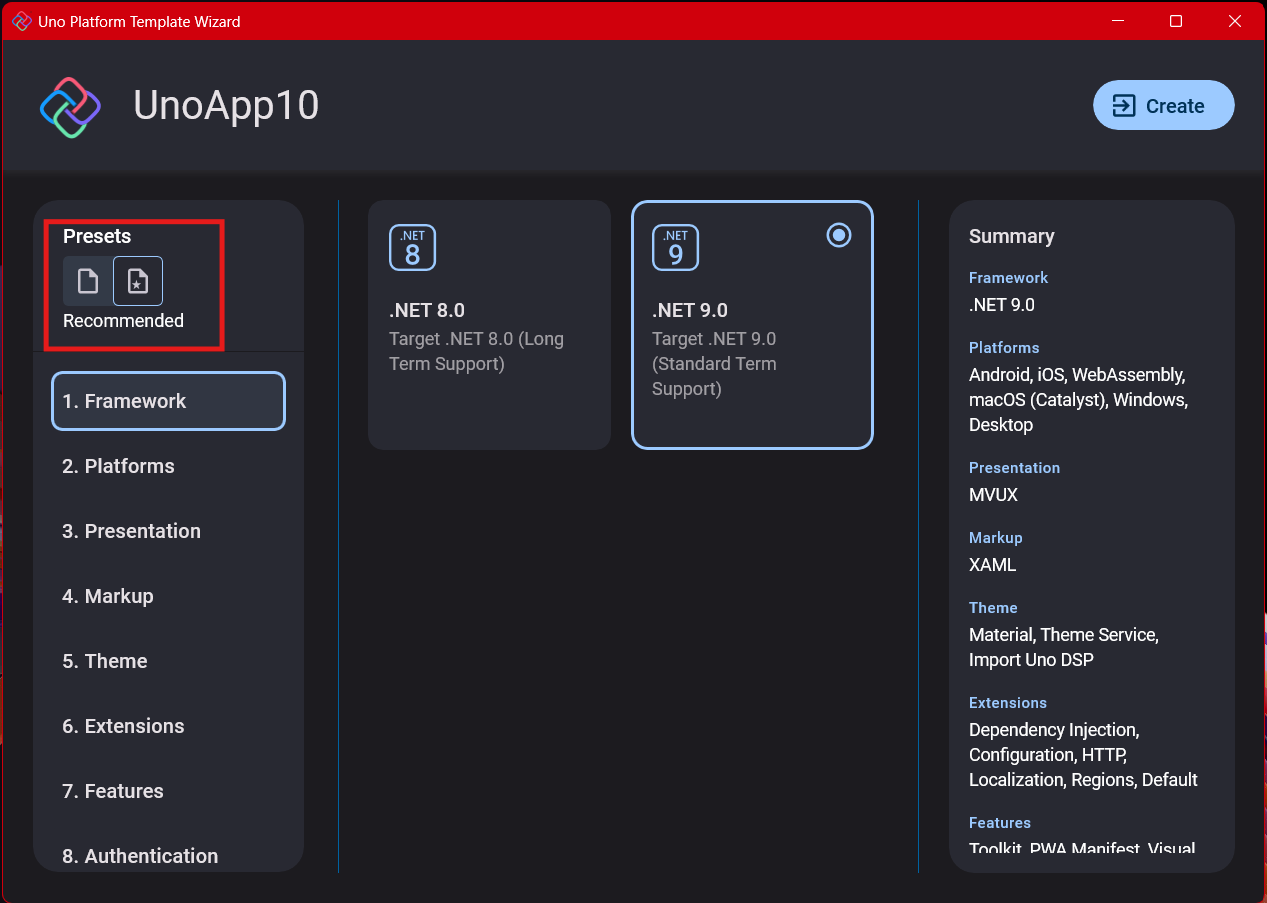
Step 3: The Configuration Wizard
The Uno Platform team has created a comprehensive wizard that guides you through various configuration options. It might seem overwhelming at first, but it’s better to have this guided approach where you can make one decision at a time.
Your first decision is which target framework to use. They recommend .NET 9, which I like, but in my test project, I’m working with .NET 8 because I’m primarily focused on WebAssembly output. Uno offers multi-threading in Web Assembly with .NET 8, which is why I chose it, but for new projects, .NET 9 is likely the better choice.
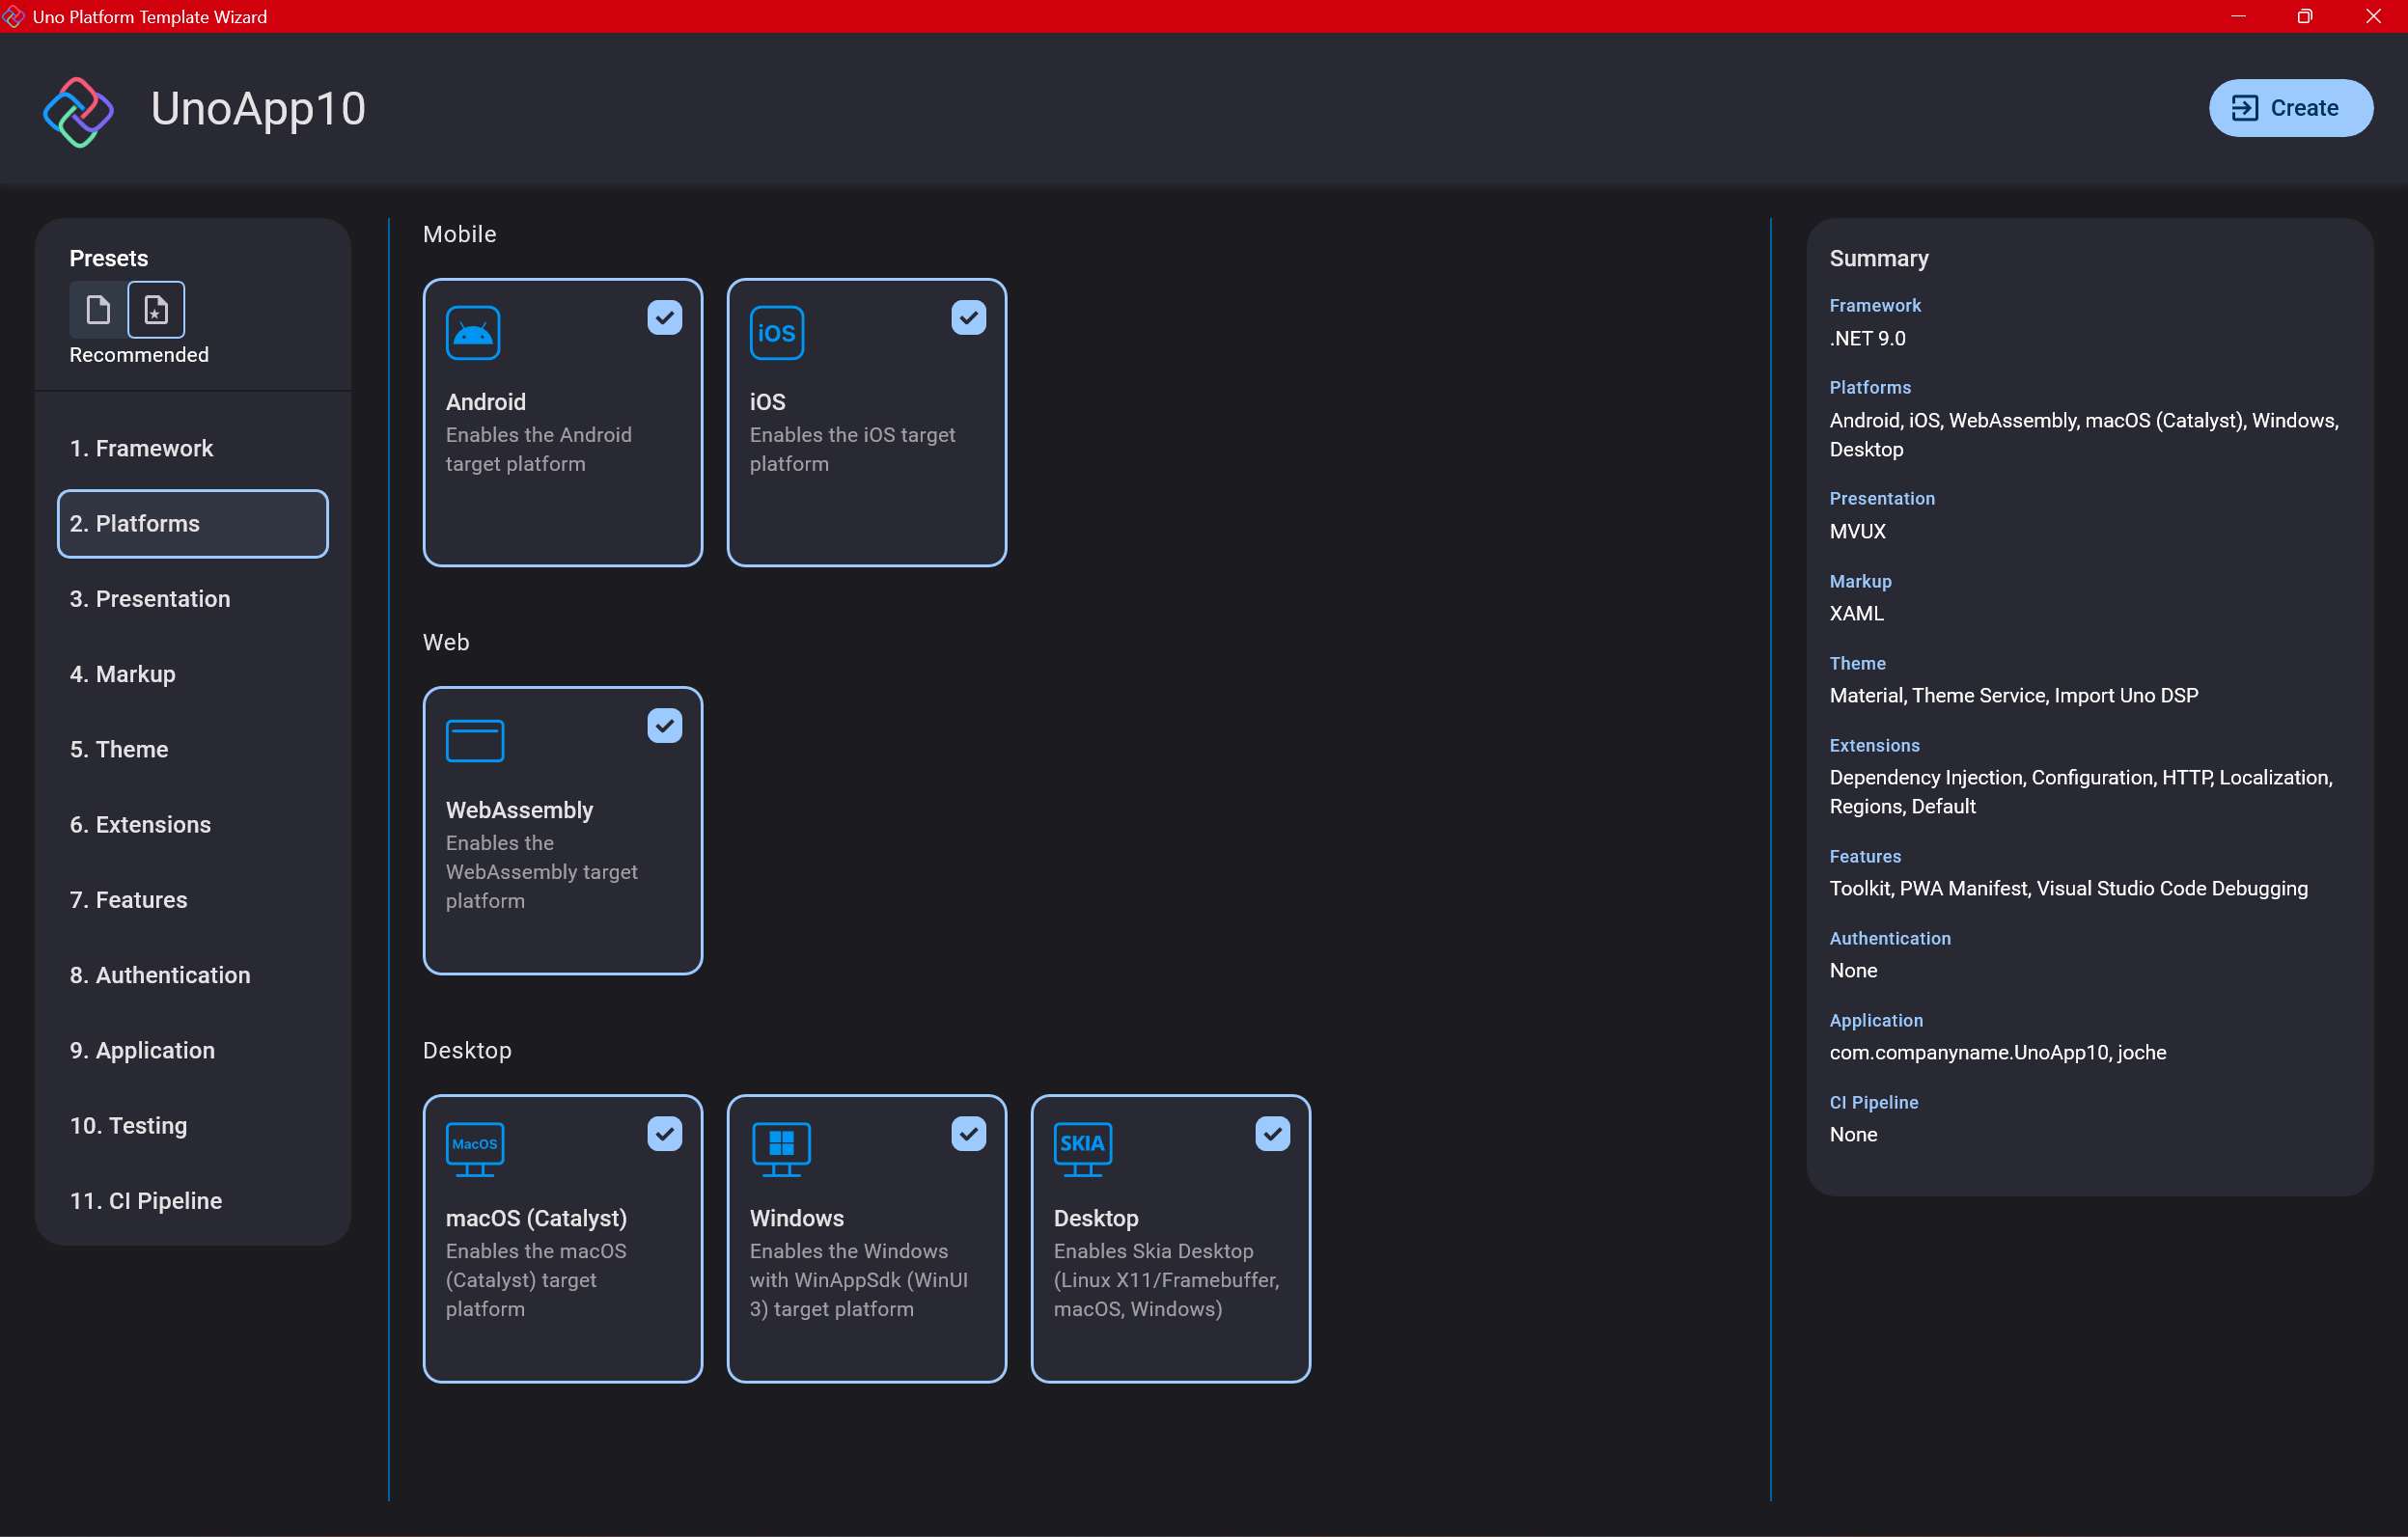
Step 4: Target Platforms
Next, you need to select which platforms you want to target. I always select all of them because the most beautiful aspect of the Uno Platform is true multi-targeting with a single codebase.
In the past (during the Xamarin era), you needed multiple projects with a complex directory structure. With Uno, it’s actually a single unified project, creating a clean solution layout. So while you can select just WebAssembly if that’s your only focus, I think you get the most out of Uno by multi-targeting.
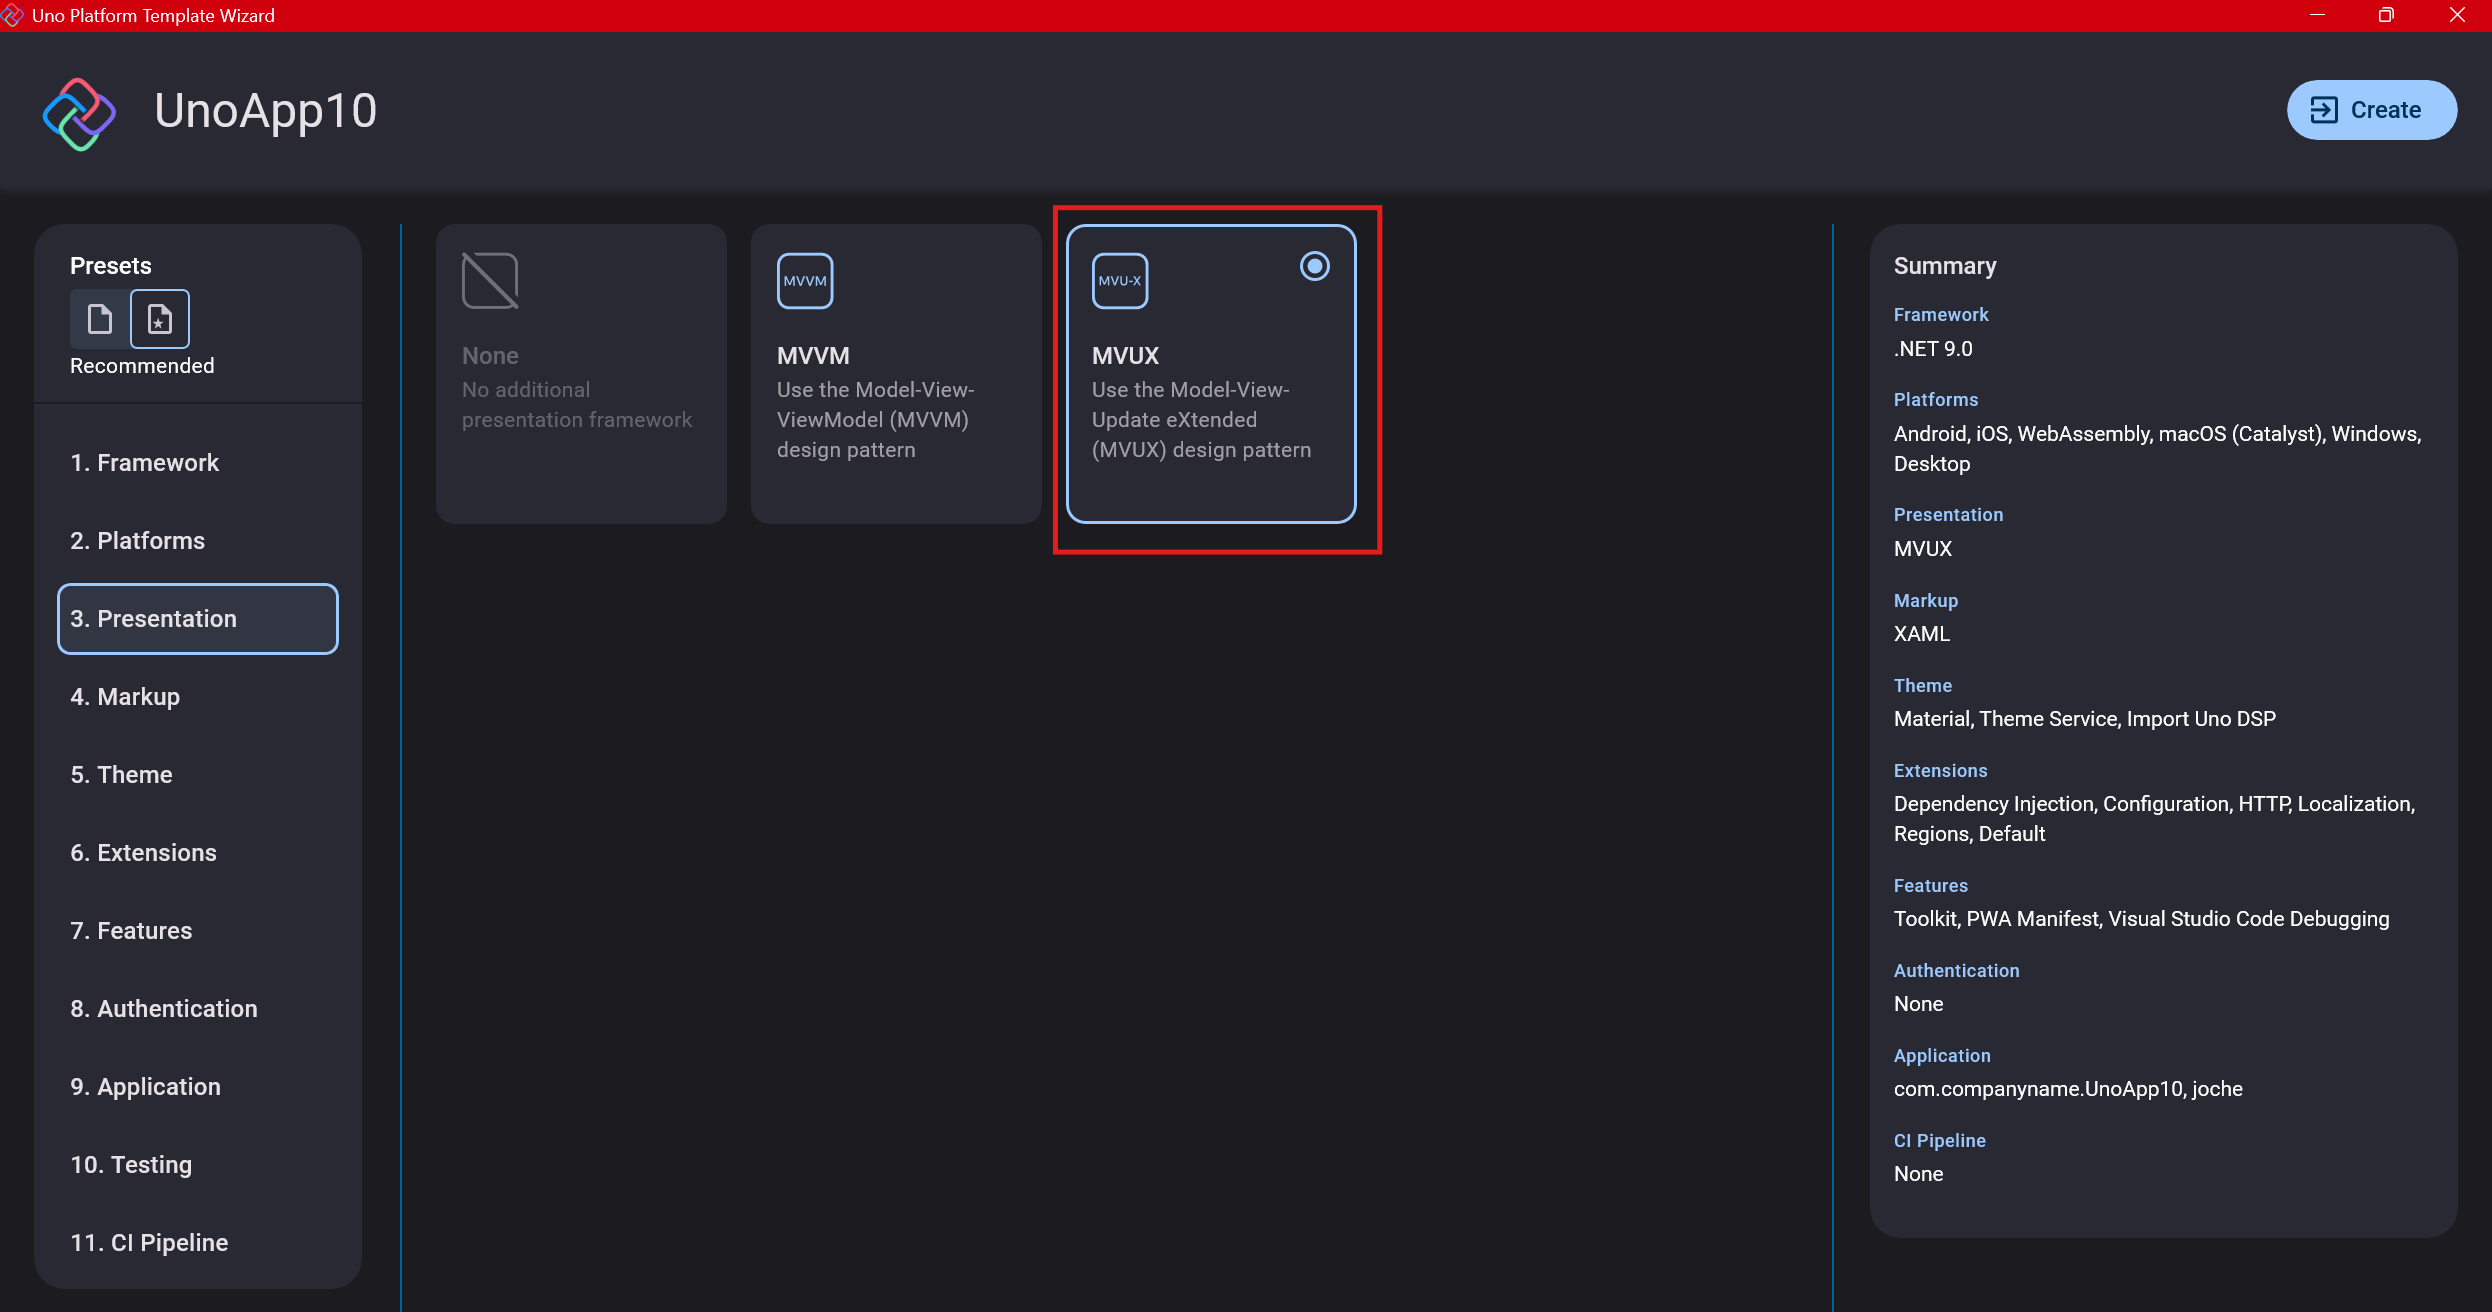
Step 5: Presentation Pattern
The next question is which presentation pattern you want to use. I would suggest MVUX, though I still have some doubts as I haven’t tried MVVM with Uno yet. MVVM is the more common pattern that most programmers understand, while MVUX is the new approach.
One challenge is that when you check the official Uno sample repository, the examples come in every presentation pattern flavor. Sometimes you’ll find a solution for your task in one pattern but not another, so you may need to translate between them. You’ll likely find more examples using MVVM.
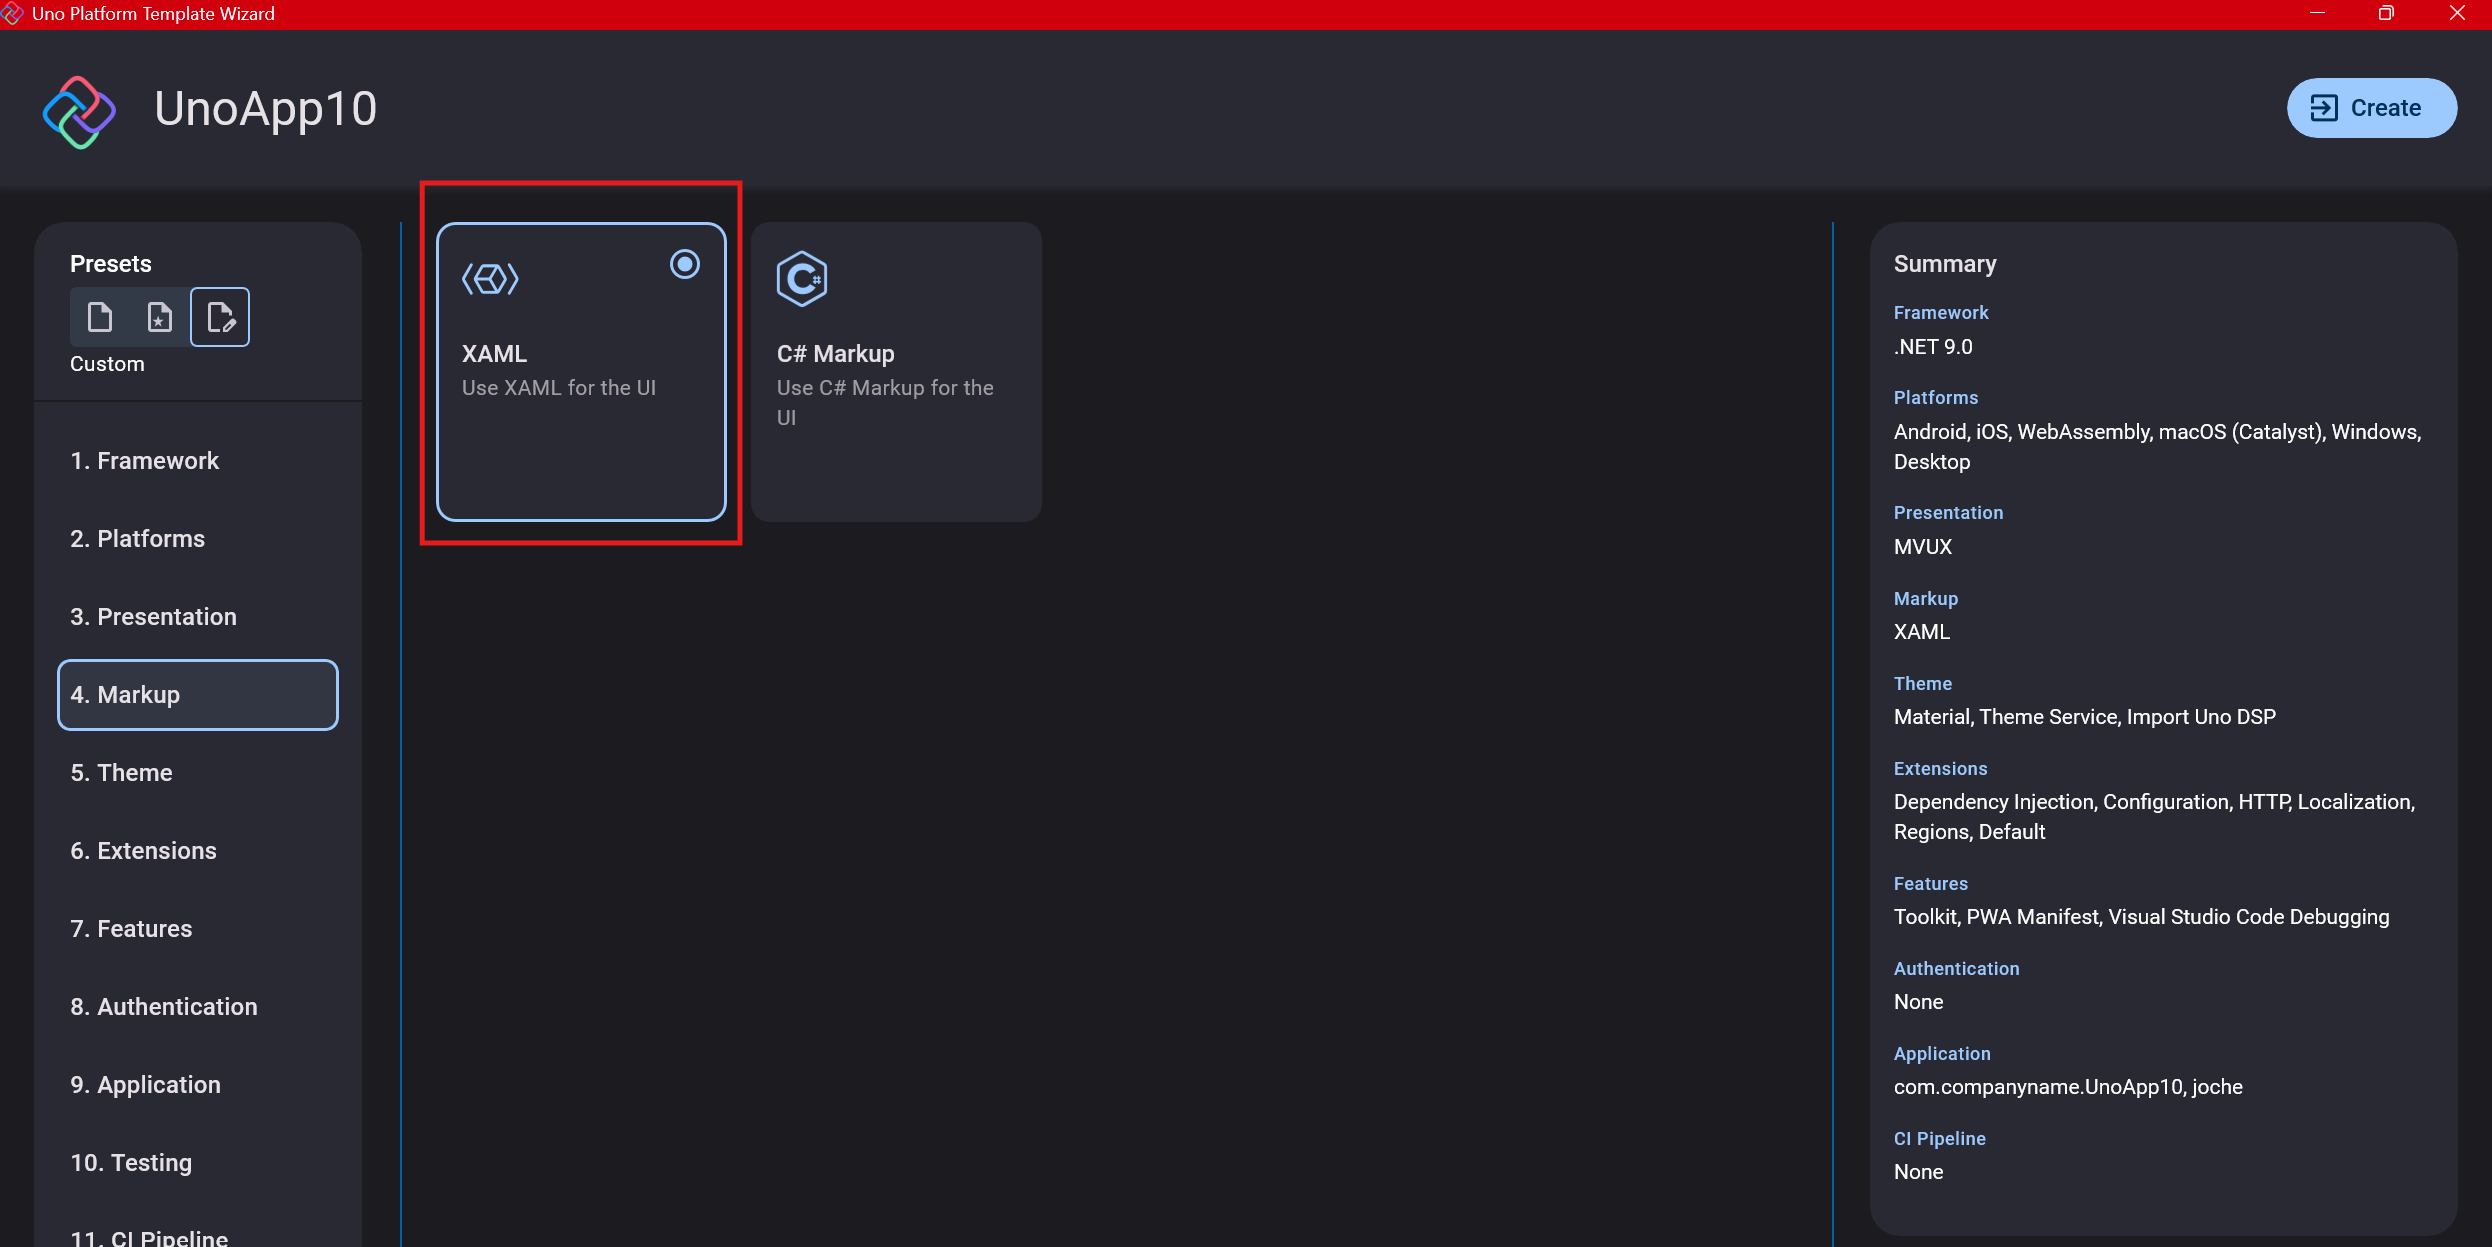
Step 6: Markup Language
For markup, I recommend selecting XAML. In my first project, I tried using C# markup, which worked well until I reached some roadblocks I couldn’t overcome. I didn’t want to get stuck trying to solve one specific layout issue, so I switched. For beginners, I suggest starting with XAML.
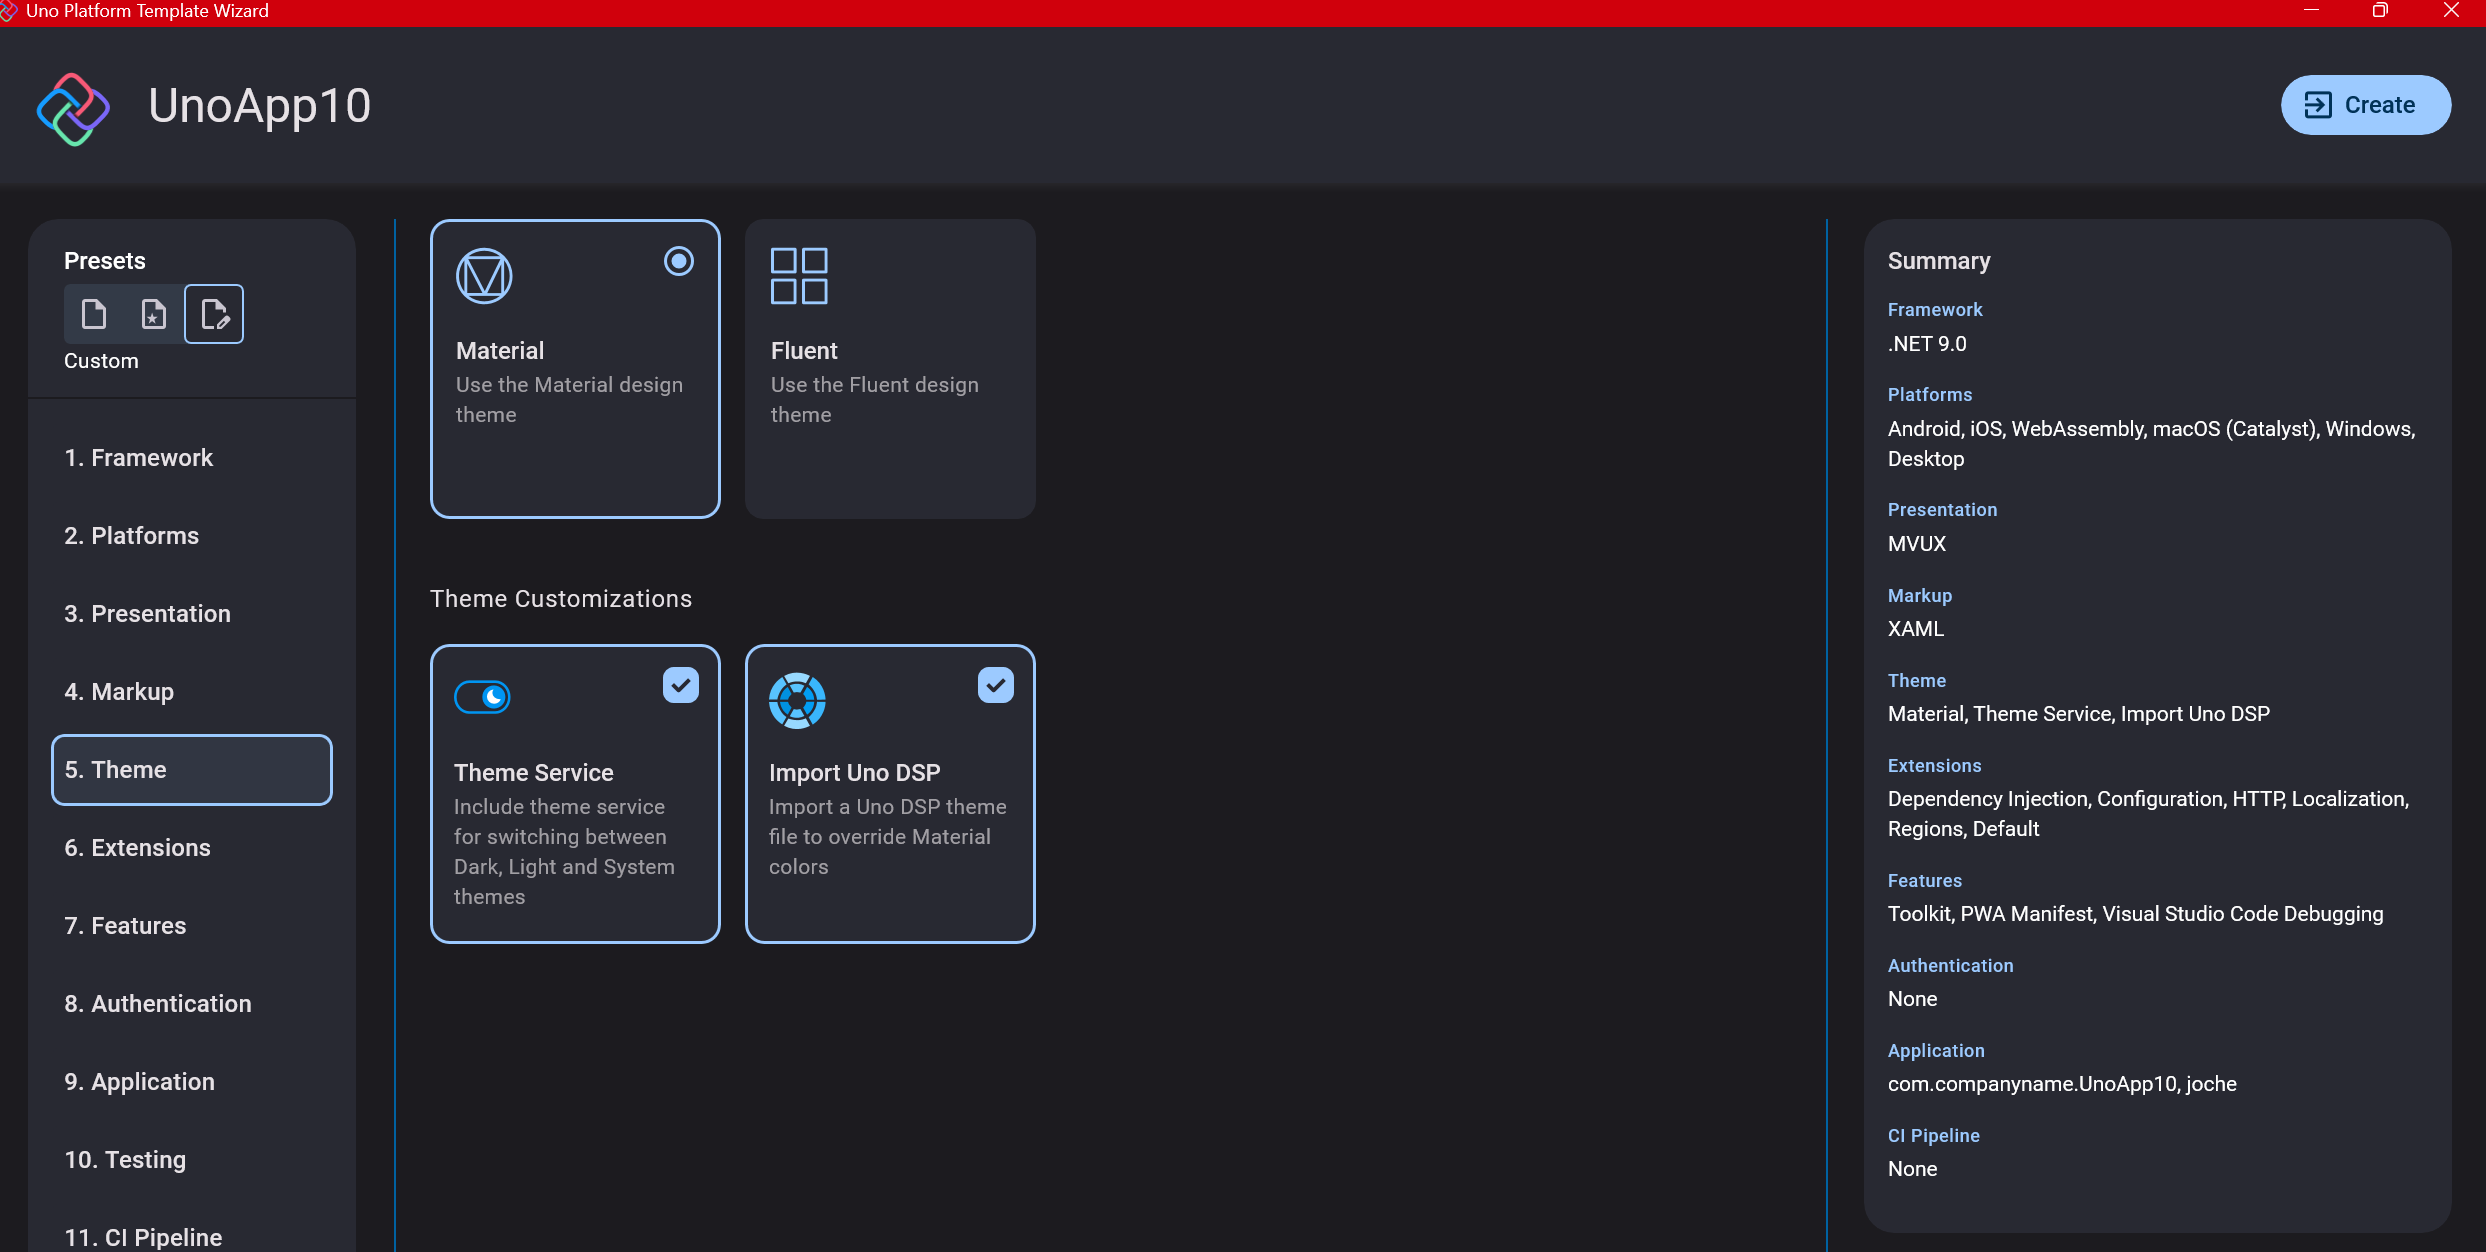
Step 7: Theming
For theming, you’ll need to select a UI theme. I don’t have a strong preference here and typically stick with the defaults: using Material Design, the theme service, and importing Uno DSP.
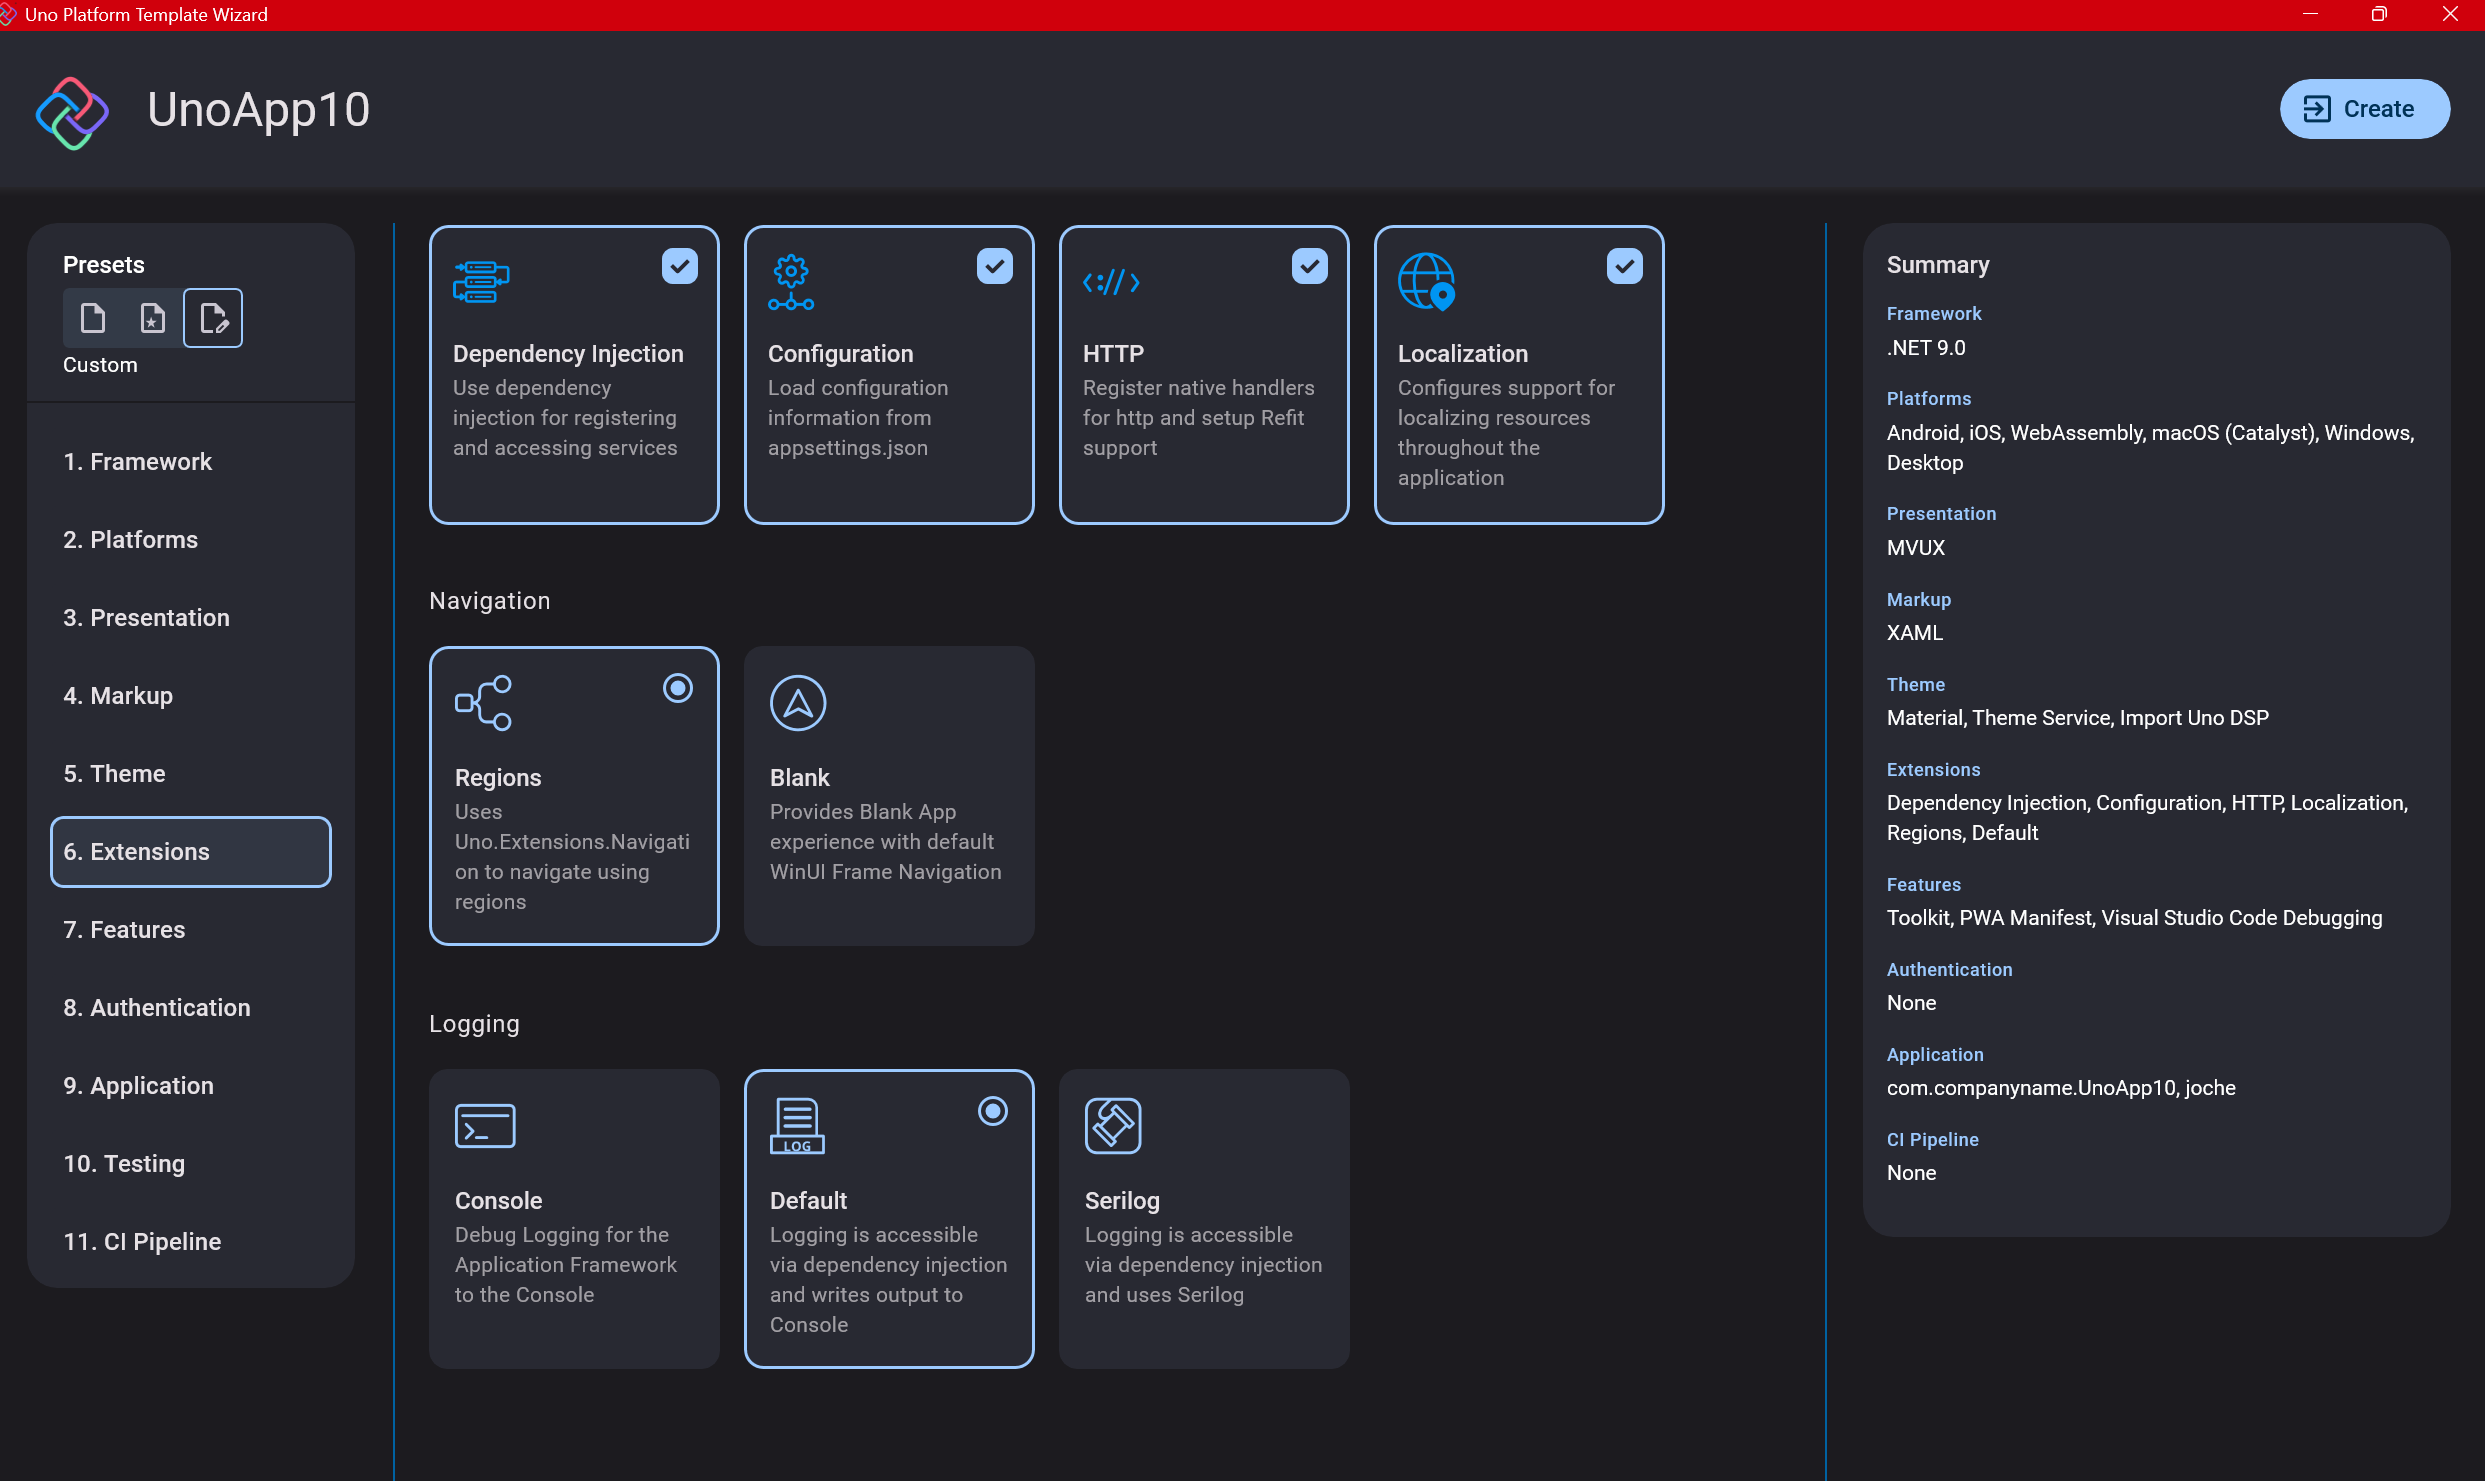
Step 8: Extensions
When selecting extensions to include, I recommend choosing almost all of them as they’re useful for modern application development. The only thing you might want to customize is the logging type (Console, Debug, or Serilog), depending on your previous experience. Generally, most applications will benefit from all the extensions offered.
Step 9: Features
Next, you’ll select which features to include in your application. For my tests, I include everything except the MAUI embedding and the media element. Most features can be useful, and I’ll show in a future post how to set them up when discussing the solution structure.

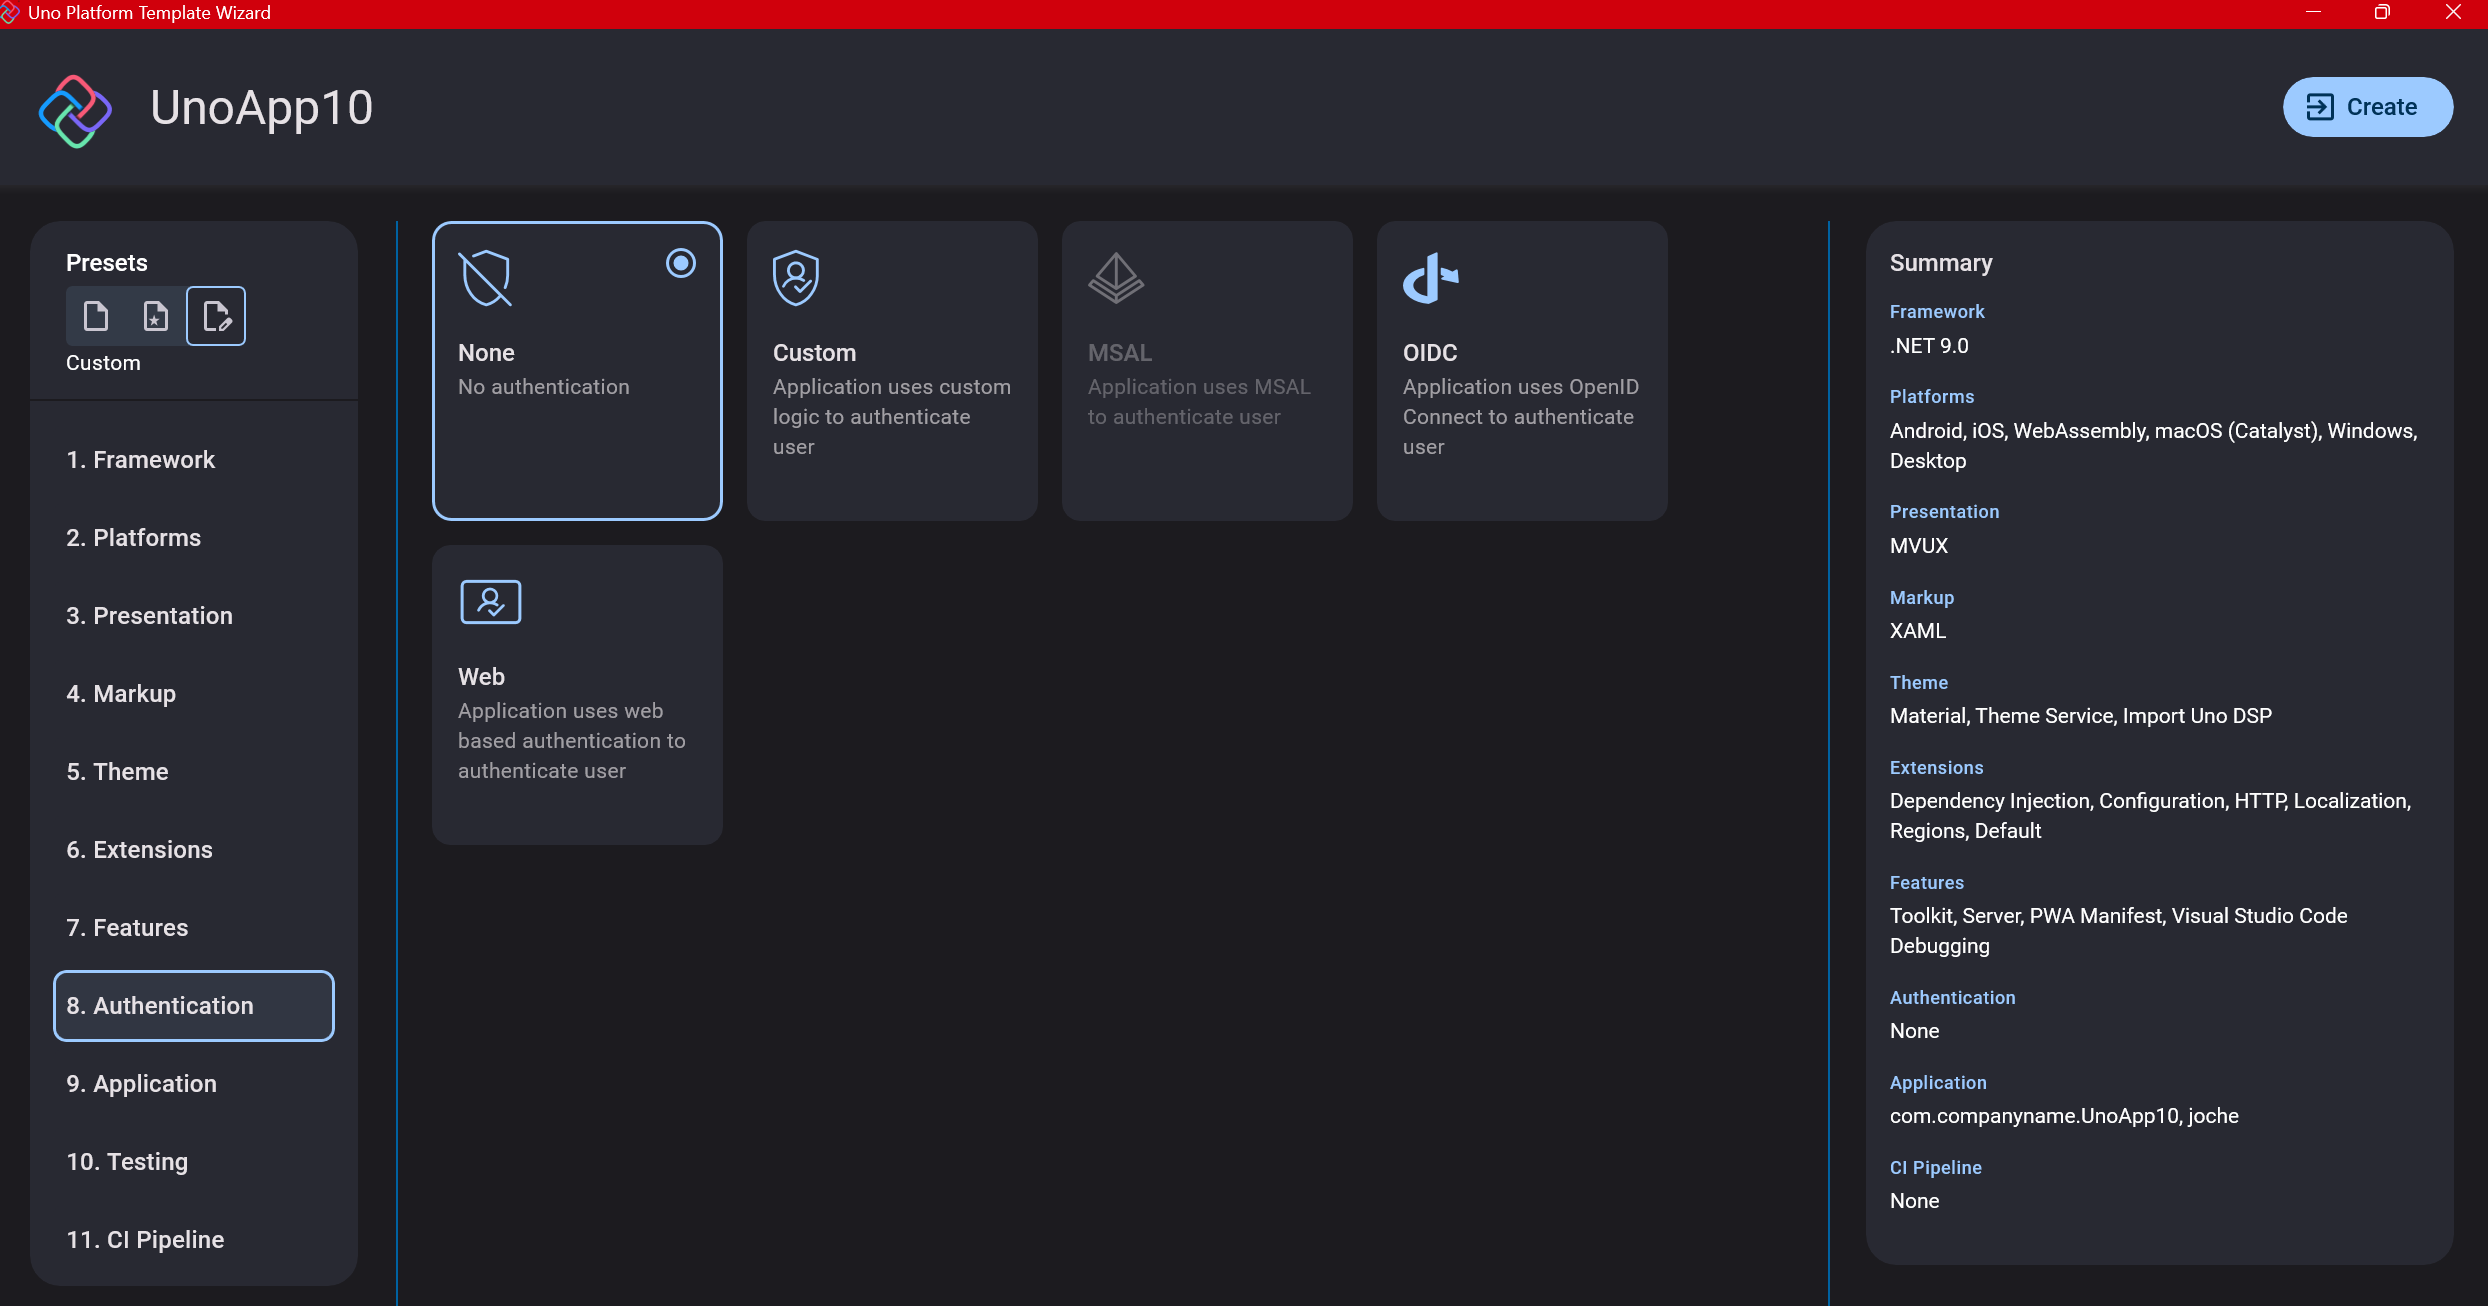
Step 10: Authentication
You can select “None” for authentication if you’re building test projects, but I chose “Custom” because I wanted to see how it works. In my case, I’m authenticating against DevExpress XAF REST API, but I’m also interested in connecting my test project to Azure B2C.
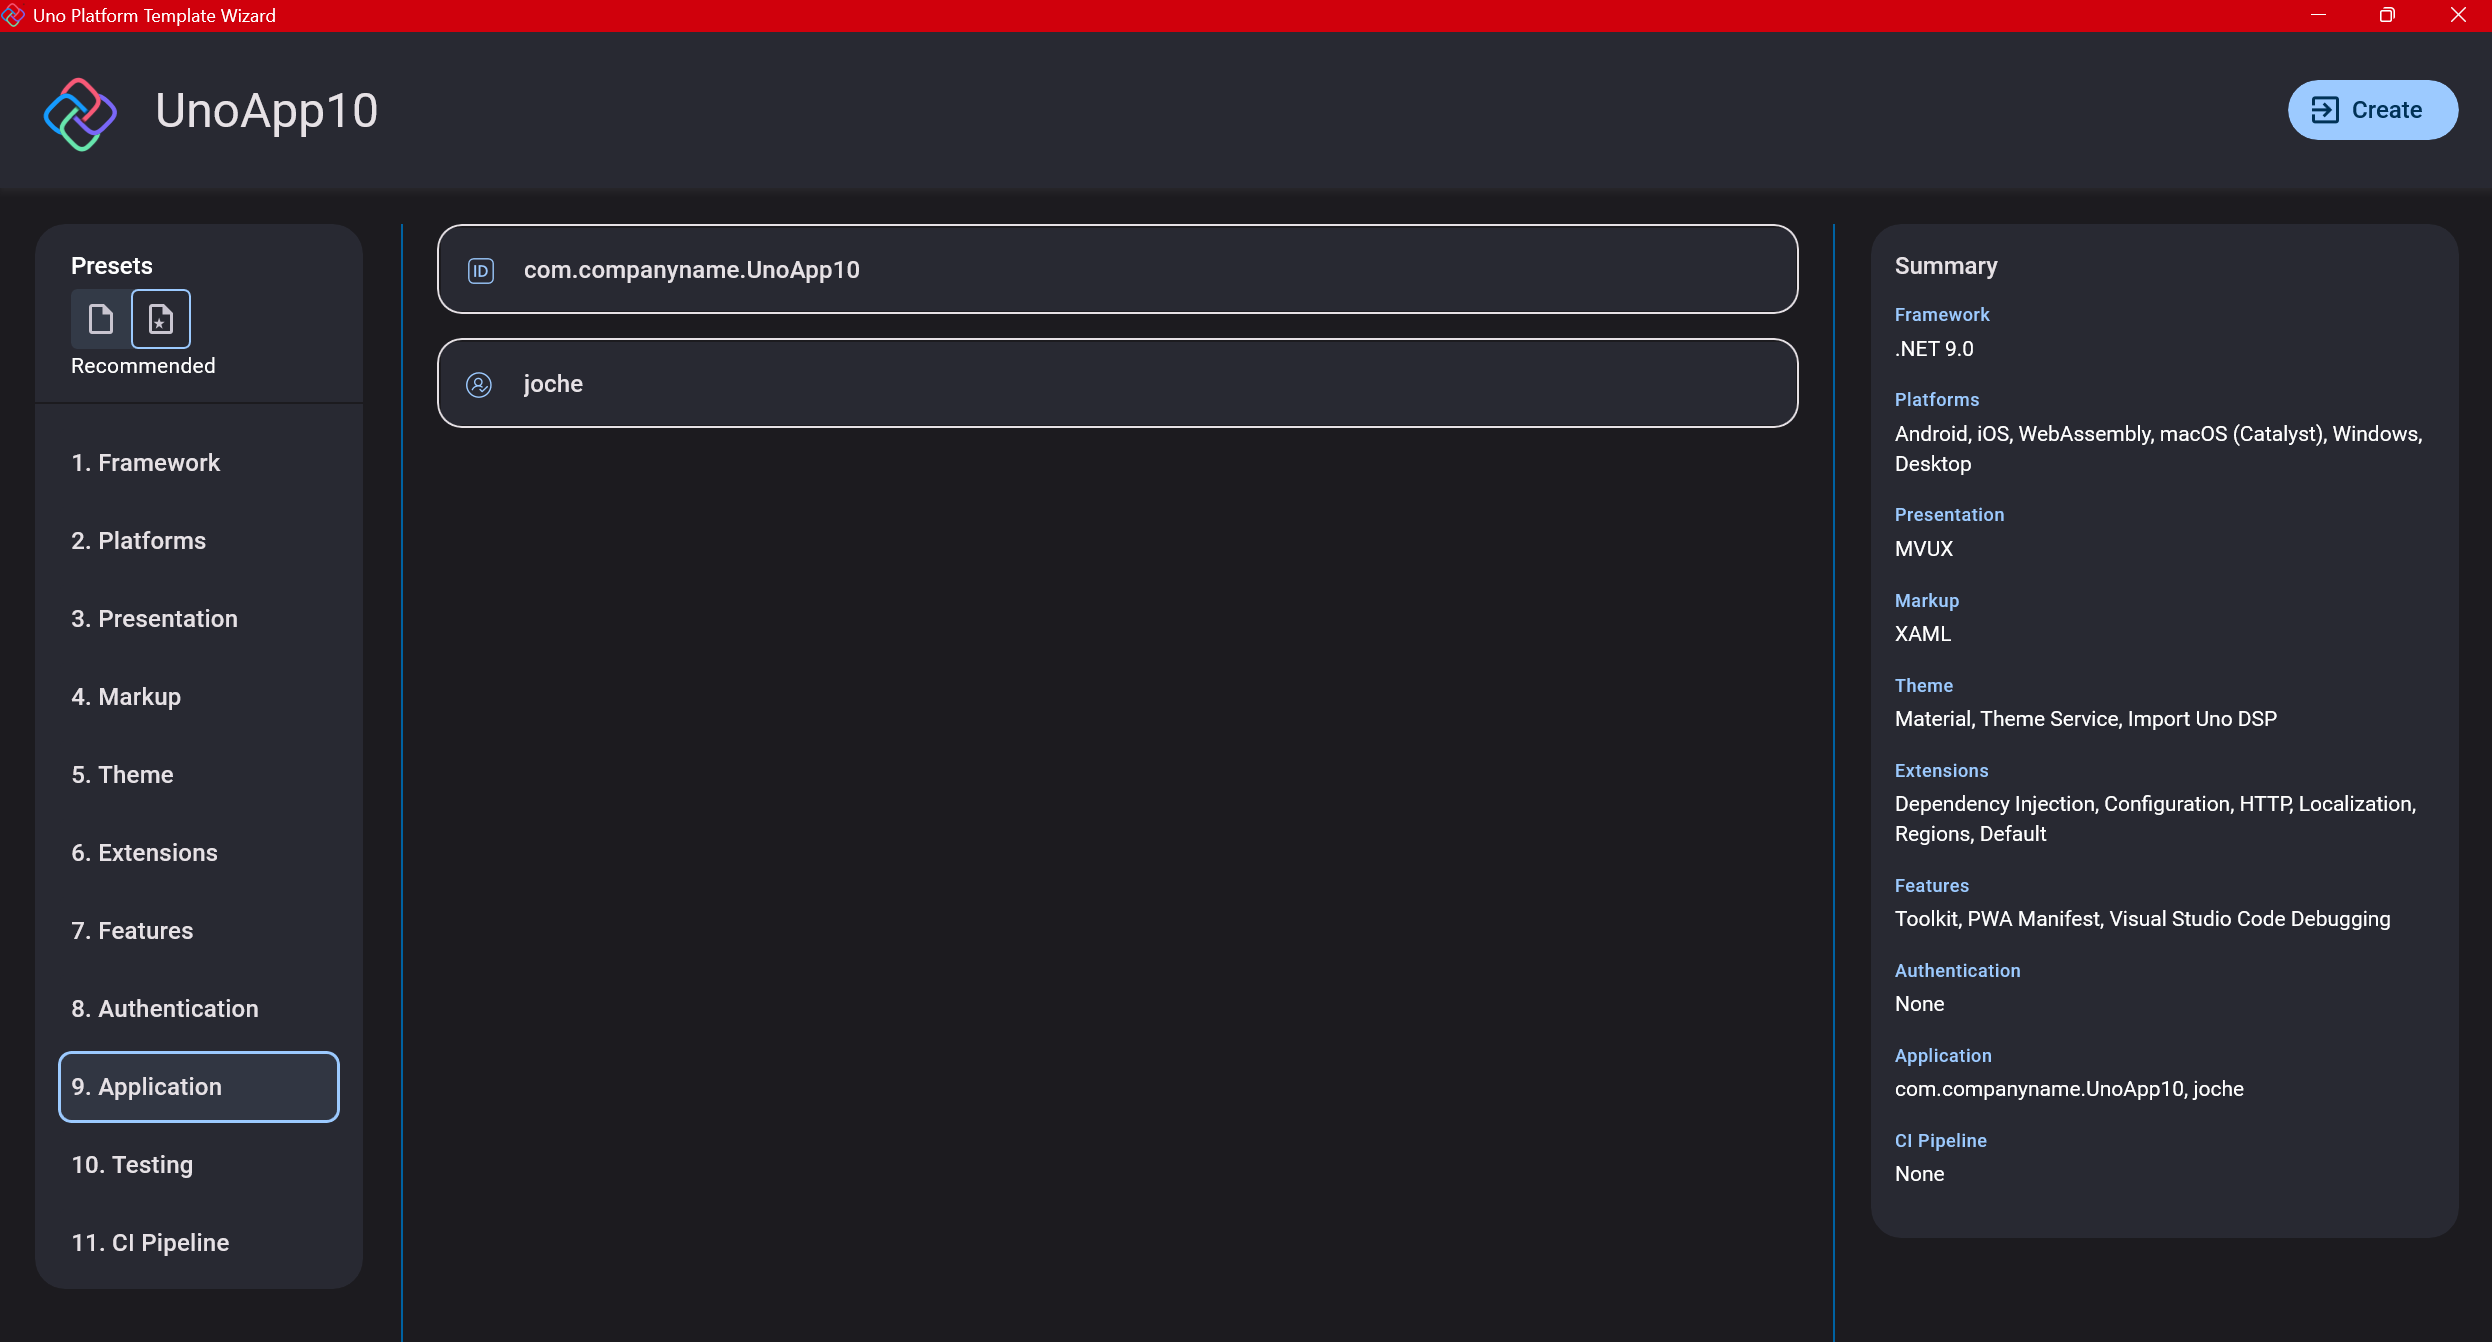
Step 11: Application ID
Next, you’ll need to provide an application ID. While I haven’t fully explored the purpose of this ID yet, I believe it’s needed when publishing applications to app stores like Google Play and the Apple App Store.
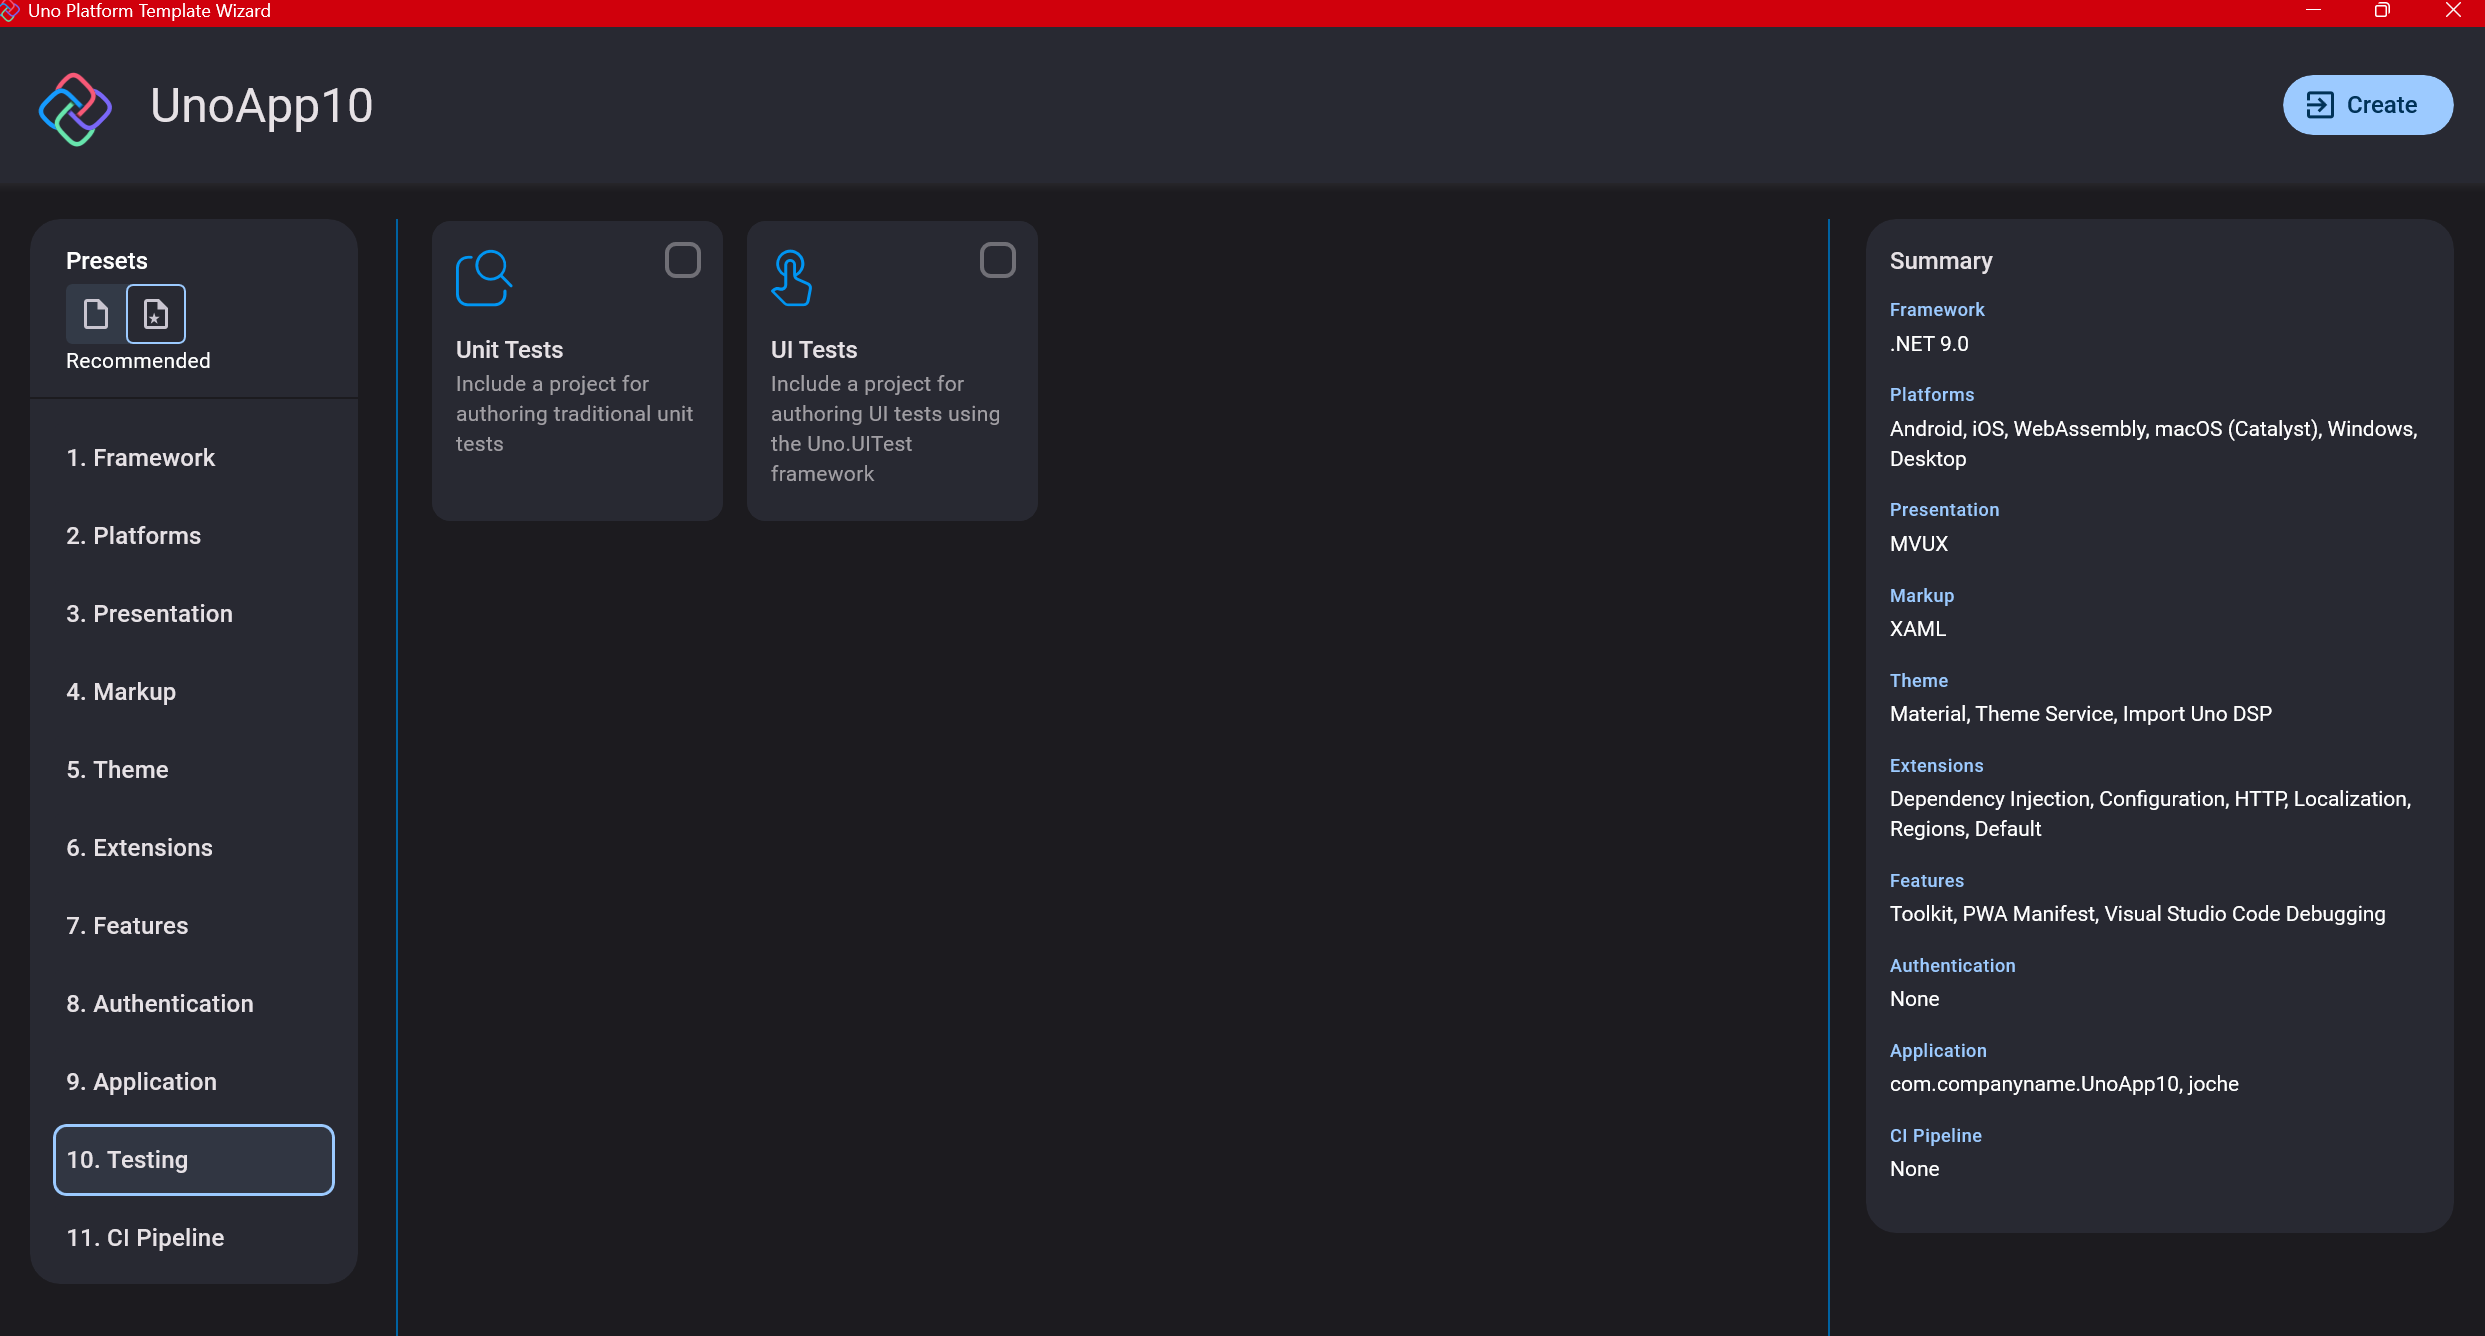
Step 12: Testing
I’m a big fan of testing, particularly integration tests. While unit tests are essential when developing components, for business applications, integration tests that verify the flow are often sufficient.
Uno also offers UI testing capabilities, which I haven’t tried yet but am looking forward to exploring. In platform UI development, there aren’t many choices for UI testing, so having something built-in is fantastic.
Testing might seem like a waste of time initially, but once you have tests in place, you’ll save time in the future. With each iteration or new release, you can run all your tests to ensure everything works correctly. The time invested in creating tests upfront pays off during maintenance and updates.
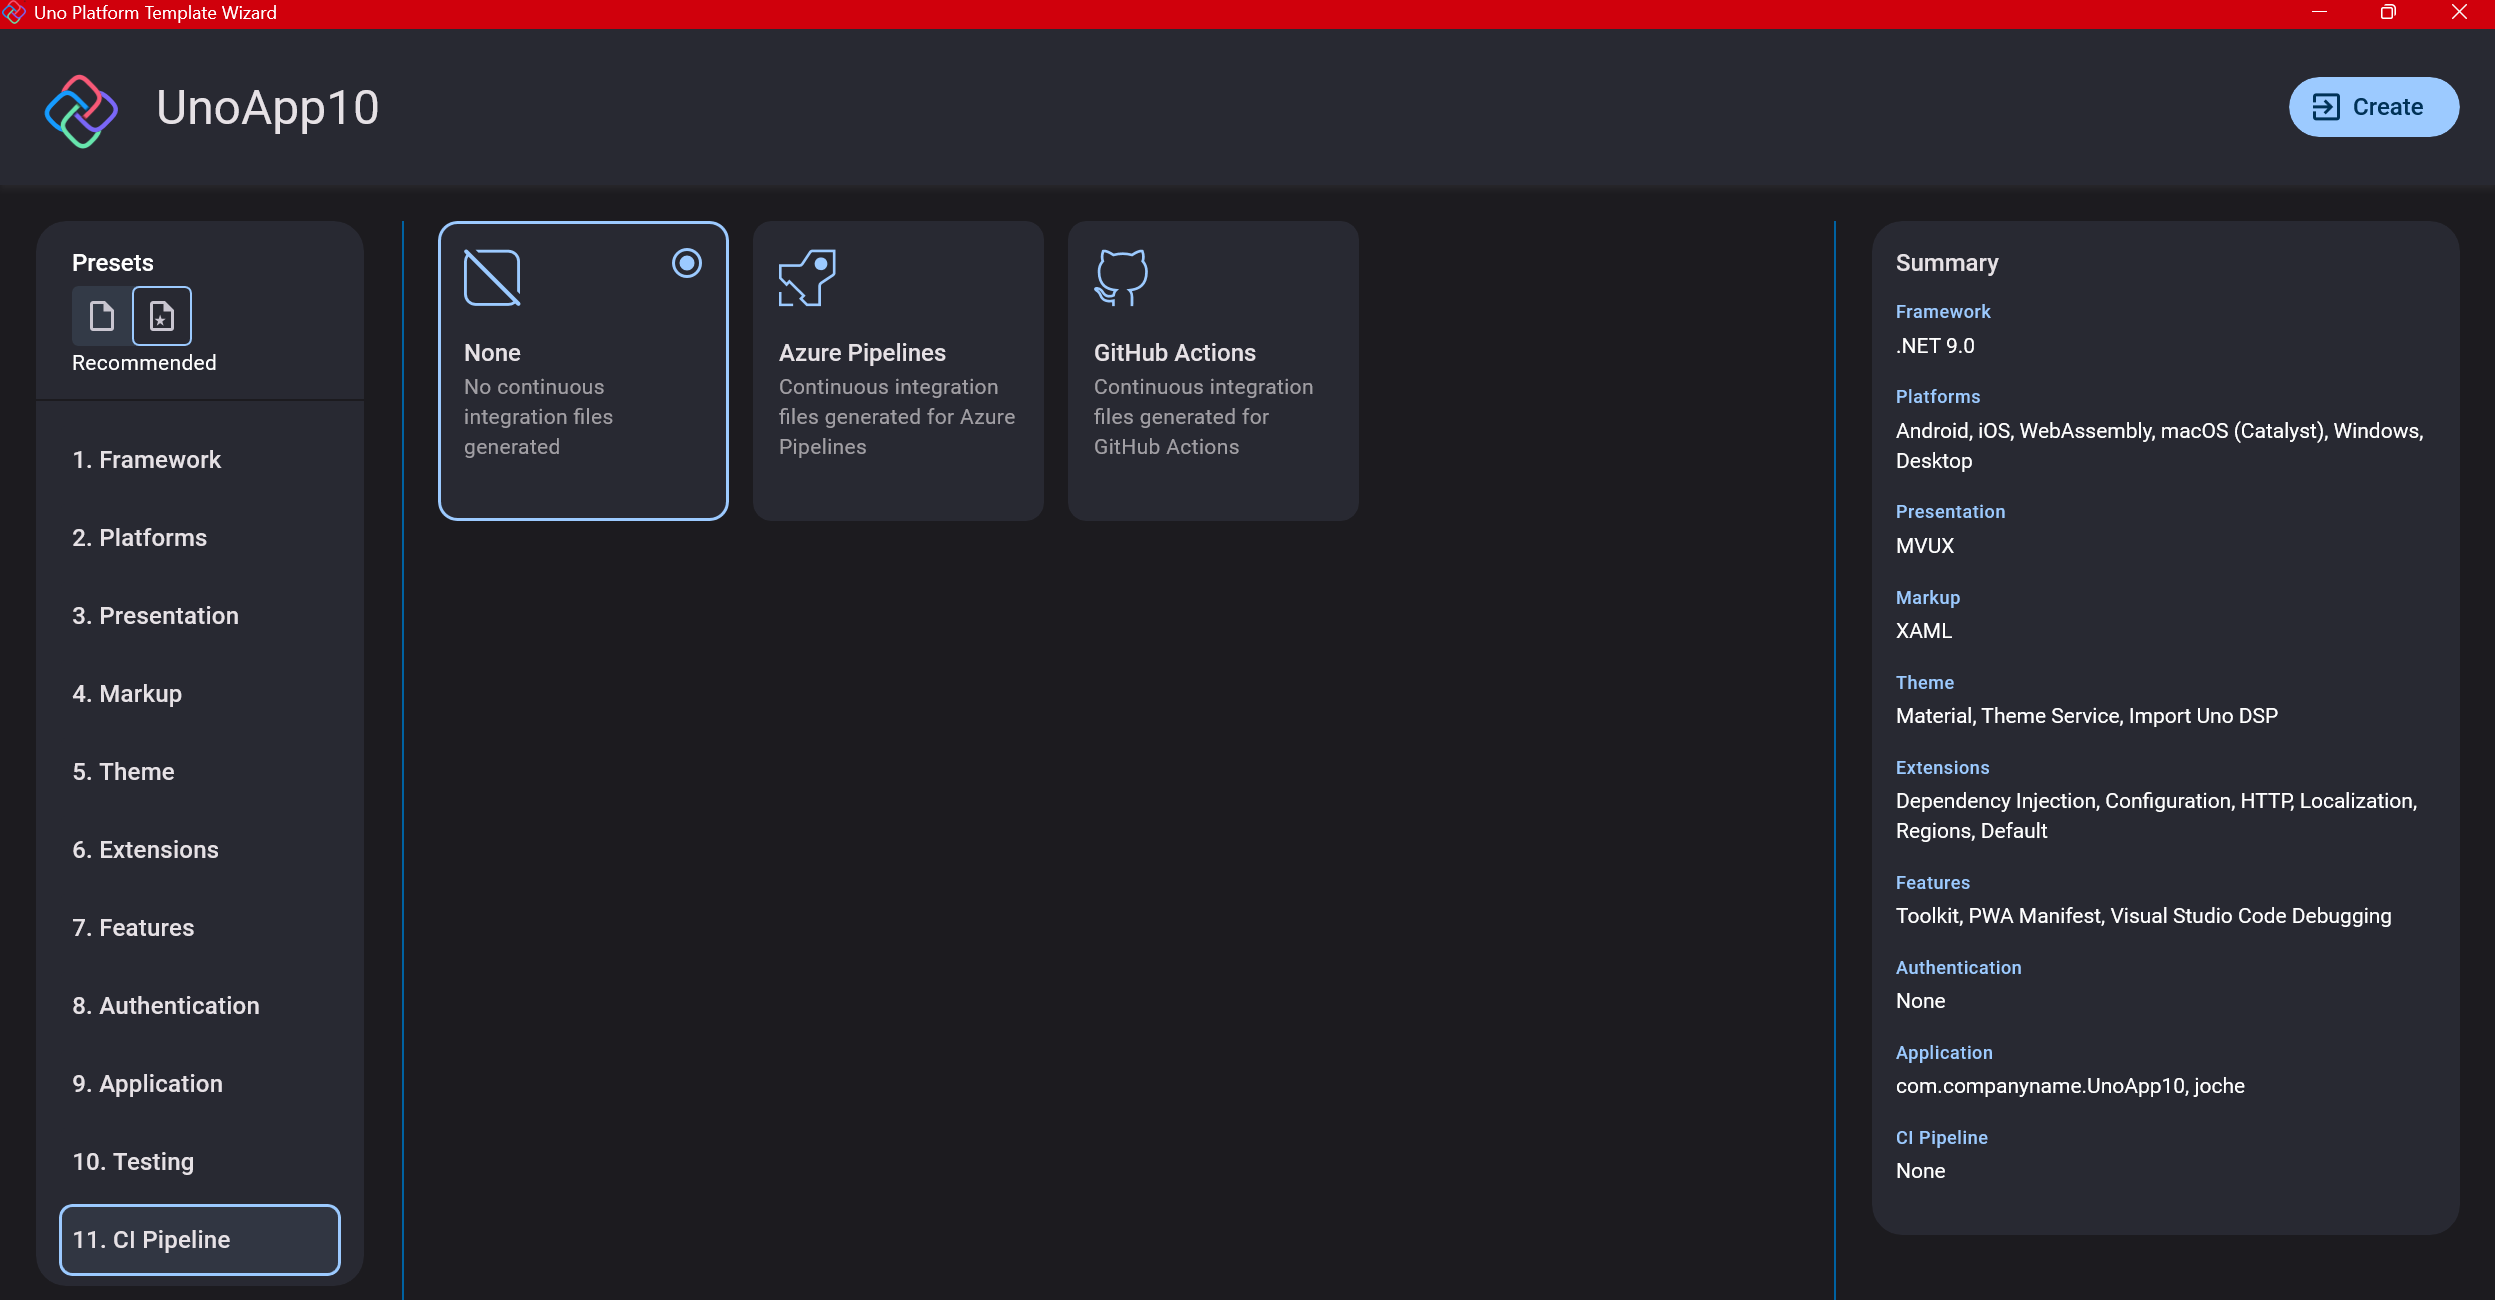
Step 13: CI Pipelines
The final step is about CI pipelines. If you’re building a test application, you don’t need to select anything. For production applications, you can choose Azure Pipelines or GitHub Actions based on your preferences. In my case, I’m not involved with CI pipeline configuration at my workplace, so I have limited experience in this area.
Conclusion
If you’ve made it this far, congratulations! You should now have a shiny new Uno Platform application in your IDE.
This post only covers the initial setup choices when creating a new Uno application. Your development path will differ based on the selections you’ve made, which can significantly impact how you write your code. Choose wisely and experiment with different combinations to see what works best for your needs.
During my learning journey with the Uno Platform, I’ve tried various settings—some worked well, others didn’t, but most will function if you understand what you’re doing. I’m still learning and taking a hands-on approach, relying on trial and error, occasional documentation checks, and GitHub Copilot assistance.
Thanks for reading and see you in the next post!
About Us
YouTube
https://www.youtube.com/c/JocheOjedaXAFXAMARINC
Our sites
Let’s discuss your XAF
https://www.udemy.com/course/microsoft-ai-extensions/
Our free A.I courses on Udemy

by Joche Ojeda | Mar 12, 2025 | dotnet, http, netcore, netframework, network, WebServers
Last week, I was diving into Uno Platform to understand its UI paradigms. What particularly caught my attention is Uno’s ability to render a webapp using WebAssembly (WASM). Having worked with WASM apps before, I’m all too familiar with the challenges of connecting to data sources and handling persistence within these applications.
My Previous WASM Struggles
About a year ago, I faced a significant challenge: connecting a desktop WebAssembly app to an old WCF webservice. Despite having the CORS settings correctly configured (or so I thought), I simply couldn’t establish a connection from the WASM app to the server. I spent days troubleshooting both the WCF service and another ASMX service, but both attempts failed. Eventually, I had to resort to webserver proxies to achieve my goal.
This experience left me somewhat traumatized by the mere mention of “connecting WASM with an API.” However, the time came to face this challenge again during my weekend experiments.
A Pleasant Surprise with Uno Platform
This weekend, I wanted to connect a XAF REST API to an Uno Platform client. To my surprise, it turned out to be incredibly straightforward. I successfully performed this procedure twice: once with a XAF REST API and once with the API included in the Uno app template. The ease of this integration was a refreshing change from my previous struggles.
Understanding CORS and Why It Matters for WASM Apps
To understand why my previous attempts failed and my recent ones succeeded, it’s important to grasp what CORS is and why it’s crucial for WebAssembly applications.
What is CORS?
CORS (Cross-Origin Resource Sharing) is a security feature implemented by web browsers that restricts web pages from making requests to a domain different from the one that served the original web page. It’s an HTTP-header based mechanism that allows a server to indicate which origins (domains, schemes, or ports) other than its own are permitted to load resources.
The Same-Origin Policy
Browsers enforce a security restriction called the “same-origin policy” which prevents a website from one origin from requesting resources from another origin. An origin consists of:
- Protocol (HTTP, HTTPS)
- Domain name
- Port number
For example, if your website is hosted at https://myapp.com, it cannot make AJAX requests to https://myapi.com without the server explicitly allowing it through CORS.
Why CORS is Required for Blazor WebAssembly
Blazor WebAssembly (which uses similar principles to Uno Platform’s WASM implementation) is fundamentally different from Blazor Server in how it operates:
- Separate Deployment: Blazor WebAssembly apps are fully downloaded to the client’s browser and run entirely in the browser using WebAssembly. They’re typically hosted on a different server or domain than your API.
- Client-Side Execution: Since all code runs in the browser, when your Blazor WebAssembly app makes HTTP requests to your API, they’re treated as cross-origin requests if the API is hosted on a different domain, port, or protocol.
- Browser Security: Modern browsers block these cross-origin requests by default unless the server (your API) explicitly permits them via CORS headers.
Implementing CORS in Startup.cs
The solution to these CORS issues lies in properly configuring your server. In your Startup.cs file, you can configure CORS as follows:
public void ConfigureServices(IServiceCollection services) {
    services.AddCors(options => {
        options.AddPolicy("AllowBlazorApp",
            builder => {
                builder.WithOrigins("https://localhost:5000") // Replace with your Blazor app's URL
                       .AllowAnyHeader()
                       .AllowAnyMethod();
            });
    });

    // Other service configurations...
}

public void Configure(IApplicationBuilder app, IWebHostEnvironment env) {
    // Other middleware configurations...

    app.UseCors("AllowBlazorApp");

    // Other middleware configurations...
}
Conclusion
My journey with connecting WebAssembly applications to APIs has had its ups and downs. What once seemed like an insurmountable challenge has now become much more manageable, especially with platforms like Uno that simplify the process. Understanding CORS and implementing it correctly is crucial for successful WASM-to-API communication.
If you’re working with WebAssembly applications and facing similar challenges, I hope my experience helps you avoid some of the pitfalls I encountered along the way.
About Us
YouTube
https://www.youtube.com/c/JocheOjedaXAFXAMARINC
Our sites
Let’s discuss your XAF
https://www.udemy.com/course/microsoft-ai-extensions/
Our free A.I courses on Udemy

by Joche Ojeda | Mar 7, 2025 | Uncategorized, Uno Platform
This year I decided to learn something new, specifically something UI-related. Usually, I only do back-end type of code. Most of my code has no UI representation, and as you might know, that’s why I love XAF from Developer Express so much—because I don’t have to write a UI. I only have to define the business model and the actions, and then I’m good to go.
But this time, I wanted to challenge myself, so I said, “OK, let’s learn something that is UI-related.” I’ve been using .NET for about 18 years already, so I wanted to branch out while still leveraging my existing knowledge.
I was trying to decide which technology to go with, so I checked with the people in my office (XARI). We have the .NET team, which is like 99% of the people, and then we have one React person and a couple of other developers using different frameworks. They suggested Flutter, and I thought, “Well, maybe.”
I checked the setup and tried to do it on my new Surface computer, but it just didn’t work. Even though Flutter looks fine, moving from .NET (which I’ve been writing since day one in 2002) to Dart is a big challenge. I mean, writing code in any case is a challenge, but I realized that Flutter was so far away from my current infrastructure and setup that I would likely learn it and then forget it because I wouldn’t use it regularly.
Then I thought about checking React, but it was kind of the same idea. I could go deep into this for like one month, and then I would totally forget it because I wouldn’t update the tooling, and so on.
So I decided to take another look at Uno Platform. We’ve used Uno Platform in the office before, and I love this multi-platform development approach. The only problem I had at that time was that the tooling wasn’t quite there yet. Sometimes it would compile, sometimes you’d get a lot of errors, and the static analysis would throw a lot of errors too. It was kind of hard—you’d spend a lot of time setting up your environment, and compilation was kind of slow.
But when I decided to take a look again recently, I remembered that about a year ago they released new project templates and platform extensions that help with the setup of your environment. So I tried it, and it worked well! I have two clean setups right now: my new Surface computer that I reset maybe three weeks ago, and my old MSI computer with 64 gigabytes of RAM. These gave me good places to test.
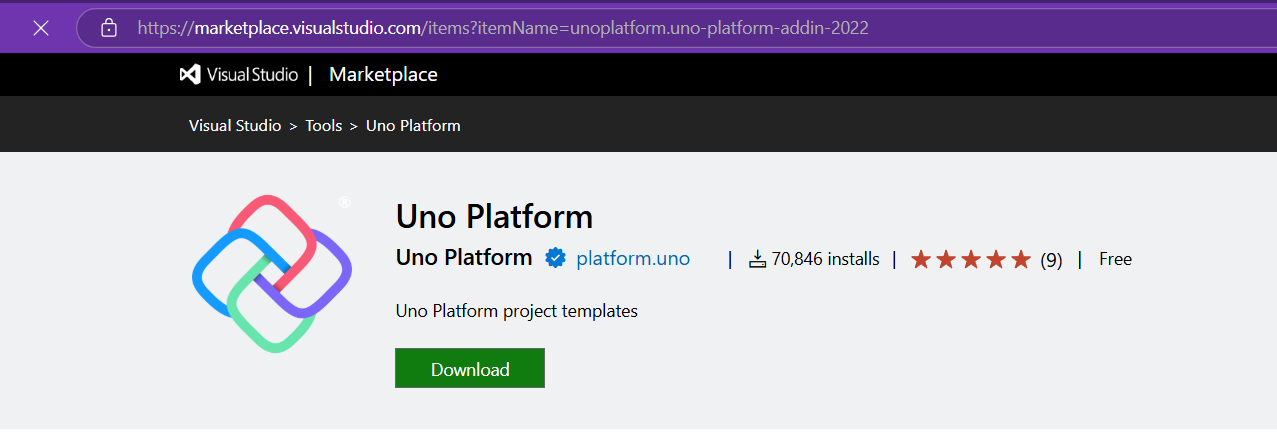
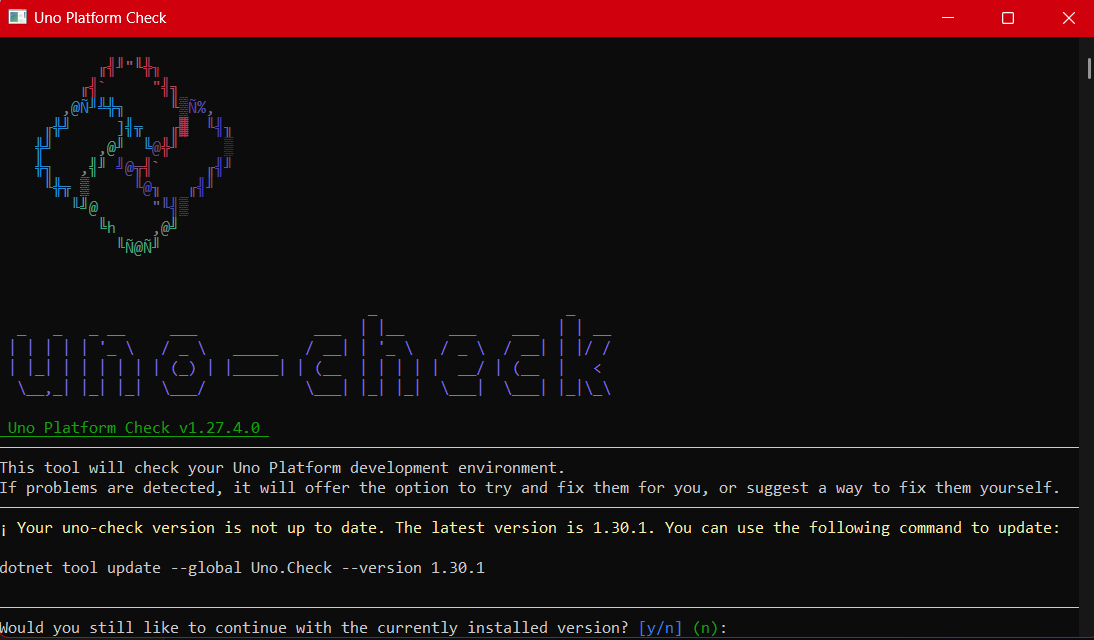
I decided to go to the Uno Platform page and follow the “Getting Started” guide. The first thing you need to do is use some commands to install a tool that checks your setup to see if you have all the necessary workloads. That was super simple. Then you have to add the extension to Visual Studio—I’m using Visual Studio in this case just to add the project templates. You can do this in Rider or Visual Studio Code as well, but the traditional Visual Studio is my tool of preference.
Uno Platform – Visual Studio Marketplace
Setup your environment with uno check
After completing all the setup, you get a menu with a lot of choices, but they give you a set of recommended options that follow best practices. That’s really nice because you don’t have to think too much about it. After that, I created a few projects. The first time I compiled them, it took a little bit, but then it was just like magic—they compiled extremely fast!
You have all these choices to run your app on: WebAssembly, Windows UI, Android, and iOS, and it works perfectly. I fell in love again, especially because the tooling is actually really solid right now. You don’t have to struggle to make it work.
Since then, I’ve been checking the examples and trying to write some code, and so far, so good. I guess my new choice for a UI framework will be Uno because it builds on my current knowledge of .NET and C#. I can take advantage of the tools I already have, and I don’t have to switch languages. I just need to learn a new paradigm.
I will write a series of articles about all my adventures with Uno Platform. I’ll share links about getting started, and after this, I’ll create some sample applications addressing the challenges that app developers face: how to implement navigation, how to register services, how to work with the Model-View-ViewModel pattern, and so on.
I would like to document every challenge I encounter, and I hope that you can join me in these Uno adventures!
About Us
YouTube
https://www.youtube.com/c/JocheOjedaXAFXAMARINC
Our sites
Let’s discuss your XAF
https://calendly.com/bitframeworks/bitframeworks-free-xaf-support-hour/
Our free A.I courses on Udemy