
by Joche Ojeda | Mar 5, 2025 | C#, dotnet, Uno Platform
Exploring the Uno Platform: Handling Unsafe Code in Multi-Target Applications
This last weekend I wanted to do a technical experiment as I always do when I have some free time. I decided there was something new I needed to try and see if I could write about. The weekend turned out to be a beautiful surprise as I went back to test the Uno platform – a multi-OS, multi-target UI framework that generates mobile applications, desktop applications, web applications, and even Linux applications.
The idea of Uno is a beautiful concept, but for a long time, the tooling wasn’t quite there. I had made it work several times in the past, but after an update or something in Visual Studio, the setup would break and applications would become basically impossible to compile. That seems to no longer be the case!
Last weekend, I set up Uno on two different computers: my new Surface laptop with an ARM type of processor (which can sometimes be tricky for some tools) and my old MSI with an x64 type of processor. I was thrilled that the setup was effortless on both machines.
After the successful setup, I decided to download the entire Uno demo repository and start trying out the demos. However, for some reason, they didn’t compile. I eventually realized there was a problem with generated code during compilation time that turned out to be unsafe code. Here are my findings about how to handle the unsafe code that is generated.
AllowUnsafeBlocks Setting in Project File
I discovered that this setting was commented out in the Navigation.csproj file:
<!--<AllowUnsafeBlocks>true</AllowUnsafeBlocks>-->
When uncommented, this setting allows the use of unsafe code blocks in your .NET 8 Uno Platform project. To enable unsafe code, you need to remove the comment markers from this line in your project file.
Why It’s Needed
The <AllowUnsafeBlocks>true</AllowUnsafeBlocks> setting is required whenever you want to use “unsafe” code in C#. By default, C# is designed to be memory-safe, preventing direct memory manipulation that could lead to memory corruption, buffer overflows, or security vulnerabilities. When you add this setting to your project file, you’re explicitly telling the compiler to allow portions of code marked with the unsafe keyword.
Unsafe code lets you work with pointers and perform direct memory operations, which can be useful for:
- Performance-critical operations
- Interoperability with native code
- Direct memory manipulation
What Makes Code “Unsafe”
Code is considered “unsafe” when it bypasses .NET’s memory safety guarantees. Specifically, unsafe code includes:
- Pointer operations: Using the * and -> operators with memory addresses
- Fixed statements: Pinning managed objects in memory so their addresses don’t change during garbage collection
- Sizeof operator: Getting the size of a type in bytes
- Stackalloc keyword: Allocating memory on the stack instead of the heap
Example of Unsafe Code
Here’s an example of unsafe code that might be generated:
unsafe
{
    int[] numbers = new int[] { 10, 20, 30, 40, 50 };

    // UNSAFE: Pinning an array in memory and getting direct pointer
    fixed (int* pNumbers = numbers)
    {
        // UNSAFE: Pointer declaration and manipulation
        int* p = pNumbers;

        // UNSAFE: Dereferencing pointers to modify memory directly
        *p = *p + 5;
        *(p + 1) = *(p + 1) + 5;
    }
}
Why Use Unsafe Code?
There are several legitimate reasons to use unsafe code:
- Performance optimization: For extremely performance-critical sections where you need to eliminate overhead from bounds checking or other safety features.
- Interoperability: When interfacing with native libraries or system APIs that require pointers.
- Low-level operations: For systems programming tasks that require direct memory manipulation, like implementing custom memory managers.
- Hardware access: When working directly with device drivers or memory-mapped hardware.
- Algorithms requiring pointer arithmetic: Some specialized algorithms are most efficiently implemented using pointer operations.
Risks and Considerations
Using unsafe code comes with significant responsibilities:
- You bypass the runtime’s safety checks, so errors can cause application crashes or security vulnerabilities
- Memory leaks are possible if you allocate unmanaged memory and don’t free it properly
- Your code becomes less portable across different .NET implementations
- Debugging unsafe code is more challenging
In general, you should only use unsafe code when absolutely necessary and isolate it in small, well-tested sections of your application.
In conclusion, I’m happy to see that the Uno platform has matured significantly. While there are still some challenges like handling unsafe generated code, the setup process has become much more reliable. If you’re looking to develop truly cross-platform applications with a single codebase, Uno is worth exploring – just remember to uncomment that AllowUnsafeBlocks setting if you run into compilation issues!
by Joche Ojeda | Dec 1, 2024 | Blazor
My journey with Microsoft Semantic Kernel marked the beginning of a new adventure: stepping out of my comfort zone as a backend developer to create applications with user interfaces, rather than just building apps for unit and integration testing.
I naturally chose Blazor as my UI framework, and I’ll be sharing my frontend development experiences here. Sometimes it can be frustratingly difficult to accomplish seemingly simple tasks (like centering a div!), but AI assistants like GitHub Copilot have been incredibly helpful in reducing those pain points.
One of my recent challenges involved programmatically including JavaScript and CSS in Blazor applications. I prefer an automated approach rather than manually adding tags to HTML. Back in the .NET 5 era, I wrote an article about using tag helpers for this purpose, which you can find here
However, I recently discovered that my original approach no longer works. I’ve been developing several prototypes using the new DevExpress Chat component, and many of these prototypes include custom components that require JavaScript and CSS. Despite my attempts, I couldn’t get these components to work with the tag helpers, and the reason wasn’t immediately obvious. During the Thanksgiving break, I decided to investigate this issue, and I’d like to share what I found.
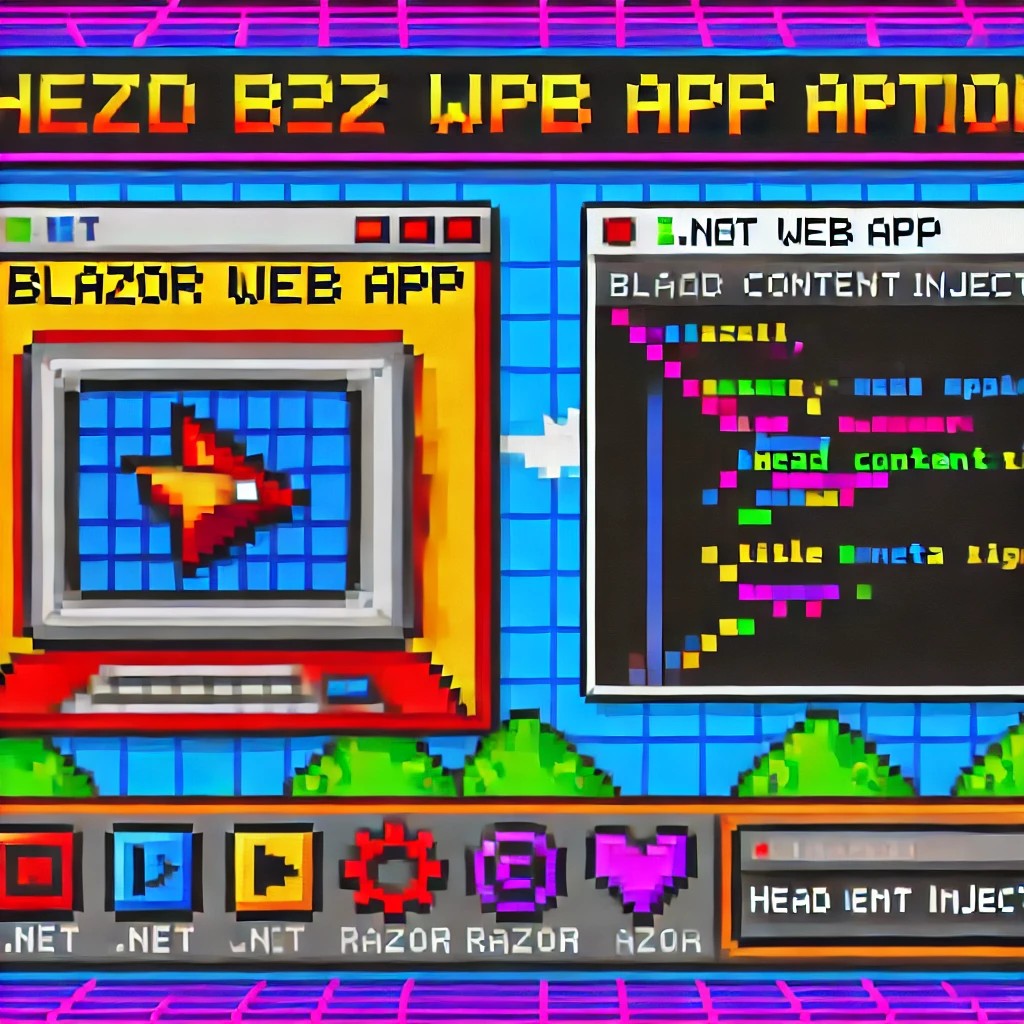
With the release of .NET 8, Blazor introduced a new web app template that unifies Blazor Server and WebAssembly into a single project structure. This change affects how we inject content into the document’s head section, particularly when working with Tag Helpers or components.
Understanding the Changes
In previous versions of Blazor, we typically worked with _Host.cshtml for server-side rendering, where traditional ASP.NET Core Tag Helpers could target the <head> element directly. The new .NET 8 Blazor Web App template uses App.razor as the root component and introduces the <HeadOutlet> component for managing head content.
Approach 1: Adapting Tag Helpers
If you’re migrating existing Tag Helpers or creating new ones for head content injection, you’ll need to modify them to target HeadOutlet instead of the head element:
using Microsoft.AspNetCore.Razor.TagHelpers;

namespace YourNamespace
{
    [HtmlTargetElement("HeadOutlet")]
    public class CustomScriptTagHelper : TagHelper
    {
        public override void Process(TagHelperContext context, TagHelperOutput output)
        {
            output.PostContent.AppendHtml(
                "<script src=\"_content/YourLibrary/js/script.js\"></script>"
            );
        }
    }
}
Remember to register your Tag Helper in _Imports.razor:
@addTagHelper *, YourLibrary
Approach 2: Using Blazor Components (Recommended)
While adapting Tag Helpers works, Blazor offers a more idiomatic approach using components and the HeadContent component. This approach aligns better with Blazor’s component-based architecture:
@namespace YourNamespace
@implements IComponentRenderMode

<HeadContent>
    <script src="_content/YourLibrary/js/script.js"></script>
</HeadContent>
To use this component in your App.razor:
<head>
    <!-- Other head elements -->
    <HeadOutlet @rendermode="RenderModeForPage" />
    <YourScriptComponent @rendermode="RenderModeForPage" />
</head>
Benefits of the Component Approach
- Better Integration: Components work seamlessly with Blazor’s rendering model
- Render Mode Support: Easy to control rendering based on the current render mode (Interactive Server, WebAssembly, or Auto)
- Dynamic Content: Can leverage Blazor’s full component lifecycle and state management
- Type Safety: Provides compile-time checking and better tooling support
Best Practices
- Prefer the component-based approach for new development
- Use Tag Helpers only when migrating existing code or when you need specific ASP.NET Core pipeline integration
- Always specify the
@rendermode attribute to ensure proper rendering in different scenarios
- Place custom head content components after HeadOutlet to ensure proper ordering
Conclusion
While both approaches work in .NET 8 Blazor Web Apps, the component-based approach using HeadContent provides a more natural fit with Blazor’s architecture and offers better maintainability and flexibility. When building new applications, consider using components unless you have a specific need for Tag Helper functionality.

by Joche Ojeda | Mar 7, 2024 | C#, dotnet, netcore, netframework
Understanding AppDomains in .NET Framework and .NET 5 to 8
AppDomains, or Application Domains, have been a fundamental part of isolation and security in the .NET Framework, allowing multiple applications to run under a single process without affecting each other. However, the introduction of .NET Core and its evolution through .NET 5 to 8 has brought significant changes to how isolation and application boundaries are handled. This article will explore the concept of AppDomains in the .NET Framework, their transition and replacement in .NET 5 to 8, and provide code examples to illustrate these differences.
AppDomains in .NET Framework
In the .NET Framework, AppDomains served as an isolation boundary for applications, providing a secure and stable environment for code execution. They enabled developers to load and unload assemblies without affecting the entire application, facilitating application updates, and minimizing downtime.
Creating an AppDomain
using System;

namespace NetFrameworkAppDomains
{
    class Program
    {
        static void Main(string[] args)
        {
            // Create a new application domain
            AppDomain newDomain = AppDomain.CreateDomain("NewAppDomain");

            // Load an assembly into the application domain
            newDomain.ExecuteAssembly("MyAssembly.exe");

            // Unload the application domain
            AppDomain.Unload(newDomain);
        }
    }
}
AppDomains in .NET 5 to 8
With the shift to .NET Core and its successors, the concept of AppDomains was deprecated, reflecting the platform’s move towards cross-platform compatibility and microservices architecture. Instead of AppDomains, .NET 5 to 8 emphasizes on assembly loading contexts for isolation and the use of containers (like Docker) for application separation.
AssemblyLoadContext in .NET 5 to 8
using System;
using System.Reflection;
using System.Runtime.Loader;

namespace NetCoreAssemblyLoading
{
    class Program
    {
        static void Main(string[] args)
        {
            // Create a new AssemblyLoadContext
            var loadContext = new AssemblyLoadContext("MyLoadContext", true);

            // Load an assembly into the context
            Assembly assembly = loadContext.LoadFromAssemblyPath("MyAssembly.dll");

            // Execute a method from the assembly (example method)
            MethodInfo methodInfo = assembly.GetType("MyNamespace.MyClass").GetMethod("MyMethod");
            methodInfo.Invoke(null, null);

            // Unload the AssemblyLoadContext
            loadContext.Unload();
        }
    }
}
Differences and Considerations
- Isolation Level: AppDomains provided process-level isolation without needing multiple processes. In contrast,
AssemblyLoadContext provides a lighter-weight mechanism for loading assemblies but doesn’t offer the same isolation level. For higher isolation, .NET 5 to 8 applications are encouraged to use containers or separate processes.
- Compatibility: AppDomains are specific to the .NET Framework and are not supported in .NET Core and its successors. Applications migrating to .NET 5 to 8 need to adapt their architecture to use
AssemblyLoadContext or explore alternative isolation mechanisms like containers.
- Performance: The move away from AppDomains to more granular assembly loading and containers reflects a shift towards microservices and cloud-native applications, where performance, scalability, and cross-platform compatibility are prioritized.
Conclusion
While the transition from AppDomains to AssemblyLoadContext and container-based isolation marks a significant shift in application architecture, it aligns with the modern development practices and requirements of .NET applications. Understanding these differences is crucial for developers migrating from the .NET Framework to .NET 5 to