
by Joche Ojeda | Apr 2, 2025 | Uncategorized
It’s been a week since the Microsoft MVP Summit, and now I finally sit at Javier’s home trying to write about my trip and experience there. So let’s start!
The Journey
First, I needed to fly via Istanbul. That meant waking up around 2:00 AM to go to the airport and catch my flight at 6:00 AM. In Istanbul, I was really lucky because I was in the new airport which is huge and it has a great business lounge to wait in, so I could get some rest between my flights from Istanbul to Seattle.
I tried to sleep a little. The main problem was that the business lounge was on one side of the airport and my gate was on the other side, about 1 kilometer away. It’s a really big airport! I had to walk all that distance, and they announced the gate really late, so I only had about 15 minutes to get there—a really short time.
After that, I took my flight to the States, from Istanbul to Seattle. The route goes through the Arctic (near the North Pole)—you go up and then a little bit to the right, and then you end up in Seattle. It was a strange route; I’d never used it before. The flight was long, around 15 hours, but it wasn’t bad. I enjoyed Turkish Airlines when they use the big airplanes.
Arrival Challenges
I landed in Seattle around 6:00 PM. Then I had to go through immigration control and collect my luggage, which took almost two hours. After that, I went to the Airbnb, which was super beautiful, but I couldn’t get in because the owners had left the gate closed from the inside, and there were no lights at all, so it was impossible to enter. I waited for two hours for Javier to contact them, and after a while, it started raining, so I decided to go to a hotel. I booked a hotel for the night and took a 30-minute taxi ride. I finally went to bed on Monday at 11:00 PM, which was really late.
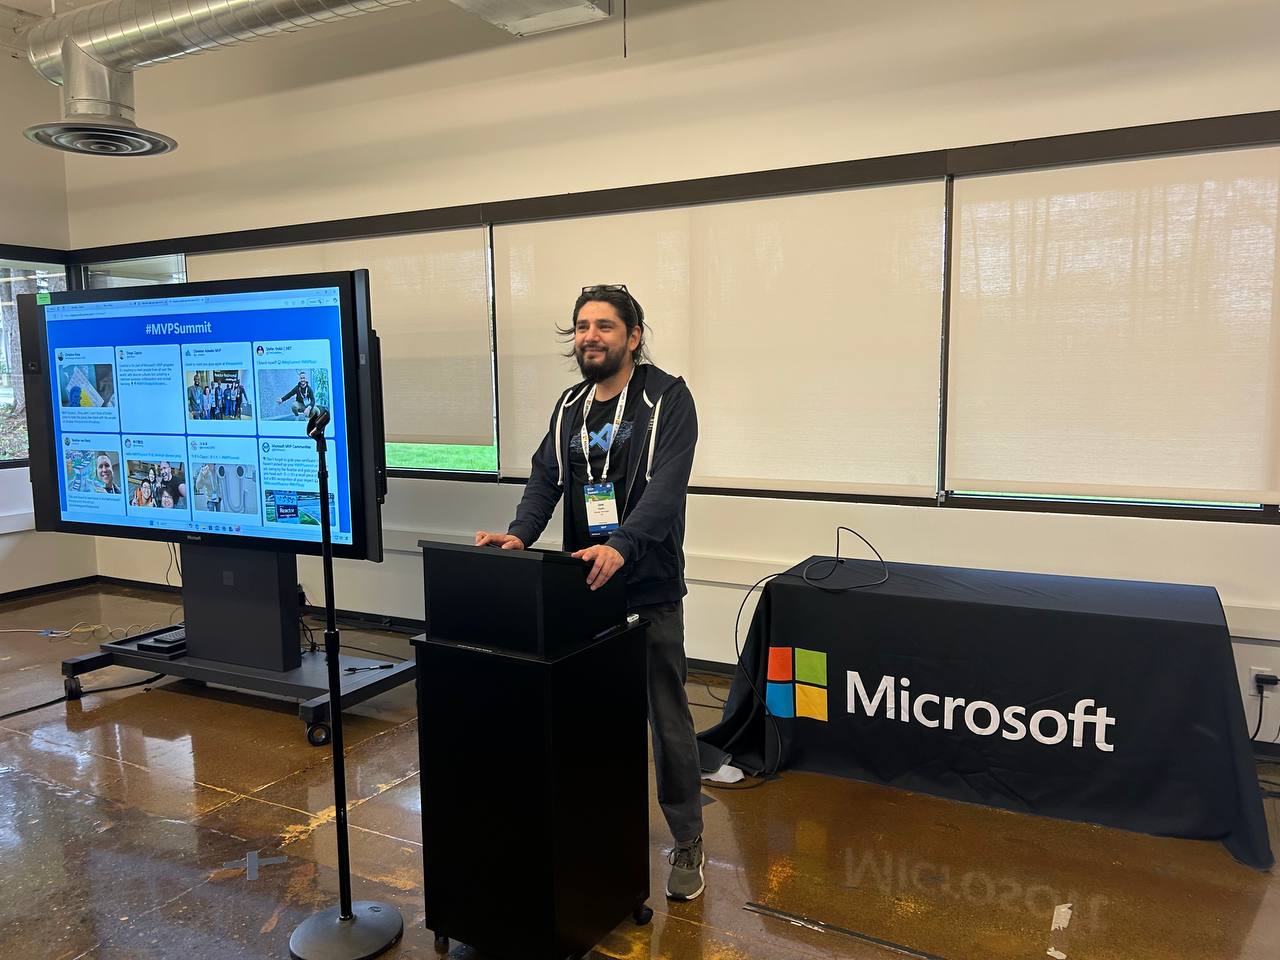
Day One at the Summit
The next day, I needed to drop my bags at the Airbnb and go to the MVP Summit. It was a nice experience. Javier was flying in that day and arrived around 3:00 PM, so I went to the first part alone. I missed the keynote because I had to drop off my bags and do all that stuff, so I ended up arriving around 11:00 AM.
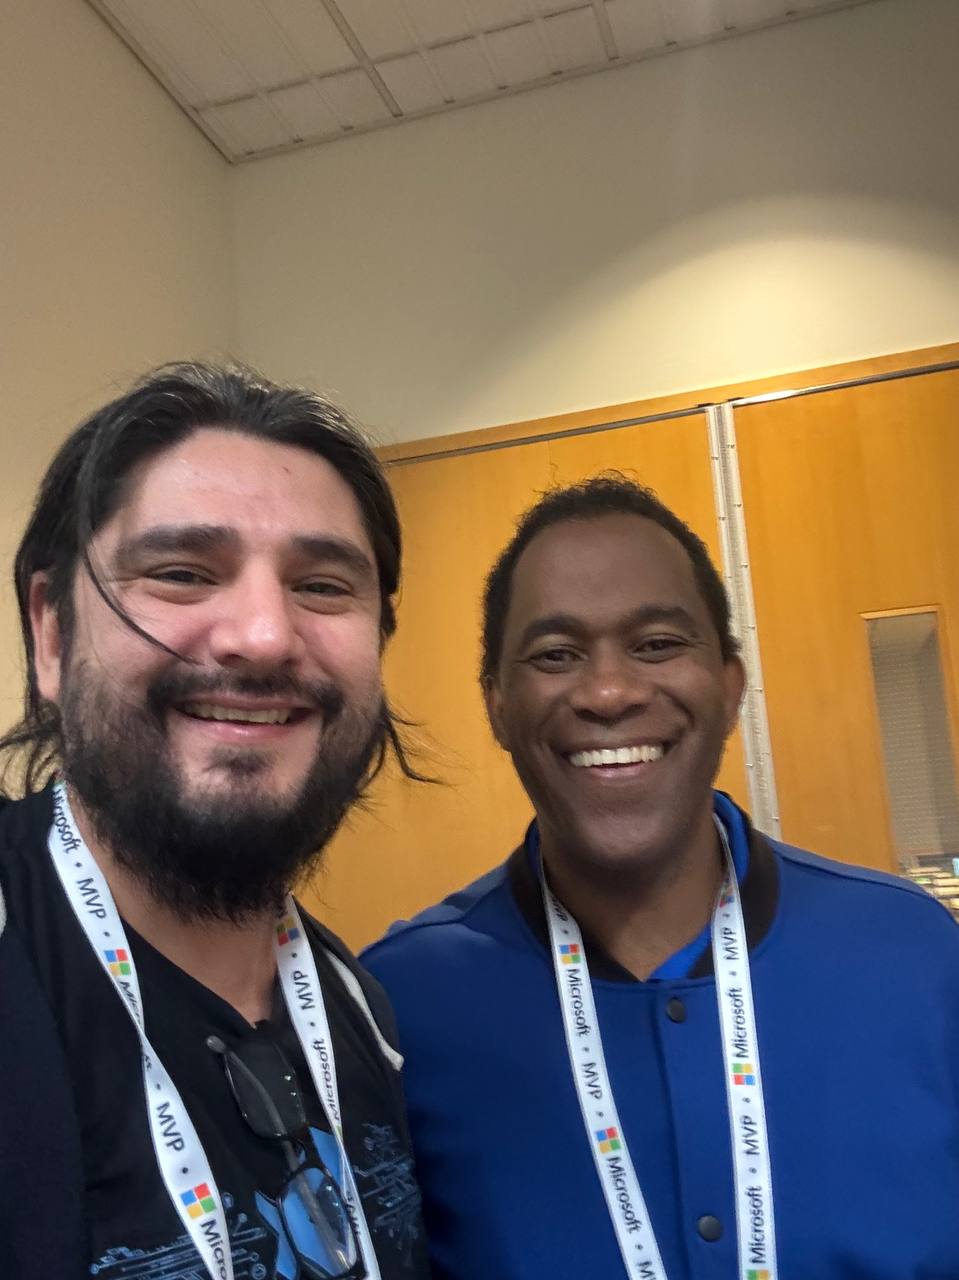
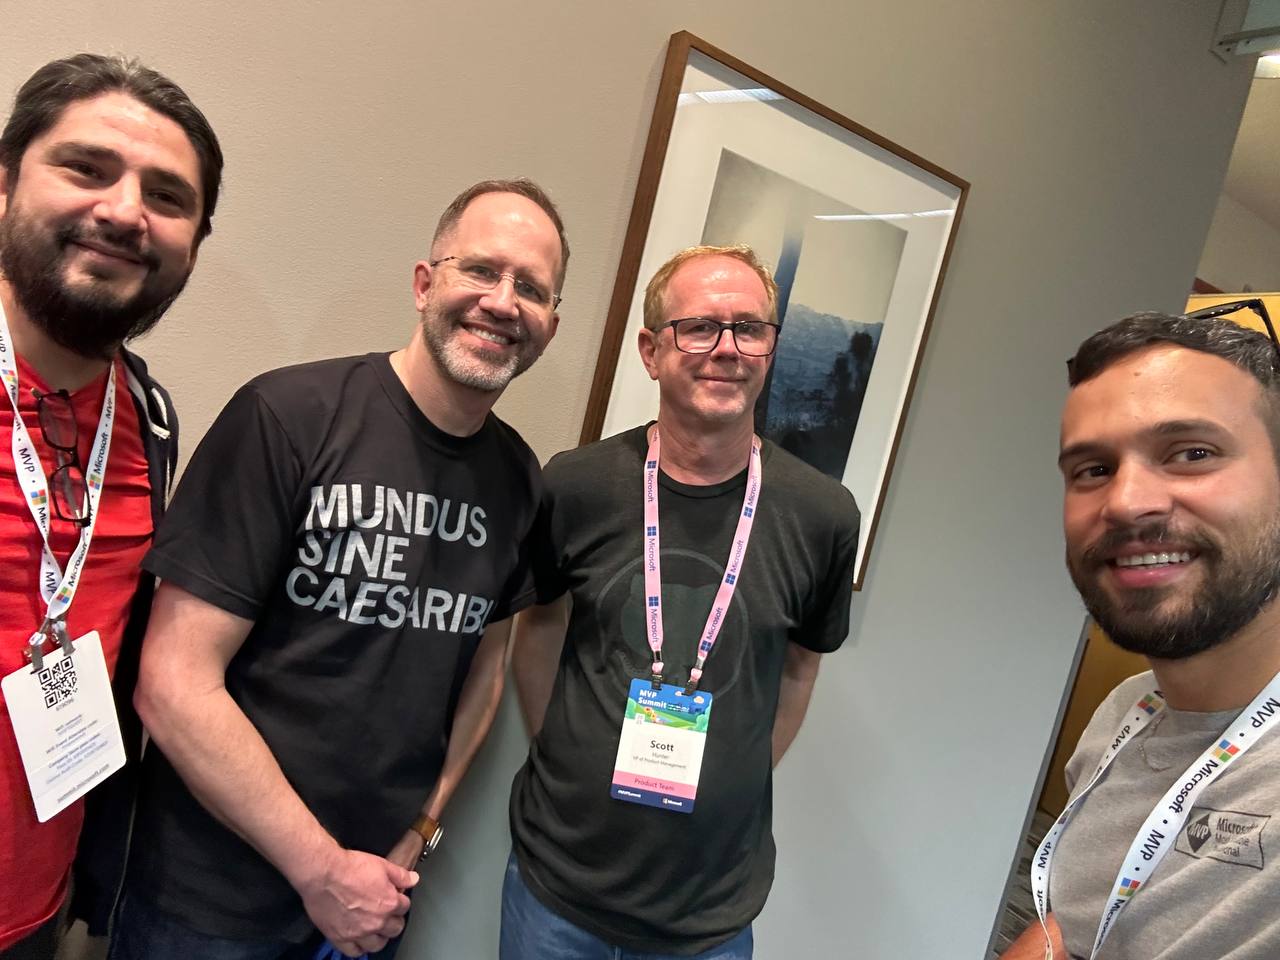
The first person I met was Veronica, and we talked for a bit. Then I went to one of the sessions—of course, it was a Copilot session. In the afternoon, I met up with Javier, we grabbed some swag, and went to the Hub. Then I met Pablo from Argentina, and by the end of the day, I got together with Michael Washington, who I always hang out with during the MVP Summits.
Time to go home—it was a long day. We went back to the Airbnb, but didn’t do much. We just watched a TV show that our friend Hector recommended on Netflix.
Day Two: Meeting Peers
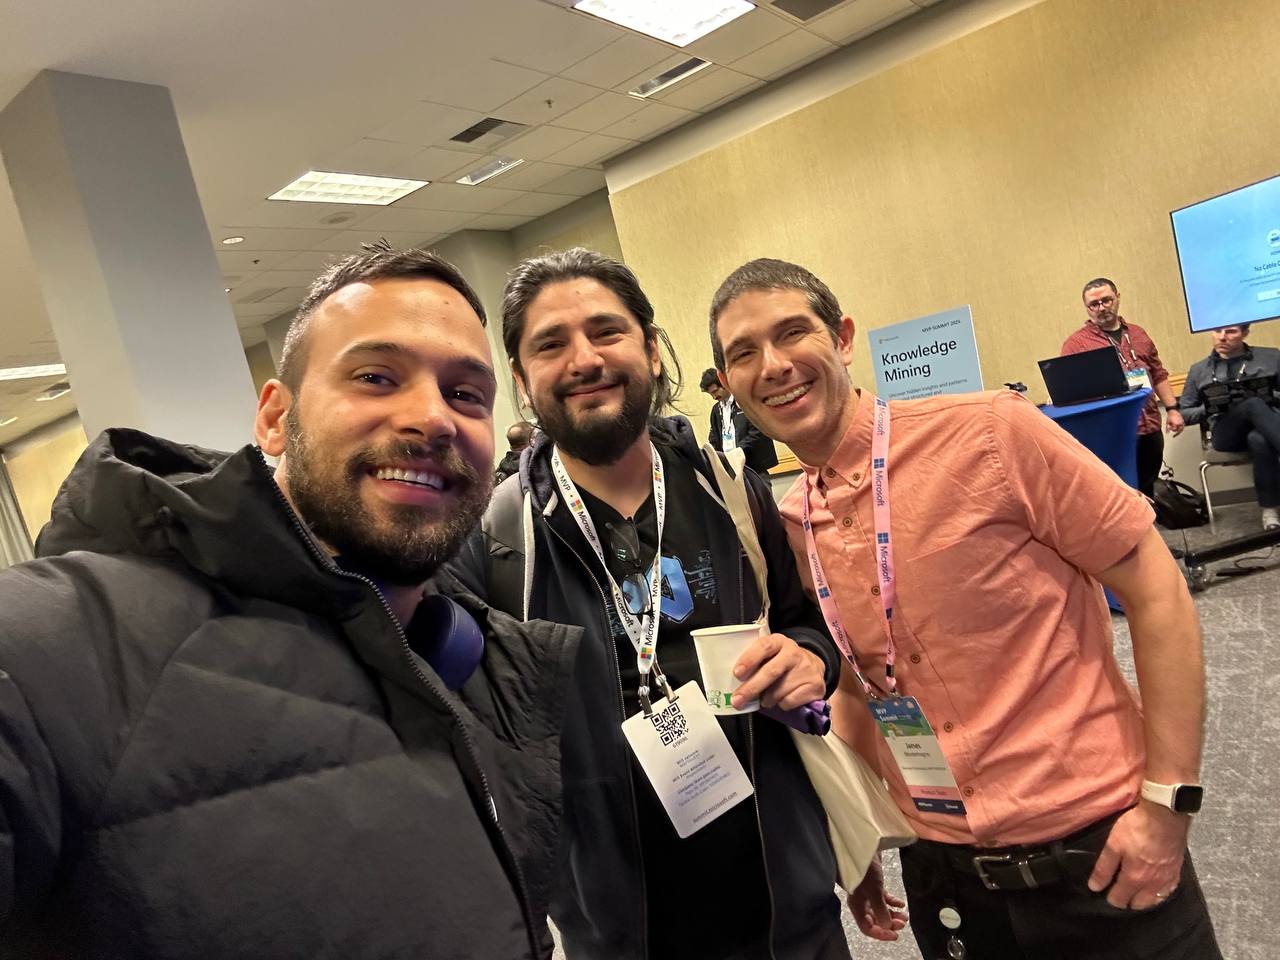
For day two, the sessions were great, but what I recall most are my meetings with specific people. When you go to the MVP Summits, you get to meet your peers. Usually, it’s like you’re good at one thing—for example, Javier and I do AI courses, and most of what we write about is general development—but there are people who really specialize.
For instance, I met the people from the Uno team, amazing people. Jerome and his team are always on the bleeding edge of .NET. We talked about the “black magic” they’ve written for their multi-target single application for Uno. It’s always nice to meet the Uno team.

I met with Michael Washington again several times in the hallways of Microsoft, and we talked about how to redirect Microsoft AI extensions to use LLM Studio, which is kind of tricky. It’s not something you can do really easily, like with Semantic Kernel where you only need to replace the HTTP client and then you’re good to go. In LLM Studio, it’s a different trick, so I’ll write about it later.
In one of the sessions, Mads Kristensen sat by my side, and I was trying to get some information from him on how to create an extension. Long ago, there was an extension from Oliver Sturm called “Instant Program Gratification” or something similar that displayed a huge congratulation message on the screen every time your compile succeeded, and if it failed, it would display something like “Hey, you need more coffee!” on the screen. I asked Mads how to achieve that with the new extension toolkit, and he explained it to me—he’s the king of extensions for Visual Studio.
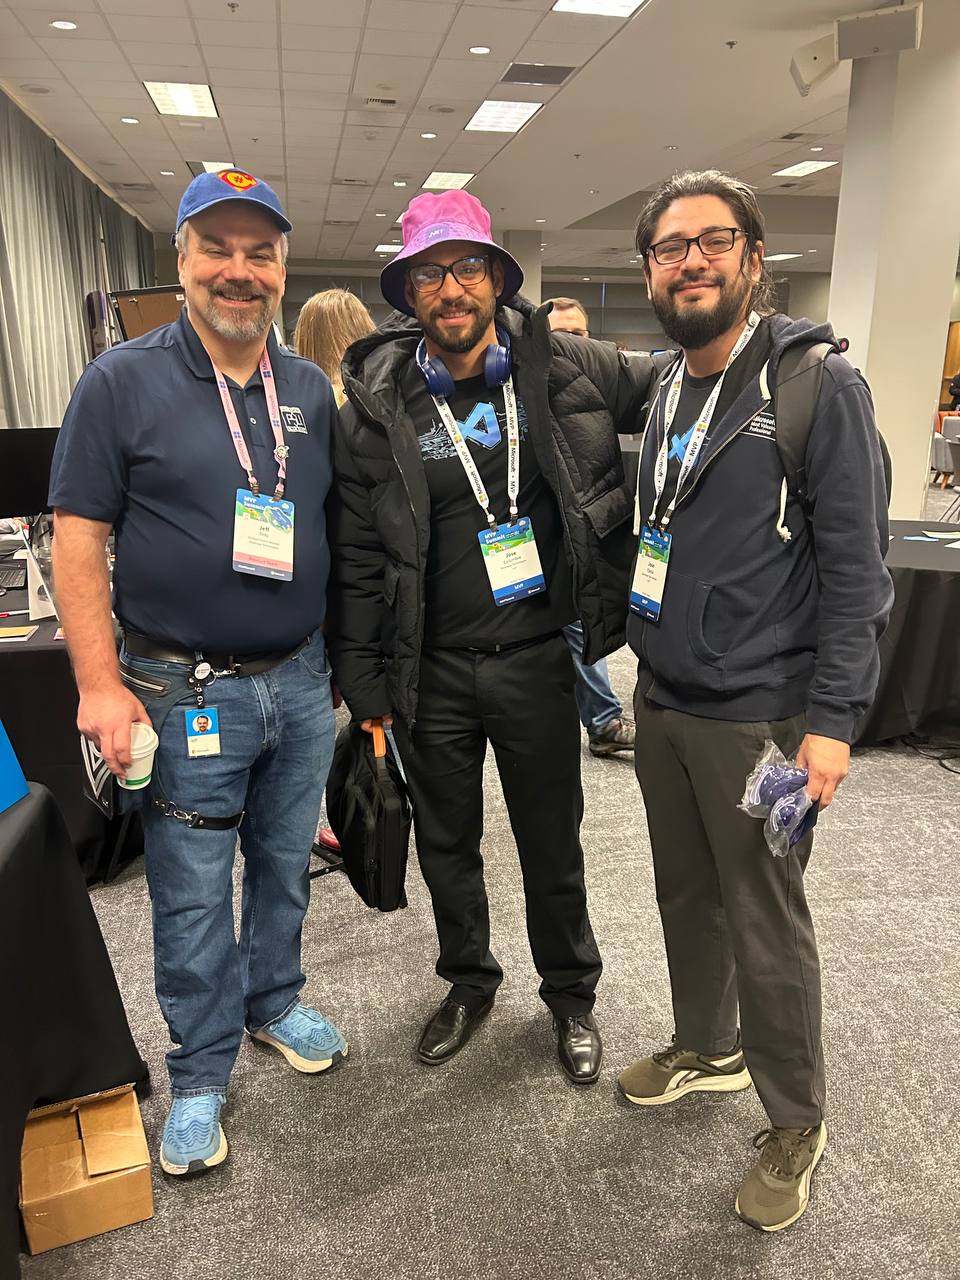
Then I met someone new, Jeremy Sinclair, whom Javier introduced me to. We had one of those deep technical conversations about how Windows runs on ARM CPUs and the problems this can bring or how easy some things can be. It’s ironic because the Android architecture is usually ARM, but it doesn’t run on ARM computers because ARM computers emulate x64. We talked a lot about the challenges you might encounter and how to address them. Jeremy has managed to do it; he’s written some articles about what to expect when moving to an ARM computer. He also talked about how the future and the present for MAUI is at the moment.
He was also wearing the Ray-Ban Meta glasses, and I asked him, “Hey, how are they?” He told me they’re nice, though the battery life isn’t great, but they’re kind of fun. So I ordered a pair of Meta Ray-Ban AI glasses, and I like them so far.

More Memorable Conversations
Another great conversation that we had with Javier was with James Montemagno. We met him in the Hub, and then we talked a lot about how we started. I’ve been a long-term fan of Merge Conflict, their podcast, and Javier introduced me to that podcast a long time ago when we met around 9 years ago. When he was traveling to work, he called me, we talked mostly about development for about one hour on his way to work, and then he told me, “Hey, I listen to this and this podcast, I listen to that and that podcast.” So I became a follower of Merge Conflict after that.
James explained all the adventures on the Xamarin team, how it went when Xamarin joined Microsoft, about the difference between Xamarin from Microsoft and Xamarin from Xamarin Forms, and how life is changing for him as more of a project manager than an advocate. So he’s kind of busy all the time, but we had this really long conversation, like 40 minutes or so. He was really open about talking about his adventure of joining Microsoft and eventually working in the MAUI team.
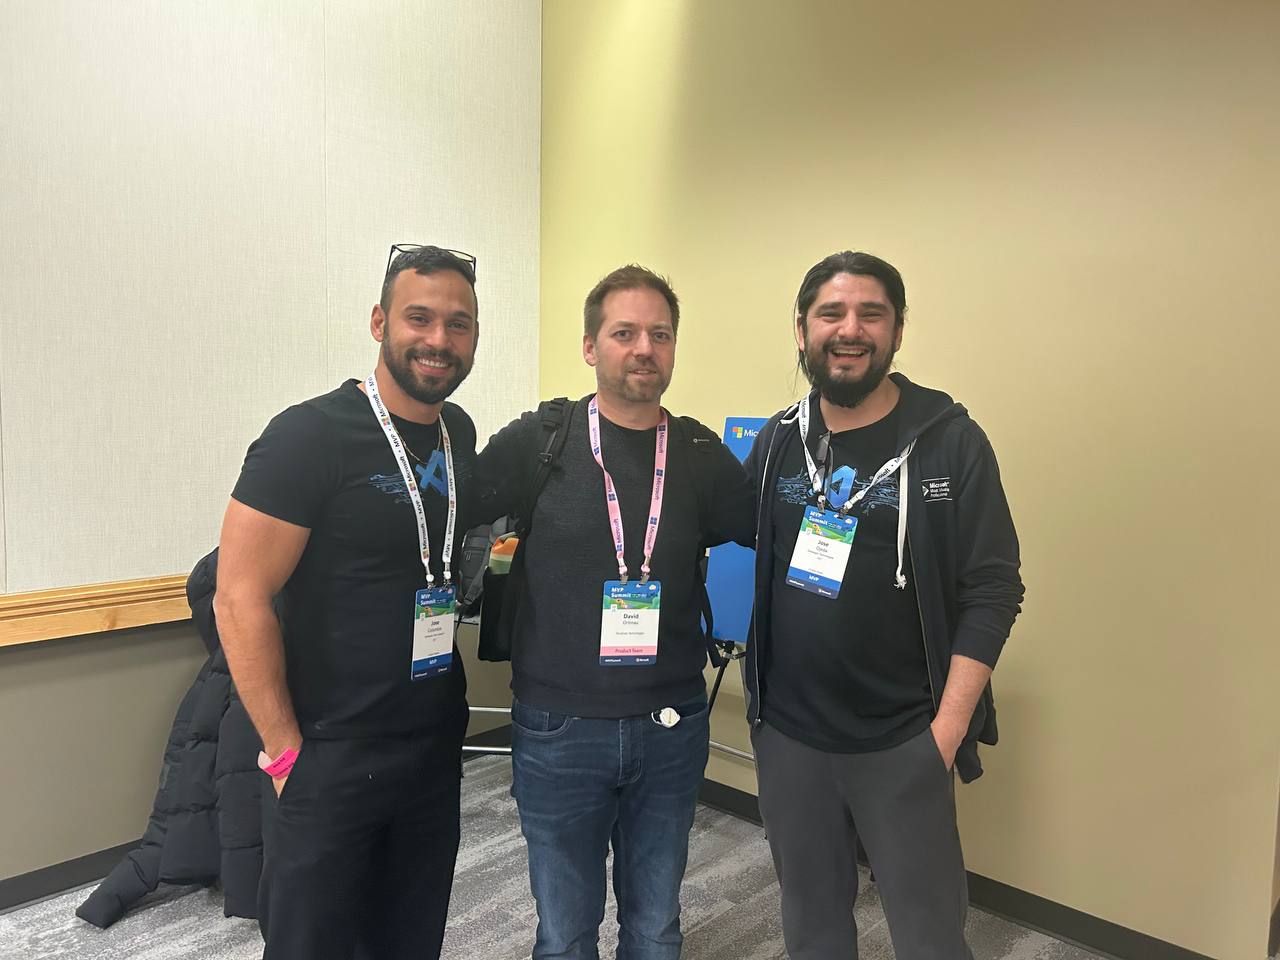
We also met David from the MAUI team, and he was so nice. Long time ago, he featured our company in the list of companies that have made apps with MAUI, and we were on the list they showed in one of the conferences. So we thanked him for that.
That’s everyone I met at the MVP Summit. I had a great time, and I can’t believe it’s been a year already. I’m looking forward to meeting everyone next year and seeing what we come up with during 2025!

by Joche Ojeda | Mar 11, 2025 | http, MAUI, Xamarin
When developing cross-platform mobile applications with .NET MAUI (or previously Xamarin), you may encounter situations where your app works perfectly with public APIs but fails when connecting to internal network services. These issues often stem from HTTP client implementation differences, certificate validation, and TLS compatibility. This article explores how to identify, troubleshoot, and resolve these common networking challenges.
Understanding HTTP Client Options in MAUI/Xamarin
In the MAUI/.NET ecosystem, developers have access to two primary HTTP client implementations:
1. Managed HttpClient (Microsoft’s implementation)
- Cross-platform implementation built into .NET
- Consistent behavior across different operating systems
- May handle SSL/TLS differently than platform-native implementations
- Uses the .NET certificate validation system
2. Native HttpClient (Android’s implementation)
- Leverages the platform’s native networking stack
- Typically offers better performance on the specific platform
- Uses the device’s system certificate trust store
- Follows platform-specific security policies and restrictions
Switching Between Native and Managed HttpClient
In MAUI Applications
MAUI provides a flexible handler registration system that lets you explicitly choose which implementation to use:
// In your MauiProgram.cs
public static MauiApp CreateMauiApp()
{
    var builder = MauiApp.CreateBuilder();
    builder
        .UseMauiApp<App>()
        .ConfigureMauiHandlers(handlers =>
        {
            // Use the managed implementation (Microsoft's .NET HttpClient)
            handlers.AddHandler(typeof(HttpClient), typeof(ManagedHttpMessageHandler));

            // OR use the native implementation (platform-specific)
            // handlers.AddHandler(typeof(HttpClient), typeof(PlatformHttpMessageHandler));
        });

    return builder.Build();
}
In Xamarin.Forms Legacy Applications
For Xamarin.Forms applications, set this in your platform-specific initialization code:
// In MainActivity.cs (Android) or AppDelegate.cs (iOS)
HttpClientHandler.UseNativePlatformHandler = false; // Use managed handler
// OR
HttpClientHandler.UseNativePlatformHandler = true;  // Use native handler
Creating Specific Client Instances
You can also explicitly create HttpClient instances with specific handlers when needed:
// Use the managed handler
var managedHandler = new HttpClientHandler();
var managedClient = new HttpClient(managedHandler);

// Use the native handler (with DependencyService in Xamarin)
var nativeHandler = DependencyService.Get<INativeHttpClientHandler>();
var nativeClient = new HttpClient(nativeHandler);
Using HttpClientFactory (Recommended for MAUI)
For better control, testability, and lifecycle management, consider using HttpClientFactory:
// In your MauiProgram.cs
builder.Services.AddHttpClient("ManagedClient", client => {
    client.BaseAddress = new Uri("https://your.api.url/");
})
.ConfigurePrimaryHttpMessageHandler(() => new SocketsHttpHandler());

// Then inject and use it in your services
public class MyApiService
{
    private readonly HttpClient _client;

    public MyApiService(IHttpClientFactory clientFactory)
    {
        _client = clientFactory.CreateClient("ManagedClient");
    }
}
Common Issues and Troubleshooting
1. Self-Signed Certificates
Internal APIs often use self-signed certificates that aren’t trusted by default. Here’s how to handle them:
// Option 1: Create a custom handler that bypasses certificate validation
// (ONLY for development/testing environments)
var handler = new HttpClientHandler
{
    ServerCertificateCustomValidationCallback = (message, cert, chain, errors) => true
};
var client = new HttpClient(handler);
For production environments, instead of bypassing validation:
- Add your self-signed certificate to the Android trust store
- Configure your app to trust specific certificates
- Generate proper certificates from a trusted Certificate Authority
2. TLS Version Mismatches
Different Android versions support different TLS versions by default:
- Android 4.1-4.4: TLS 1.0 by default
- Android 5.0+: TLS 1.0, 1.1, 1.2
- Android 10+: TLS 1.3 support
If your server requires a specific TLS version:
// Force specific TLS versions
System.Net.ServicePointManager.SecurityProtocol = SecurityProtocolType.Tls12 | SecurityProtocolType.Tls13;
3. Network Configuration
Ensure your app has the proper permissions in the AndroidManifest.xml:
<uses-permission android:name="android.permission.INTERNET" />
<uses-permission android:name="android.permission.ACCESS_NETWORK_STATE" />
For Android 9+ (API level 28+), configure network security:
<!-- Create a network_security_config.xml file in Resources/xml -->
<?xml version="1.0" encoding="utf-8"?>
<network-security-config>
    <domain-config cleartextTrafficPermitted="true">
        <domain includeSubdomains="true">your.internal.domain</domain>
    </domain-config>
</network-security-config>
Then reference it in your AndroidManifest.xml:
<application android:networkSecurityConfig="@xml/network_security_config">
Practical Troubleshooting Steps
- Test with both HTTP client implementationsSwitch between native and managed implementations to isolate whether the issue is specific to one implementation
- Test the API endpoint outside your appUse tools like Postman or curl on the same network
- Enable logging for network calls
// Add this before making requests
HttpClient.DefaultRequestHeaders.TryAddWithoutValidation("User-Agent", "YourApp/1.0");
- Capture and inspect network trafficUse Charles Proxy or Fiddler to inspect the actual requests/responses
- Check certificate information
# On your development machine
openssl s_client -connect your.internal.server:443 -showcerts
- Verify which implementation you’re using
var client = new HttpClient();
var handlerType = client.GetType().GetField("_handler",
    System.Reflection.BindingFlags.Instance |
    System.Reflection.BindingFlags.NonPublic)?.GetValue(client);

Console.WriteLine($"Using handler: {handlerType?.GetType().FullName}");
- Debug specific errors
- For Java.IO.IOException: “Trust anchor for certification path not found” – this means your app doesn’t trust the certificate
- For HttpRequestException with “The SSL connection could not be established” – likely a TLS version mismatch
Conclusion
When your MAUI Android app connects successfully to public APIs but fails with internal network services, the issue often lies with HTTP client implementation differences, certificate validation, or TLS compatibility. By systematically switching between native and managed HTTP clients and applying the troubleshooting techniques outlined above, you can identify and resolve these networking challenges.
Remember that each implementation has its advantages – the native implementation typically offers better performance and follows platform-specific security policies, while the managed implementation provides more consistent cross-platform behavior. Choose the one that best fits your specific requirements and security considerations.
About Us
YouTube
https://www.youtube.com/c/JocheOjedaXAFXAMARINC
Our sites
Let’s discuss your XAF
https://www.udemy.com/course/microsoft-ai-extensions/
Our free A.I courses on Udemy

by Joche Ojeda | Dec 2, 2024 | Blazor
Over time, I transitioned to using the first versions of my beloved framework, XAF. As you might know, XAF generates a polished and functional UI out of the box. Using XAF made me more of a backend developer since most of the development work wasn’t visual—especially in the early versions, where the model designer was rudimentary (it’s much better now).
Eventually, I moved on to developing .NET libraries and NuGet packages, diving deep into SOLID design principles. Fun fact: I actually learned about SOLID from DevExpress TV. Yes, there was a time before YouTube when DevExpress posted videos on technical tasks!
Nowadays, I feel confident creating and publishing my own libraries as NuGet packages. However, my “old monster” was still lurking in the shadows: UI components. I finally decided it was time to conquer it, but first, I needed to choose a platform. Here were my options:
- Windows Forms: A robust and mature platform but limited to desktop applications.
- WPF: A great option with some excellent UI frameworks that I love, but it still feels a bit “Windows Forms-ish” to me.
- Xamarin/Maui: I’m a big fan of Xamarin Forms and Xamarin/Maui XAML, but they’re primarily focused on device-specific applications.
- Blazor: This was the clear winner because it allows me to create desktop applications using Electron, embed components into Windows Forms, or even integrate with MAUI.
Recently, I’ve been helping my brother with a project in Blazor. (He’s not a programmer, but I am.) This gave me an opportunity to experiment with design patterns to get the most out of my components, which started as plain HTML5 pages.
Without further ado, here are the key insights I’ve gained so far.
Building high-quality Blazor components requires attention to both the C# implementation and Razor markup patterns. This guide combines architectural best practices with practical implementation patterns to create robust, reusable components.
1. Component Architecture and Organization
Parameter Organization
Start by organizing parameters into logical groups for better maintainability:
public class CustomForm : ComponentBase
{
    // Layout Parameters
    [Parameter] public string Width { get; set; }
    [Parameter] public string Margin { get; set; }
    [Parameter] public string Padding { get; set; }

    // Validation Parameters
    [Parameter] public bool EnableValidation { get; set; }
    [Parameter] public string ValidationMessage { get; set; }

    // Event Callbacks
    [Parameter] public EventCallback<bool> OnValidationComplete { get; set; }
    [Parameter] public EventCallback<string> OnSubmit { get; set; }
}
Corresponding Razor Template
<div class="form-container" style="width: @Width; margin: @Margin; padding: @Padding">
    <form @onsubmit="HandleSubmit">
        @if (EnableValidation)
        {
            <div class="validation-message">
                @ValidationMessage
            </div>
        }
        @ChildContent
    </form>
</div>
2. Smart Default Values and Template Composition
Component Implementation
public class DataTable<T> : ComponentBase
{
    [Parameter] public int PageSize { get; set; } = 10;
    [Parameter] public bool ShowPagination { get; set; } = true;
    [Parameter] public string EmptyMessage { get; set; } = "No data available";
    [Parameter] public IEnumerable<T> Items { get; set; } = Array.Empty<T>();
    [Parameter] public RenderFragment HeaderTemplate { get; set; }
    [Parameter] public RenderFragment<T> RowTemplate { get; set; }
    [Parameter] public RenderFragment FooterTemplate { get; set; }
}
Razor Implementation
<div class="table-container">
    @if (HeaderTemplate != null)
    {
        <header class="table-header">
            @HeaderTemplate
        </header>
    }

    <div class="table-content">
        @if (!Items.Any())
        {
            <div class="empty-state">@EmptyMessage</div>
        }
        else
        {
            @foreach (var item in Items)
            {
                @RowTemplate(item)
            }
        }
    </div>

    @if (ShowPagination)
    {
        <div class="pagination">
            <!-- Pagination implementation -->
        </div>
    }
</div>
3. Accessibility and Unique IDs
Component Implementation
public class FormField : ComponentBase
{
    private string fieldId = $"field-{Guid.NewGuid():N}";
    private string labelId = $"label-{Guid.NewGuid():N}";
    private string errorId = $"error-{Guid.NewGuid():N}";

    [Parameter] public string Label { get; set; }
    [Parameter] public string Error { get; set; }
    [Parameter] public bool Required { get; set; }
}
Razor Implementation
<div class="form-field">
    <label id="@labelId" for="@fieldId">
        @Label
        @if (Required)
        {
            <span class="required" aria-label="required">*</span>
        }
    </label>

    <input id="@fieldId"
           aria-labelledby="@labelId"
           aria-describedby="@errorId"
           aria-required="@Required" />

    @if (!string.IsNullOrEmpty(Error))
    {
        <div id="@errorId" class="error-message" role="alert">
            @Error
        </div>
    }
</div>
4. Virtualization and Performance
Component Implementation
public class VirtualizedList<T> : ComponentBase
{
    [Parameter] public IEnumerable<T> Items { get; set; }
    [Parameter] public RenderFragment<T> ItemTemplate { get; set; }
    [Parameter] public int ItemHeight { get; set; } = 50;
    [Parameter] public Func<ItemsProviderRequest, ValueTask<ItemsProviderResult<T>>> ItemsProvider { get; set; }
}
Razor Implementation
<div class="virtualized-container" style="height: 500px; overflow-y: auto;">
    <Virtualize Items="@Items"
                ItemSize="@ItemHeight"
                ItemsProvider="@ItemsProvider"
                Context="item">
        <ItemContent>
            <div class="list-item" style="height: @(ItemHeight)px">
                @ItemTemplate(item)
            </div>
        </ItemContent>
        <Placeholder>
            <div class="loading-placeholder" style="height: @(ItemHeight)px">
                <div class="loading-animation"></div>
            </div>
        </Placeholder>
    </Virtualize>
</div>
Best Practices Summary
1. Parameter Organization
- Group related parameters with clear comments
- Provide meaningful default values
- Use parameter validation where appropriate
2. Template Composition
- Use RenderFragment for customizable sections
- Provide default templates when needed
- Enable granular control over component appearance
3. Accessibility
- Generate unique IDs for form elements
- Include proper ARIA attributes
- Support keyboard navigation
4. Performance
- Implement virtualization for large datasets
- Use loading states and placeholders
- Optimize rendering with appropriate conditions
Conclusion
Building effective Blazor components requires attention to both the C# implementation and Razor markup. By following these patterns and practices, you can create components that are:
- Highly reusable
- Performant
- Accessible
- Easy to maintain
- Flexible for different use cases
Remember to adapt these practices to your specific needs while maintaining clean component design principles.
by Joche Ojeda | Oct 10, 2024 | A.I, PropertyEditors, XAF
The New Era of Smart Editors: Developer Express and AI Integration
The new era of smart editors is already here. Developer Express has introduced AI functionality in many of their controls for .NET (Windows Forms, Blazor, WPF, MAUI).
This advancement will eventually come to XAF, but in the meantime, here at XARI, we are experimenting with XAF integrations to add value to our customers.
In this article, we are going to integrate the new chat component into an XAF application, and our first use case will be RAG (Retrieval-Augmented Generation). RAG is a system that combines external data sources with AI-generated responses, improving accuracy and relevance in answers by retrieving information from a document set or knowledge base and using it in conjunction with AI predictions.
To achieve this integration, we will follow the steps outlined in this tutorial:
Implement a Property Editor Based on Custom Components (Blazor)
Implementing the Property Editor
When I implement my own property editor, I usually avoid doing so for primitive types because, in most cases, my property editor will need more information than a simple primitive value. For this implementation, I want to handle a custom value in my property editor. I typically create an interface to represent the type, ensuring compatibility with both XPO and EF Core.
namespace XafSmartEditors.Razor.RagChat
{
    public interface IRagData
    {
        Stream FileContent { get; set; }
        string Prompt { get; set; }
        string FileName { get; set; }
    }
}
Non-Persistent Implementation
After defining the type for my editor, I need to create a non-persistent implementation:
namespace XafSmartEditors.Razor.RagChat
{
    [DomainComponent]
    public class IRagDataImp : IRagData, IXafEntityObject, INotifyPropertyChanged
    {
        private void OnPropertyChanged([CallerMemberName] string propertyName = null)
        {
            PropertyChanged?.Invoke(this, new PropertyChangedEventArgs(propertyName));
        }

        public IRagDataImp()
        {
            Oid = Guid.NewGuid();
        }

        [DevExpress.ExpressApp.Data.Key]
        [Browsable(false)]
        public Guid Oid { get; set; }

        private string prompt;
        private string fileName;
        private Stream fileContent;

        public Stream FileContent
        {
            get => fileContent;
            set
            {
                if (fileContent == value) return;
                fileContent = value;
                OnPropertyChanged();
            }
        }

        public string FileName
        {
            get => fileName;
            set
            {
                if (fileName == value) return;
                fileName = value;
                OnPropertyChanged();
            }
        }

        public string Prompt
        {
            get => prompt;
            set
            {
                if (prompt == value) return;
                prompt = value;
                OnPropertyChanged();
            }
        }

        // IXafEntityObject members
        void IXafEntityObject.OnCreated() { }
        void IXafEntityObject.OnLoaded() { }
        void IXafEntityObject.OnSaving() { }

        public event PropertyChangedEventHandler PropertyChanged;
    }
}
Creating the Blazor Chat Component
Now, it’s time to create our Blazor component and add the new DevExpress chat component for Blazor:
<DxAIChat CssClass="my-chat" Initialized="Initialized"
          RenderMode="AnswerRenderMode.Markdown"
          UseStreaming="true"
          SizeMode="SizeMode.Medium">
    <EmptyMessageAreaTemplate>
        <div class="my-chat-ui-description">
            <span style="font-weight: bold; color: #008000;">Rag Chat</span> Assistant is ready to answer your questions.
        </div>
    </EmptyMessageAreaTemplate>
    <MessageContentTemplate>
        <div class="my-chat-content">
            @ToHtml(context.Content)
        </div>
    </MessageContentTemplate>
</DxAIChat>

@code {
    IRagData _value;
    [Parameter]
    public IRagData Value
    {
        get => _value;
        set => _value = value;
    }

    async Task Initialized(IAIChat chat)
    {
        await chat.UseAssistantAsync(new OpenAIAssistantOptions(
            this.Value.FileName,
            this.Value.FileContent,
            this.Value.Prompt
        ));
    }

    MarkupString ToHtml(string text)
    {
        return (MarkupString)Markdown.ToHtml(text);
    }
}
The main takeaway from this component is that it receives a parameter named Value of type IRagData, and we use this value to initialize the IAIChat service in the Initialized method.
Creating the Component Model
With the interface and domain component in place, we can now create the component model to communicate the value of our domain object with the Blazor component:
namespace XafSmartEditors.Razor.RagChat
{
    public class RagDataComponentModel : ComponentModelBase
    {
        public IRagData Value
        {
            get => GetPropertyValue<IRagData>();
            set => SetPropertyValue(value);
        }

        public EventCallback<IRagData> ValueChanged
        {
            get => GetPropertyValue<EventCallback<IRagData>>();
            set => SetPropertyValue(value);
        }

        public override Type ComponentType => typeof(RagChat);
    }
}
Creating the Property Editor
Finally, let’s create the property editor class that serves as a bridge between XAF and the new component:
namespace XafSmartEditors.Blazor.Server.Editors
{
    [PropertyEditor(typeof(IRagData), true)]
    public class IRagDataPropertyEditor : BlazorPropertyEditorBase, IComplexViewItem
    {
        private IObjectSpace _objectSpace;
        private XafApplication _application;

        public IRagDataPropertyEditor(Type objectType, IModelMemberViewItem model) : base(objectType, model) { }

        public void Setup(IObjectSpace objectSpace, XafApplication application)
        {
            _objectSpace = objectSpace;
            _application = application;
        }

        public override RagDataComponentModel ComponentModel => (RagDataComponentModel)base.ComponentModel;

        protected override IComponentModel CreateComponentModel()
        {
            var model = new RagDataComponentModel();

            model.ValueChanged = EventCallback.Factory.Create<IRagData>(this, value =>
            {
                model.Value = value;
                OnControlValueChanged();
                WriteValue();
            });

            return model;
        }

        protected override void ReadValueCore()
        {
            base.ReadValueCore();
            ComponentModel.Value = (IRagData)PropertyValue;
        }

        protected override object GetControlValueCore() => ComponentModel.Value;

        protected override void ApplyReadOnly()
        {
            base.ApplyReadOnly();
            ComponentModel?.SetAttribute("readonly", !AllowEdit);
        }
    }
}
Bringing It All Together
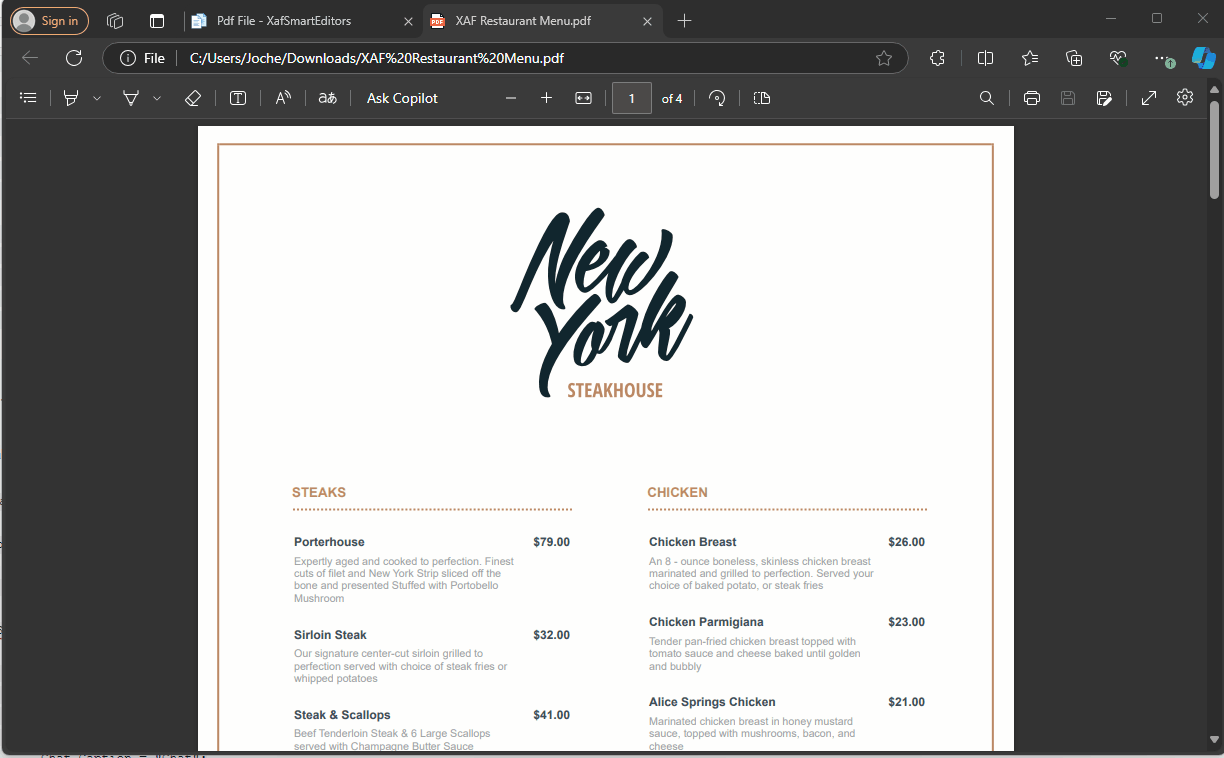
Now, let’s create a domain object that can feed the content of a file to our chat component:
namespace XafSmartEditors.Module.BusinessObjects
{
    [DefaultClassOptions]
    public class PdfFile : BaseObject
    {
        public PdfFile(Session session) : base(session) { }

        string prompt;
        string name;
        FileData file;

        public FileData File
        {
            get => file;
            set => SetPropertyValue(nameof(File), ref file, value);
        }

        public string Name
        {
            get => name;
            set => SetPropertyValue(nameof(Name), ref name, value);
        }

        public string Prompt
        {
            get => prompt;
            set => SetPropertyValue(nameof(Prompt), ref prompt, value);
        }
    }
}
Creating the Controller
We are almost done! Now, we need to create a controller with a popup action:
namespace XafSmartEditors.Module.Controllers
{
    public class OpenChatController : ViewController
    {
        Popup

WindowShowAction Chat;

        public OpenChatController()
        {
            this.TargetObjectType = typeof(PdfFile);
            Chat = new PopupWindowShowAction(this, "ChatAction", "View");
            Chat.Caption = "Chat";
            Chat.ImageName = "artificial_intelligence";
            Chat.Execute += Chat_Execute;
            Chat.CustomizePopupWindowParams += Chat_CustomizePopupWindowParams;
        }

        private void Chat_Execute(object sender, PopupWindowShowActionExecuteEventArgs e) { }

        private void Chat_CustomizePopupWindowParams(object sender, CustomizePopupWindowParamsEventArgs e)
        {
            PdfFile pdfFile = this.View.CurrentObject as PdfFile;
            var os = this.Application.CreateObjectSpace(typeof(ChatView));
            var chatView = os.CreateObject<ChatView>();

            MemoryStream memoryStream = new MemoryStream();
            pdfFile.File.SaveToStream(memoryStream);
            memoryStream.Seek(0, SeekOrigin.Begin);

            chatView.RagData = os.CreateObject<IRagDataImp>();
            chatView.RagData.FileName = pdfFile.File.FileName;
            chatView.RagData.Prompt = !string.IsNullOrEmpty(pdfFile.Prompt) ? pdfFile.Prompt : DefaultPrompt;
            chatView.RagData.FileContent = memoryStream;

            DetailView detailView = this.Application.CreateDetailView(os, chatView);
            detailView.Caption = $"Chat with Document | {pdfFile.File.FileName.Trim()}";

            e.View = detailView;
        }
    }
}
Conclusion
That’s everything we need to create a RAG system using XAF and the new DevExpress Chat component. You can find the complete source code here: GitHub Repository.
If you want to meet and discuss AI, XAF, and .NET, feel free to schedule a meeting: Schedule a Meeting.
Until next time, XAF out!