The Anatomy of an Uno Platform Solution
It’s been almost a month since I left home to attend the Microsoft MVP Summit in Seattle. I’m still on the road, currently in Athens, Greece, with numerous notes for upcoming articles. While traveling makes writing challenging, I want to maintain the order of my Uno Platform series to ensure everything makes sense for readers.
In this article, we’ll dive into the structure of an Uno Platform solution. There’s some “black magic” happening behind the scenes, so understanding how everything works will make development significantly easier.
What is Uno Platform?
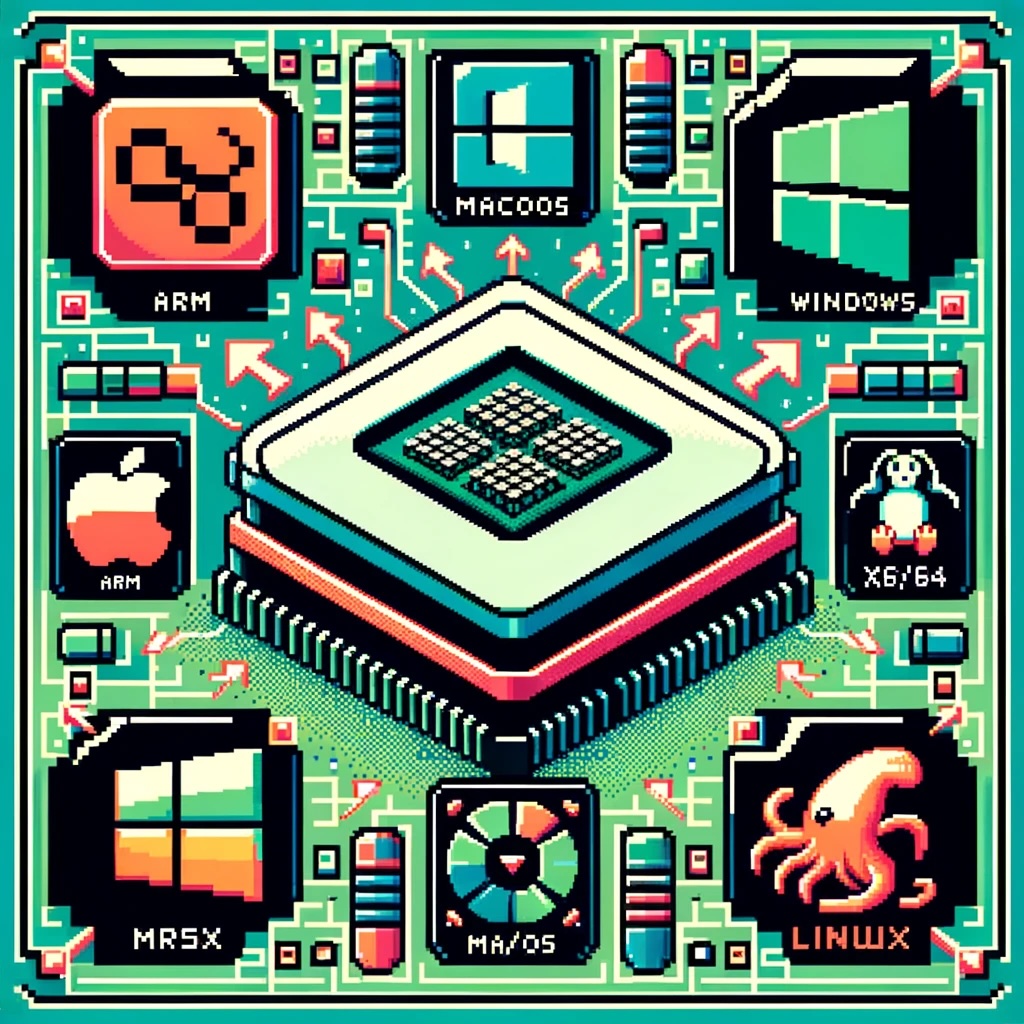
Before we dive into the anatomy, let’s briefly explain what Uno Platform is. Uno Platform is an open-source framework that enables developers to build cross-platform applications from a single codebase. Using C# and XAML, you can create applications that run on Windows, iOS, Android, macOS, Linux, and WebAssembly.
Root Solution Structure
An Uno Platform solution follows a specific structure that facilitates cross-platform development. Let’s break down the key components:
Main (and only) Project
The core of an Uno Platform solution is the main shared project (in our example, “UnoAnatomy”). This project contains cross-platform code shared across all target platforms and includes:
- Assets: Contains shared resources like images and icons used across all platforms. These assets may be adapted for different screen densities and platforms as needed.
- Serialization: Here is where the JsonSerializerContext lives, Since .NET 6 serialization context allows controlling how objects are serialized through the JsonSerializerContext class. It provides ahead-of-time metadata generation for better performance and reduces reflection usage, particularly beneficial for AOT compilation scenarios like Blazor WebAssembly and native apps.
- Models: Contains business model classes representing core domain entities in your application.
- Presentation: Holds UI components including pages, controls, and views. This typically includes files like
Shell.xaml.csandMainPage.xaml.csthat implement the application’s UI elements and layout. - Platforms:
- • Android: Contains the Android-specific entry point (MainActivity.Android.cs) and any other Android-specific configurations or code.
- • iOS: Contains the iOS-specific entry point (Main.iOS.cs).
- • MacCatalyst: Contains the MacCatalyst-specific entry point (Main.maccatalyst.cs).
- • BrowserWasm: Contains the Browser WASM specific configurations or code.
- • Desktop: Contains the Desktop specific configurations or code.
- Services: Contains service classes implementing business logic, data access, etc. This folder often includes subfolders like:
- Strings: the purpose of this folder is to store the localized string resources for the application so it can be translated to multiple languages.
- Styles: this folder contains the styles or color configuration for the app.
Build Configuration Files
Several build configuration files in the root of the solution control the build process:
- Directory.Build.props: Contains global MSBuild properties applied to all projects.
- Directory.Build.targets: Contains global MSBuild targets for all projects.
- Directory.Packages.props: Centralizes package versions for dependency management.
- global.json: Specifies the Uno.SDK version and other .NET SDK configurations.
The Power of Uno.Sdk
One of the most important aspects of modern Uno Platform development is the Uno.Sdk, which significantly simplifies the development process.
What is Uno.Sdk?
Uno.Sdk is a specialized MSBuild SDK that streamlines Uno Platform development by providing:
- A cross-platform development experience that simplifies targeting multiple platforms from a single project
- Automatic management of platform-specific dependencies and configurations
- A simplified build process that handles the complexity of building for different target platforms
- Feature-based configuration that enables adding functionality through the UnoFeatures property
In your project file, you’ll see <Project Sdk="Uno.Sdk"> at the top, indicating that this project uses the Uno SDK rather than the standard .NET SDK.
Key Components of the Project File
TargetFrameworks
<TargetFrameworks>net9.0-android;net9.0-ios;net9.0-maccatalyst;net9.0-windows10.0.26100;net9.0-browserwasm;net9.0-desktop</TargetFrameworks>
This line specifies that your application targets:
- Android
- iOS
- macOS (via Mac Catalyst)
- Windows (Windows 10/11 with SDK version 10.0.26100)
- WebAssembly (for browser-based applications)
- Desktop (for cross-platform desktop applications)
All of these targets use .NET 9 as the base framework.
Single Project Configuration
<OutputType>Exe</OutputType>
<UnoSingleProject>true</UnoSingleProject>
OutputType: Specifies this project builds an executable applicationUnoSingleProject: Enables Uno’s single-project approach, allowing you to maintain one codebase for all platforms
Application Metadata
<ApplicationTitle>UnoAnatomy</ApplicationTitle>
<ApplicationId>com.companyname.UnoAnatomy</ApplicationId>
<ApplicationDisplayVersion>1.0</ApplicationDisplayVersion>
<ApplicationVersion>1</ApplicationVersion>
<ApplicationPublisher>joche</ApplicationPublisher>
<Description>UnoAnatomy powered by Uno Platform.</Description>
These properties define your app’s identity and metadata used in app stores and installation packages.
UnoFeatures
The most powerful aspect of Uno.Sdk is the UnoFeatures property:
<UnoFeatures>
  Material;
  Dsp;
  Hosting;
  Toolkit;
  Logging;
  Mvvm;
  Configuration;
  Http;
  Serialization;
  Localization;
  Navigation;
  ThemeService;
</UnoFeatures>
This automatically adds relevant NuGet packages for each listed feature:
- Material: Material Design UI components
- Dsp: Digital Signal Processing capabilities
- Hosting: Dependency injection and host builder pattern
- Toolkit: Community Toolkit components
- Logging: Logging infrastructure
- Mvvm: Model-View-ViewModel pattern implementation
- Configuration: Application configuration framework
- Http: HTTP client capabilities
- Serialization: Data serialization/deserialization
- Localization: Multi-language support
- Navigation: Navigation services
- ThemeService: Dynamic theme support
The UnoFeatures property eliminates the need to manually add numerous NuGet packages and ensures compatibility between components.
Benefits of the Uno Platform Structure
This structured approach to cross-platform development offers several advantages:
- Code Sharing: Most code is shared across platforms, reducing duplication and maintenance overhead.
- Platform-Specific Adaptation: When needed, the structure allows for platform-specific implementations.
- Simplified Dependencies: The Uno.Sdk handles complex dependency management behind the scenes.
- Consistent Experience: Ensures a consistent development experience across all target platforms.
- Future-Proofing: The architecture makes it easier to add support for new platforms in the future.
Conclusion
Understanding the anatomy of an Uno Platform solution is crucial for effective cross-platform development. The combination of shared code, platform-specific heads, and the powerful Uno.Sdk creates a development experience that makes it much easier to build and maintain applications across multiple platforms from a single codebase.
By leveraging this structure and the features provided by the Uno Platform, you can focus on building your application’s functionality rather than dealing with the complexities of cross-platform development.
In my next article in this series, we’ll dive deeper into the practical aspects of developing with Uno Platform, exploring how to leverage these structural components to build robust cross-platform applications.
Related articles
Getting Started with Uno Platform: First Steps and Configuration Choices | Joche Ojeda
My Adventures Picking a UI Framework: Why I Chose Uno Platform | Joche Ojeda
Exploring the Uno Platform: Handling Unsafe Code in Multi-Target Applications | Joche Ojeda
About Us
YouTube
https://www.youtube.com/c/JocheOjedaXAFXAMARINC
Our sites
Let’s discuss your XAF
This call/zoom will give you the opportunity to define the roadblocks in your current XAF solution. We can talk about performance, deployment or custom implementations. Together we will review you pain points and leave you with recommendations to get your app back in track
https://calendly.com/bitframeworks/bitframeworks-free-xaf-support-hour
Our free A.I courses on Udemy
-
- Introduction to Microsoft A.I Extensions
https://www.udemy.com/course/microsoft-ai-extensions/ - Introduction to Microsoft Semantic Kernel
https://www.udemy.com/course/semantic-kernel
- Introduction to Microsoft A.I Extensions