
by Joche Ojeda | Feb 23, 2025 | A.I
I’ve been thinking about this topic for a while and have collected numerous notes and ideas about how to present abstractions that allow large language models (LLMs) to interact with various systems – whether that’s your database, operating system, word documents, or other applications.
Before diving deeper, let’s review some fundamental concepts:
Key Concepts
First, let’s talk about APIs (Application Programming Interface). In simple terms, an API is a way to expose methods, functions, and procedures from your application, independent of the programming language being used.
Next is the REST API concept, which is a method of exposing your API using HTTP verbs. As IT professionals, we hear these terms – HTTP, REST, API – almost daily, but we might not fully grasp their core concepts. Let me explain how they relate to software automation using AI.
HTTP (Hypertext Transfer Protocol) is fundamentally a way for two applications to communicate using text. This is its beauty – text serves as the basic layer of understanding between systems, meaning almost any system or programming language can produce a client or server that can interact via HTTP.
REST (Representational State Transfer) is a methodology for systems to communicate and either change or read the state of another system.
Levels of System Interaction
When implementing LLMs for system automation, we first need to determine our desired level of interaction. Here are several approaches:
- Human-like Interaction: An LLM can interact with your operating system using mouse and keyboard inputs, effectively mimicking human behavior.
- REST API Integration: Your application can communicate using HTTP verbs and the REST protocol.
- SDK Implementation: You can create a software development kit that describes your application’s functionality and expose this to the LLM.
The connection method will vary depending on your chosen technology. For instance:
- Microsoft Semantic Kernel allows you to create plugins that interact with your system through REST API, database, or SDK.
- Microsoft AI extensions require you to decide on your preferred interaction level before implementation.
- The Model Context Protocol is a newer approach that enables application exposure for LLM agents, with Claude from Anthropic being a notable example.
Implementation Considerations
When automating your system, you need to consider:
- Available Integration Options: Not all systems provide an SDK or API, which can limit automation possibilities.
- Interaction Protocol Choice: You’ll need to decide between REST API, HTTP, or Model Context Protocol.
This overview should help you understand the various levels of resolution needed to automate your application. What’s your preferred method for integrating LLMs with your applications? I’d love to hear your thoughts and experiences.
by Joche Ojeda | Nov 2, 2024 | A.I, Semantic Kernel
Today, when I woke up, it was sunny but really cold, and the weather forecast said that snow was expected.
So, I decided to order ramen and do a “Saturday at home” type of project. My tools of choice for this experiment are:
1) DevExpress Chat Component for Blazor
I’m thrilled they have this component. I once wrote my own chat component, and it’s a challenging task, especially given the variety of use cases.
2) Semantic Kernel
I’ve been experimenting with Semantic Kernel for a while now, and let me tell you—it’s a fantastic tool if you’re in the .NET ecosystem. It’s so cool to have native C# code to interact with AI services in a flexible way, making your code mostly agnostic to the AI provider—like a WCF for AIs.
Goal of the Experiment
The goal for today’s experiment is to render a list of products as a carousel within a chat conversation.
Configuration
To accomplish this, I’ll use prompt execution settings in Semantic Kernel to ensure that the response from the LLM is always in JSON format as a string.
var Settings = new OpenAIPromptExecutionSettings
{
    MaxTokens = 500,
    Temperature = 0.5,
    ResponseFormat = "json_object"
};
The key part here is the response format. The chat completion can respond in two ways:
- Text: A simple text answer.
- JSON Object: This format always returns a JSON object, with the structure provided as part of the prompt.
With this approach, we can deserialize the LLM’s response to an object that helps conditionally render the message content within the DevExpress Chat Component.
Structure
Here’s the structure I’m using:
public class MessageData
{
    public string Message { get; set; }
    public List Options { get; set; }
    public string MessageTemplateName { get; set; }
}

public class OptionSet
{
    public string Name { get; set; }
    public string Description { get; set; }
    public List Options { get; set; }
}

public class Option
{
    public string Image { get; set; }
    public string Url { get; set; }
    public string Description { get; set; }
};
- MessageData: This structure will always be returned by our LLM.
- Option: A list of options for a message, which also serves as data for possible responses.
- OptionSet: A list of possible responses to feed into the prompt execution settings.
Prompt Execution Settings
One more step on the Semantic Kernel side is configuring the prompt execution settings:
var Settings = new OpenAIPromptExecutionSettings
{
    MaxTokens = 500,
    Temperature = 0.5,
    ResponseFormat = "json_object"
};

Settings.ChatSystemPrompt = $"You need to answer using this JSON format with this structure {Structure} " +
                            $"Before giving an answer, check if it exists within this list of option sets {OptionSets}. " +
                            $"If your answer does not include options, the message template value should be 'Message'; otherwise, it should be 'Options'.";
In the prompt, we specify the structure {Structure} we want as a response, provide a list of possible options for the message in the {OptionSets} variable, and add a final line to guide the LLM on which template type to use.
Example Requests and Responses
For example, when executing the following request:
- Prompt: “Show me a list of Halloween costumes for cats.”
We’ll get this response from the LLM:
{
    "Message": "Please select one of the Halloween costumes for cats",
    "Options": [
        {"Image": "./images/catblack.png", "Url": "https://cat.com/black", "Description": "Black cat costume"},
        {"Image": "./images/catwhite.png", "Url": "https://cat.com/white", "Description": "White cat costume"},
        {"Image": "./images/catorange.png", "Url": "https://cat.com/orange", "Description": "Orange cat costume"}
    ],
    "MessageTemplateName": "Options"
}
With this JSON structure, we can conditionally render messages in the chat component as follows:
<DxAIChat CssClass="my-chat" MessageSent="MessageSent">
    <MessageTemplate>
        <div>
            @{
                if (@context.Typing)
                {
                    <span>Loading...</span>
                }
                else
                {
                    MessageData md = null;
                    try
                    {
                        md = JsonSerializer.Deserialize<MessageData>(context.Content);
                    }
                    catch
                    {
                        md = null;
                    }
                    if (md == null)
                    {
                        <div class="my-chat-content">
                            @context.Content
                        </div>
                    }
                    else
                    {
                        if (md.MessageTemplateName == "Options")
                        {
                            <div class="centered-carousel">
                                <Carousel class="carousel-container" Width="280" IsFade="true">
                                    @foreach (var option in md.Options)
                                    {
                                        <CarouselItem>
                                            <ChildContent>
                                                <div>
                                                    <img src="@option.Image" alt="demo-image" />
                                                    <Button Color="Color.Primary" class="carousel-button">@option.Description</Button>
                                                </div>
                                            </ChildContent>
                                        </CarouselItem>
                                    }
                                </Carousel>
                            </div>
                        }
                        else if (md.MessageTemplateName == "Message")
                        {
                            <div class="my-chat-content">
                                @md.Message
                            </div>
                        }
                    }
                }
            }
        </div>
    </MessageTemplate>
</DxAIChat>
End Solution Example
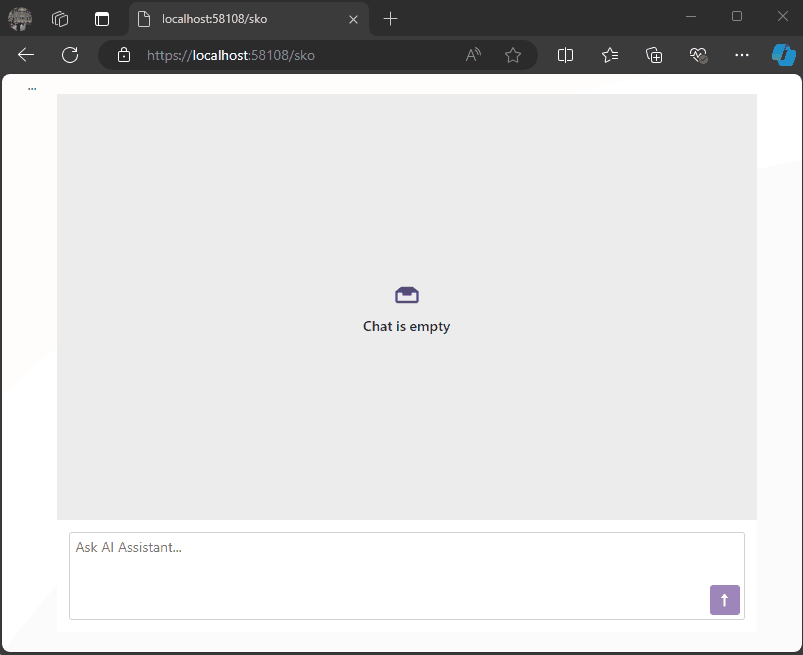
Here’s an example of the final solution:
You can find the full source code here: https://github.com/egarim/devexpress-ai-chat-samples and a short video here https://youtu.be/dxMnOWbe3KA

by Joche Ojeda | Sep 4, 2024 | A.I, Semantic Kernel
In the world of AI and large language models (LLMs), understanding how to manage memory is crucial for creating applications that feel responsive and intelligent. Many developers are turning to Semantic Kernel, a lightweight and open-source development kit, to integrate these capabilities into their applications. For those already familiar with Semantic Kernel, let’s dive into how memory functions within this framework, especially when interacting with LLMs via chat completions.
Chat Completions: The Most Common Interaction with LLMs
When it comes to interacting with LLMs, one of the most intuitive and widely used methods is through chat completions. This allows developers to simulate a conversation between a user and an AI agent, facilitating various use cases like building chatbots, automating business processes, or even generating code.
In Semantic Kernel, chat completions are implemented through models from popular providers like OpenAI, Google, and others. These models enable developers to manage the flow of conversation seamlessly. While using chat completions, one key aspect to keep in mind is how the conversation history is stored and managed.
Temporary Memory: ChatHistory and Kernel String Arguments
Within the Semantic Kernel framework, the memory that a chat completion model uses is managed by the ChatHistory object. This object stores the conversation history temporarily, meaning it captures the back-and-forth between the user and the model during an active session. Alternatively, you can use a string argument passed to the kernel, which contains context information for the conversation. However, like the ChatHistory, this method is also not persistent.
Once the host class is disposed of, all stored context and memory from both the ChatHistory object and the string argument are lost. This transient nature of memory means that these methods are useful only for short-term interactions and are destroyed after the session ends.
What’s Next? Exploring Long-Term Memory Options
In this article, we’ve discussed how Semantic Kernel manages short-term memory with ChatHistory and kernel string arguments. However, for more complex applications that require retaining memory over longer periods—think customer support agents or business process automation—temporary memory might not be sufficient. In the next article, we’ll explore the options available for implementing long-term memory within Semantic Kernel, providing insights on how to make your AI applications even more powerful and context-aware.
Stay tuned for the deep dive into long-term memory solutions!