
In this article, I’ll show you what to do after you’ve obtained and opened an Oqtane solution. Specifically, we’ll go through two different ways to set up your database for the first time.
- Using the setup wizard — this option appears automatically the first time you run the application.
- Configuring it manually — by directly editing the
appsettings.jsonfile to skip the wizard.
Both methods achieve the same result. The only difference is that, if you configure the database manually, you won’t see the setup wizard during startup.
Step 1: Running the Application for the First Time
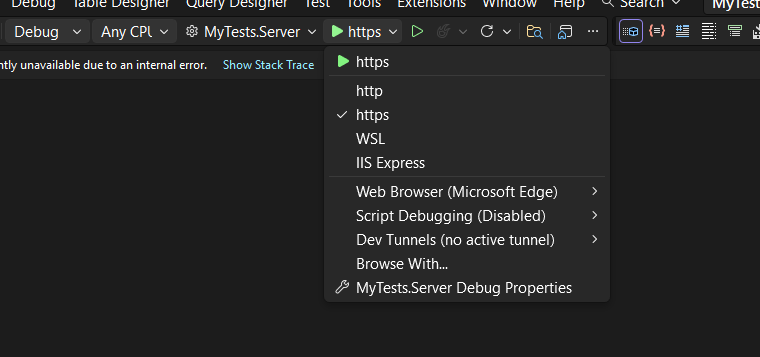
Once your solution is open in Visual Studio, set the Server project as the startup project. Then run it just as you would with any ASP.NET Core application.
You’ll notice several run options — I recommend using the HTTPS version instead of IIS Express (I stopped using IIS Express because it doesn’t work well on ARM-based computers).
When you run the application for the first time and your settings file is still empty, you’ll see the Database Setup Wizard. As shown in the image, the wizard allows you to select a database provider and configure it through a form.
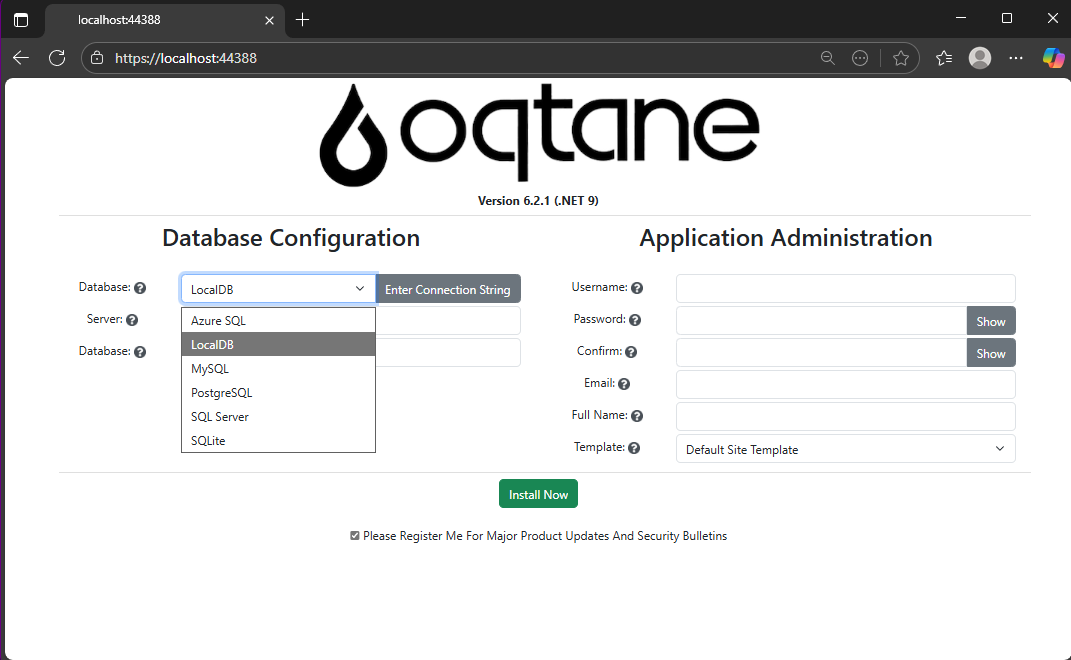
There’s also an option to paste your connection string directly. Make sure it’s a valid Entity Framework Core connection string.
After that, fill in the admin user’s details — username, email, and password — and you’re done. Once this process completes, you’ll have a working Oqtane installation.
Step 2: Setting Up the Database Manually
If you prefer to skip the wizard, you can configure the database manually. To do this, open the appsettings.json file and add the following parameters:
{
"DefaultDBType": "Oqtane.Database.Sqlite.SqliteDatabase, Oqtane.Server",
"ConnectionStrings": {
  "DefaultConnection": "Data Source=Oqtane-202510052045.db;"
},
"Installation": {
  "DefaultAlias": "https://localhost:44388",
  "HostPassword": "MyPasswor25!",
  "HostEmail": "joche@myemail.com",
  "SiteTemplate": "",
  "DefaultTheme": "",
  "DefaultContainer": ""
}
}
Here you need to specify:
- The database provider type (e.g., SQLite, SQL Server, PostgreSQL, etc.)
- The connection string
- The admin email and password for the first user — known as the host user (essentially the root or super admin).
This is the method I usually use now since I’ve set up Oqtane so many times recently that I’ve grown tired of the wizard. However, if you’re new to Oqtane, the wizard is a great way to get started.
Wrapping Up
That’s it for this setup guide! By now, you should have a running Oqtane installation configured either through the setup wizard or manually via the configuration file. Both methods give you a solid foundation to start exploring what Oqtane can do.
In the next article, we’ll dive into the Oqtane backend, exploring how the framework handles modules, data, and the underlying architecture that makes it flexible and powerful. Stay tuned — things are about to get interesting!